
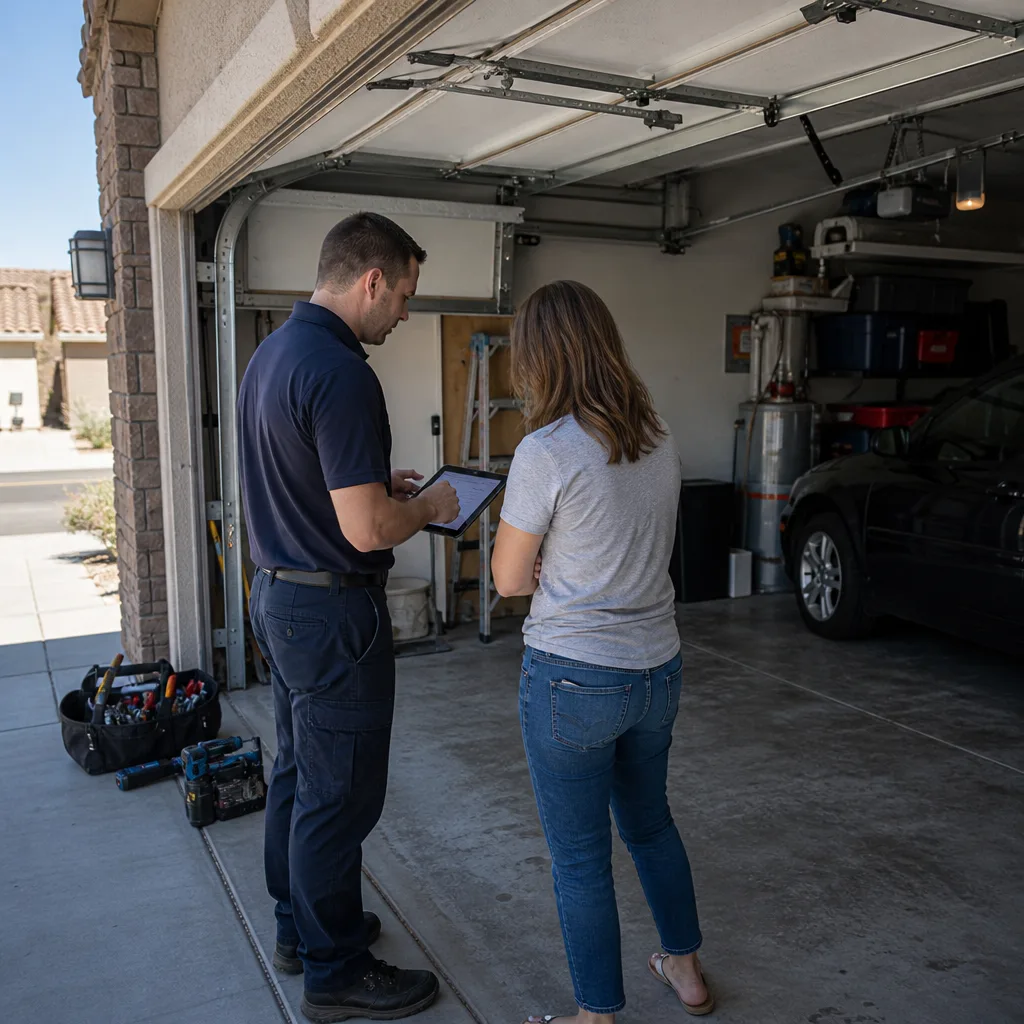
Last updated November 18, 2026
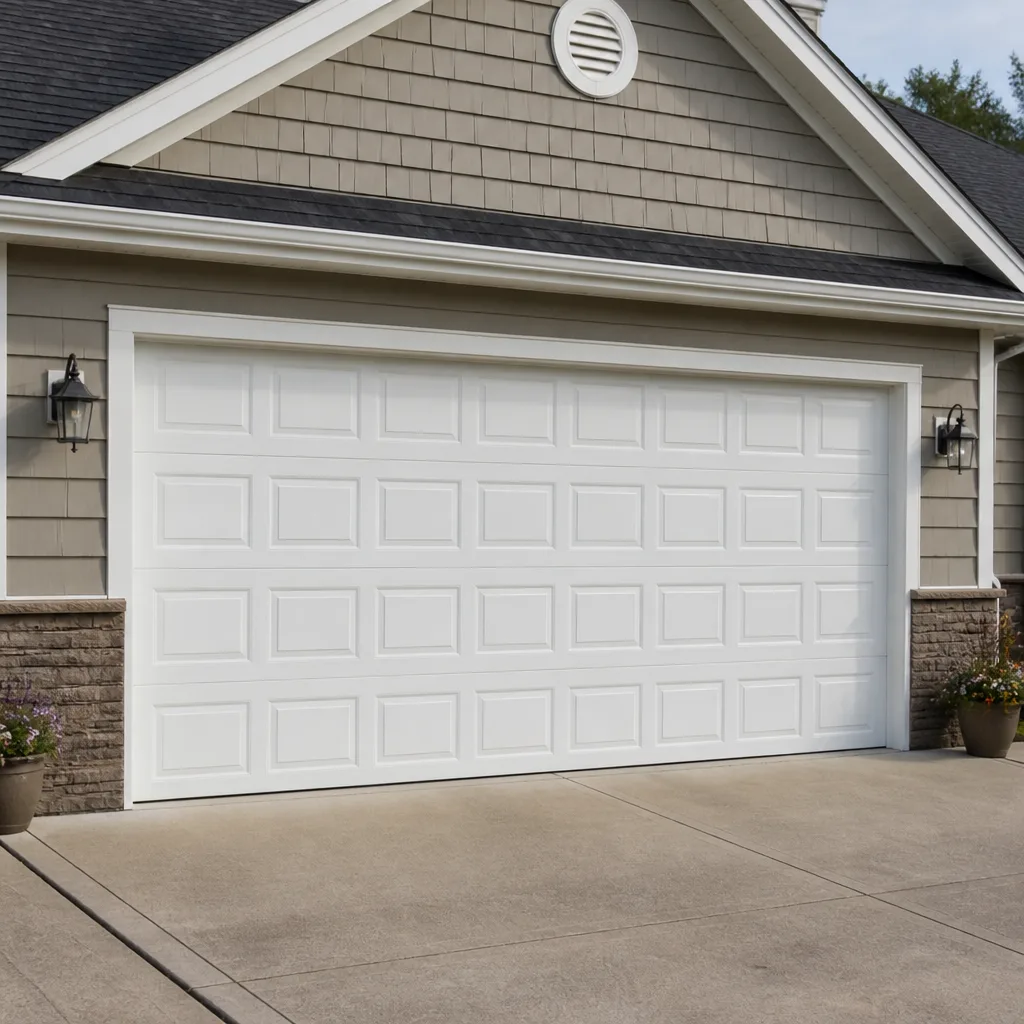 Raised-panel steel
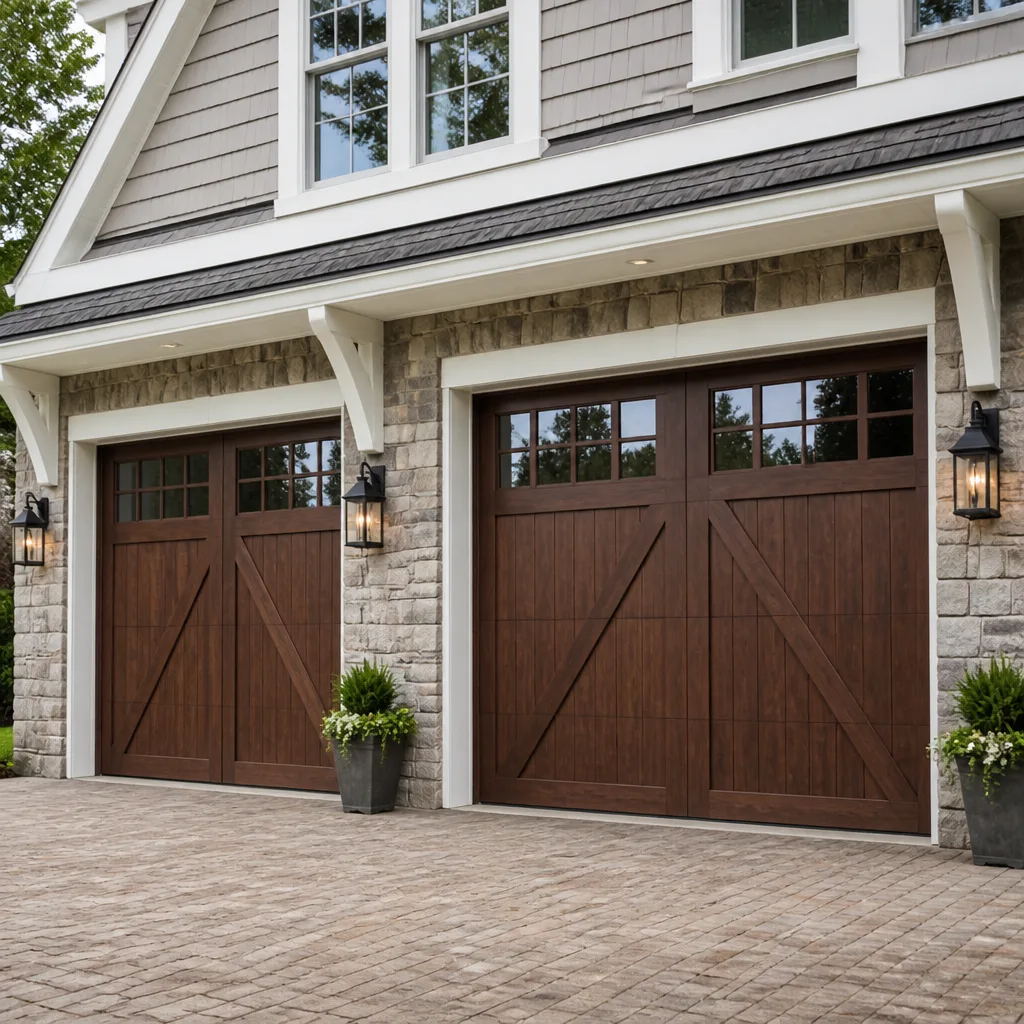 Carriage house
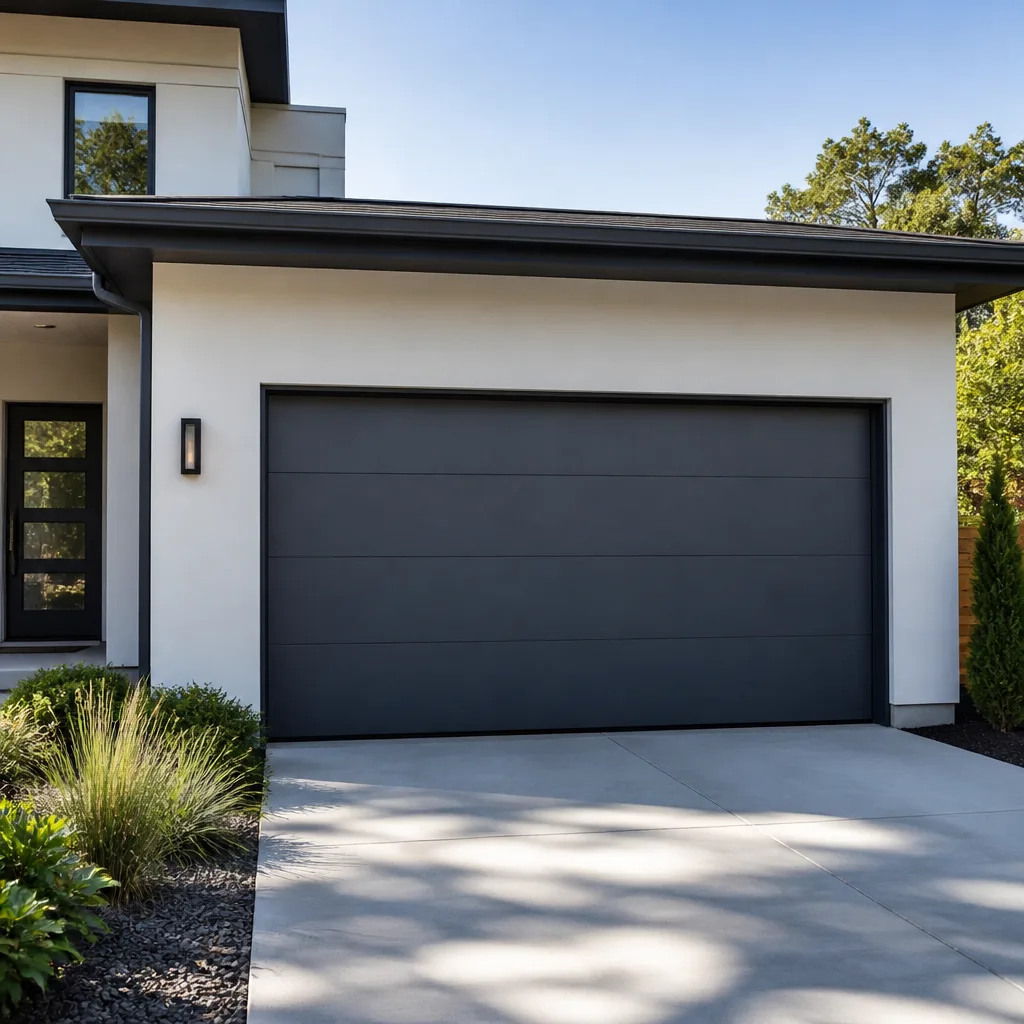 Modern flush
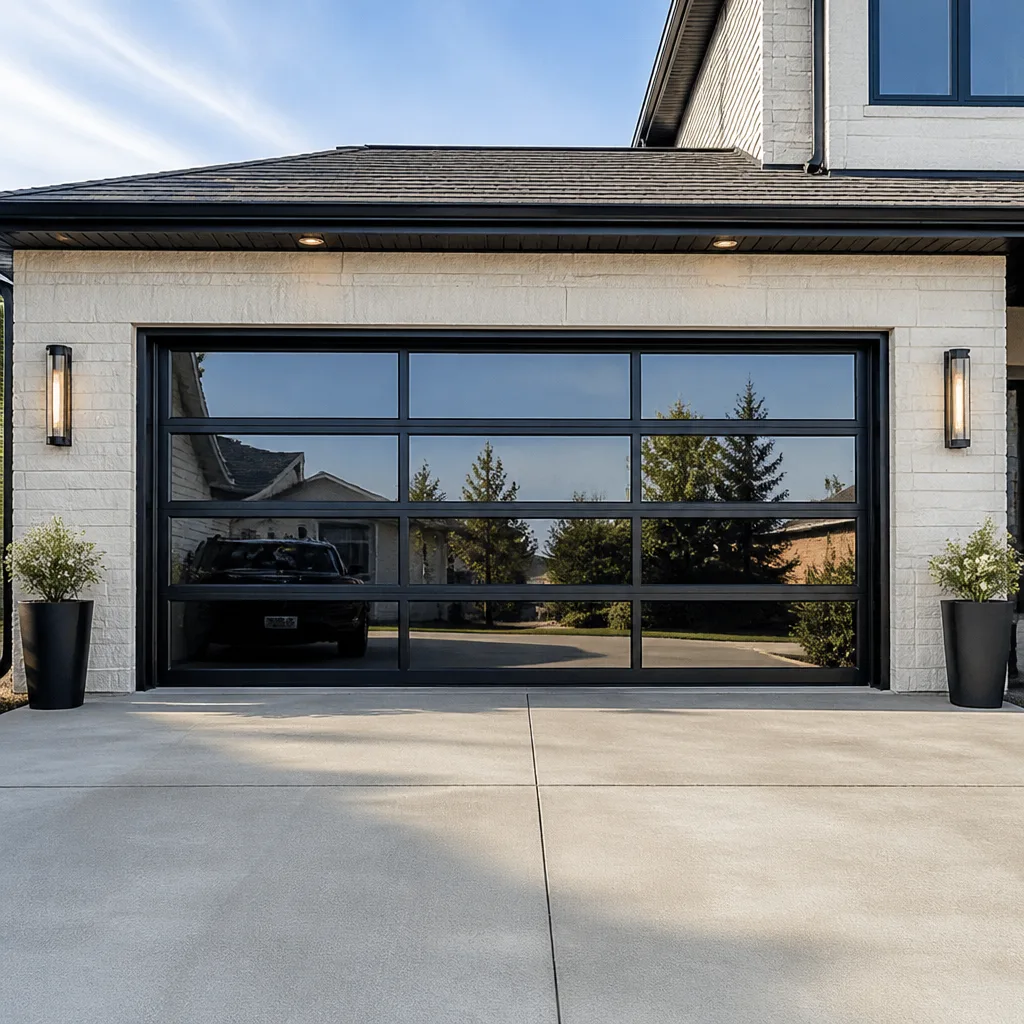 Full-view glass
 LiftMaster openers
 Chamberlain openers
Full 25-point door and opener safety check with every visit - springs, cables, rollers, tracks, and your LiftMaster or Chamberlain opener included
You get a price before we start. It does not change when the pro arrives.
Get your free estimateDIY vs Professional Garage Door Installation: What’s Safe to Do Yourself
The winding bars alone cost $40 to $80. They are used for exactly one task, setting torsion spring tension, and they are non-negotiable safety equipment. That’s before the come-along, the magnetic level set, the impact driver, and the drill bits rated for steel track. Most homeowners start this project expecting to save a few hundred dollars on labor. By the time the specialty tools are on the bench, the math has changed. This guide walks through what a full garage door installation actually requires, which steps are safe to take on yourself, and where the DIY case collapses. We’ve watched a lot of Summerlin doors go up, and the pattern holds.
Quick Answer
Full garage door installation is not a safe DIY project. It requires structural attachment to the header, setting torsion spring tension from scratch, and wiring a high-voltage opener, three steps where a mistake can cause serious injury or structural damage. Safe DIY tasks are limited to measuring, choosing a door, clearing the opening, and cleanup. Everything else is best handled by a professional with the right tools, a second set of hands, and insurance.
Styles & brands we work with
- Raised-panel steel
- Carriage house
- Modern flush
- Full-view glass
- LiftMaster openers
- Chamberlain openers
Table of Contents
- What Specialty Tools a Correct Installation Requires (and What They Cost)
- The Three Steps That Require Two People, Every Time
- Why Header Bracket Placement Matters More Than You Think
- What a Professional Installation Includes That DIY Usually Skips
- Permits, Resale, and Insurance: The Clark County Angle
- Summerlin-Specific Factors: Heat, Wind, and HOA Rules
- When DIY Becomes Dangerous
- What’s Actually Safe to Do Yourself
What Specialty Tools a Correct Installation Requires (and What They Cost)
Here’s the tool list we bring to a full installation. Every item has a purpose, and most have no second use around the house. That matters when you’re deciding whether to buy them for a one-time job in Summerlin or pay someone who already owns them.
- Winding bars (pair): $40 to $80. Required to set and release torsion spring tension. No safe substitute exists. Used for one task only.
- Come-along or door lift: $50 to $120. Lifts and holds the door panel in position while torsion is set.
- Magnetic torpedo and 4-foot level set: $40 to $70. Tracks must be plumb within 1/8 inch over their length, or the door binds.
- Impact driver plus hex and Torx bit set: $100 to $180 if you don’t already own one.
- Drill bits rated for steel track and header steel: $25 to $50. Standard wood bits won’t survive.
- Adjustable wrenches, sockets, and hex keys: $40 to $80.
- Heavy-duty step ladder or scaffold: $80 to $200. You’ll be working overhead for hours.
- Safety glasses, gloves, and back support: $30 to $60.
Add it up. You’re looking at $400 to $840 in tools before you’ve bought a single door, opener, or bracket. Some of that transfers to future projects. Most of it doesn’t. In our experience, the tool cost is the moment homeowners in Summerlin start rethinking the DIY plan, and it’s usually before they’ve opened the first box.
The Three Steps That Require Two People, Every Time
Skill level doesn’t change this. Certain steps in a garage door installation cannot be done safely by one person, no matter how careful you are. Here they are, numbered for clarity.
- Setting torsion spring tension. Torsion springs carry the entire weight of the door. They must be wound to a specific number of turns based on door weight, height, and drum size. One person winds while the other holds the door in the closed position and watches the springs. A solo attempt means the winder has no one to stabilize the door if it slips. When a torsion spring releases under load, the winding bar becomes a projectile.
- Hanging the door panels. A standard single-car door panel runs 50 to 80 pounds. Double-car panels can exceed 100 pounds. Someone has to hold the panel at the correct height while the other drills the hinge and bracket mounts. Dropped panels bend the bottom section, crack the hinges, and sometimes crack the concrete.
- Setting and certifying door balance. The balance test requires lifting the door halfway, releasing it, and confirming it stays put. Someone has to be at the door, someone else needs to be at the opener or emergency release. If the door drops, a single person can be trapped underneath.
Two-person installation also catches errors faster. A helper sees a track out of plumb, a bracket bolted in the wrong spot, or a hinge that isn’t sitting flush. Solo work misses these because you can only look at one thing at a time.
Why Header Bracket Placement Matters More Than You Think
The header bracket is the anchor point at the top of the door opening that holds the torsion tube, the springs, and the opener rail. It bolts into the structural header above the door. Get it wrong by even half an inch, and the door still goes up. You won’t notice right away. That’s the problem.
When the header bracket sits even slightly off center or out of level, the torsion tube runs out of alignment. The springs are wound to a specific number of turns to counterbalance the door’s weight, and any misalignment means one spring works harder than the other. On a torsion setup, that shortening of spring life is measurable. We’ve seen springs that should last 10,000 to 15,000 cycles fail in three or four years because the bracket was a hair off. In Summerlin, where doors cycle twice a day minimum and often more during the summer, that failure shows up sooner than homeowners expect.
The fix isn’t hard. The fix is knowing to check. A professional installation includes a level check on the header bracket, a centered measurement from jamb to jamb, and confirmation that the torsion tube spins freely before any spring tension goes on. DIY installation often skips these steps because they aren’t in the manual in any obvious way. If you’re installing a new Clopay or Amarr door yourself, watch for this one thing. It saves more headaches than any other single check.
What a Professional Installation Includes That DIY Usually Skips
Compare a professional installation to a DIY one side by side and the difference isn’t really the labor. It’s the checklist of things that get verified after the door is up. Here’s the list we work through on every install, and the list DIY installations almost always skip.
- Balance certification. The door is raised halfway and released. It should stay put. If it drifts up, springs are over-wound. If it drops, they’re under-wound. Neither is safe and both wear the opener.
- Opener force calibration. Every modern opener, whether a LiftMaster or a Genie, has a force adjustment dial. Set too high, the opener pushes through obstructions instead of reversing. Set too low, it reverses on a cold morning when the door drags. We set this against a scale, not by feel.
- Safety reverse test. The door must reverse when it contacts a 2-inch object on the way down. This is a code requirement and it’s the thing that stops a door from crushing a child or a pet.
- Photo-eye alignment and wiring check. The safety sensors at the bottom of the track must see each other in a straight line and be wired to the opener correctly. Bad wiring here is a common source of intermittent failures.
- Full cycle test, 10 to 15 times. Doors are run up and down repeatedly to confirm tracks are true, hinges are seated, and no fasteners back out under load.
- Written warranty. Workmanship is documented. If something isn’t right, it comes back at no charge. Mainspring’s 90-Day Done Right Promise covers this in writing on every installation.
None of these are glamorous. All of them determine whether you’re calling for Garage Door Repair in Summerlin six months later or not thinking about the door again for years.
Permits, Resale, and Insurance: The Clark County Angle
Replacing a garage door in Clark County generally requires a permit when you’re changing the door size, replacing the door with a different model, or altering the opening or header. Like-for-like replacement of a same-size door sometimes falls under a minor work exemption, but the rules are specific, and pulling the permit yourself when you aren’t sure is the safer call. We recommend contacting Clark County Building before assuming.
The resale and insurance implications are real. In Summerlin, most homes sell between $600,000 and $2 million, and buyers ask questions. A garage door replacement without a permit shows up in the disclosure. An inspector will flag it. A buyer’s agent will ask for the permit record. If the record doesn’t exist, you’re negotiating from a discount position or paying for a retroactive permit inspection, which may not be granted.
Homeowners insurance cares too. If a door fails and damages the vehicle inside or a person, the claim gets complicated when the door was unpermitted and installed by the homeowner. Permitted work from a licensed contractor is documented work. Documented work is what carriers want to see. It’s also what a buyer wants to see on a pre-listing packet.
Summerlin-Specific Factors: Heat, Wind, and HOA Rules
Summerlin sits at about 3,000 feet on the west side of the valley, which means slightly cooler summers than downtown Las Vegas but a longer hot season than most of the country. That matters for garage door installation in three specific ways.
- Heat cycling. A west-facing garage door in Summerlin sees surface temperatures well over 120°F in July and August. Steel expands and contracts more than the manufacturer’s minimum clearance allows for if the tracks are set tight. We set track tolerance slightly looser here than the manual’s low end, and we recommend insulated doors in Summerlin’s west-facing garages for this reason.
- Wind and dust. Summerlin gets periodic high-wind events off the Spring Mountains. Doors with lighter-gauge track buckle under wind load. We recommend heavier 2-inch track on any door facing west or north here.
- HOA rules. Most Summerlin communities have architectural review requirements for door color, panel style, and window pattern. Replacing a door with a model that doesn’t match the approved palette means a review committee rejection and a re-do. Check with your HOA before ordering. This one trips up a surprising number of homeowners who bought a door on sale.
Climate and HOA considerations aside, the fundamentals don’t change. Weather doesn’t decide whether a spring fails from bad bracket placement. It only changes how fast.
When DIY Becomes Dangerous
Torsion springs are the most dangerous part of any garage door. They hold hundreds of pounds of force and release it instantly if the winding isn’t done correctly. The winding bars exist for a reason, and every year we hear about a homeowner who tried to use a screwdriver or a piece of rebar instead. The result is a broken arm, a broken wrist, or worse.
High-voltage opener wiring is the second hazard. Openers run on 120V household current. The low-voltage controls that operate them run on 12 to 24V. Homeowners who don’t understand the difference sometimes wire the wrong side of the opener. Best case, the opener doesn’t work. Worst case, it’s a shock hazard.
If the door is part of a wall you are cutting into, or the opening needs to be reframed, that’s structural work. That’s outside the scope of any garage door installation and belongs with a licensed framer or general contractor. Nobody installs a door onto a bad header and comes back smiling.
If you’re ever unsure whether something is safe, stop. Call us. We’ll walk you through it. It’s free and we’d rather talk you out of a bad idea than repair the damage.
What’s Actually Safe to Do Yourself
Plenty of the installation is safe to do yourself. Here’s the list, and here’s what it saves you.
- Measure the opening. Height, width, and headroom. Use a tape measure and write it down twice. Every door order starts here and getting the measurements right saves you a return.
- Choose the door and opener. Style, insulation value, window pattern, opener features. All yours to decide. We’re happy to talk through options like a LiftMaster belt-drive or a Chamberlain smart opener without any pressure.
- Clear the garage and the opening. Move shelving, vehicles, and ceiling obstructions ahead of installation day.
- Check HOA requirements. Get the approval before ordering. This is on you and the HOA, not the installer.
- Handle cleanup and painting. Touch-up paint on trim, sweeping out dust and debris, and setting up your opener app afterward.
- Test the safety reverse monthly. After installation, run the door down onto a 2×4 laid flat. It should reverse on contact. Do this every month. It’s the single best thing you can do for a door you didn’t install yourself.
Everything else, from hanging panels to winding torsion springs, is where we draw the line. It’s not that homeowners can’t follow instructions. It’s that the failure modes are severe and the tools are expensive. For Garage Door Installation in Summerlin, the math usually favors leaving it to the people who already own the equipment. If you also need a new opener done as part of the same visit, our Garage Door Opener in Summerlin page covers what that includes.
Common Mistakes to Avoid
- Buying a door without measuring headroom. Low-headroom garages in Summerlin need low-headroom torsion systems. A standard door won’t fit. Measure before you order.
- Skipping the HOA approval. Replacing a door with the wrong color or panel pattern gets rejected in most Summerlin communities and requires a re-order.
- Using a screwdriver instead of a winding bar. This is the mistake that sends people to the emergency room. There is no shortcut. Buy the bars or hire someone who has them.
- Setting track tolerance too tight. The manual’s low-end clearance assumes mild climates. Summerlin’s heat expansion needs a little more slack or the door binds in July.
- Skipping the balance test. A door that drifts up or down means the springs are mis-set. It also means the opener is working harder than it should and will fail earlier.
- Not testing the safety reverse. Doors that don’t reverse on contact are a code violation and a hazard. Test it monthly, not just on install day.
- Installing an unpermitted door on a resale property. The disclosure and the buyer’s inspector will find it. The negotiation starts in your buyer’s favor if you can’t produce a permit.
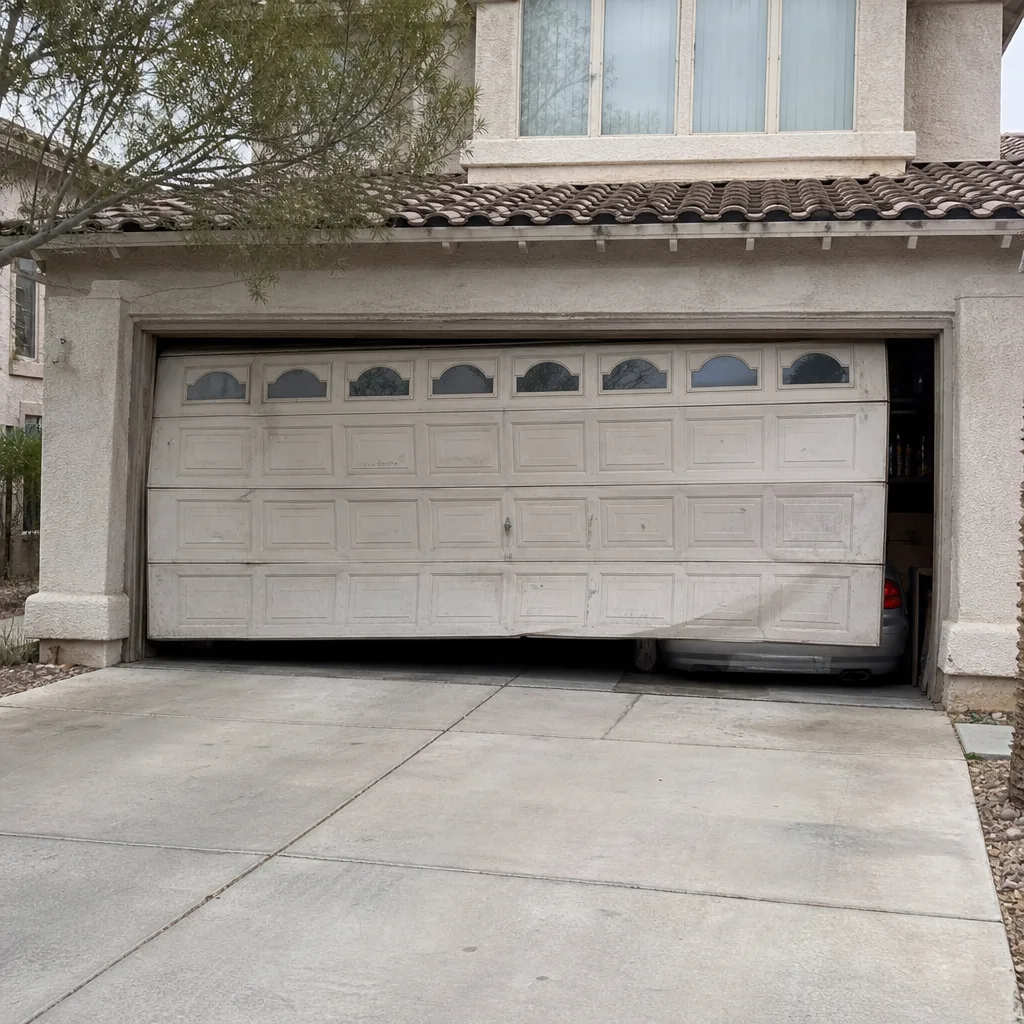
See the difference
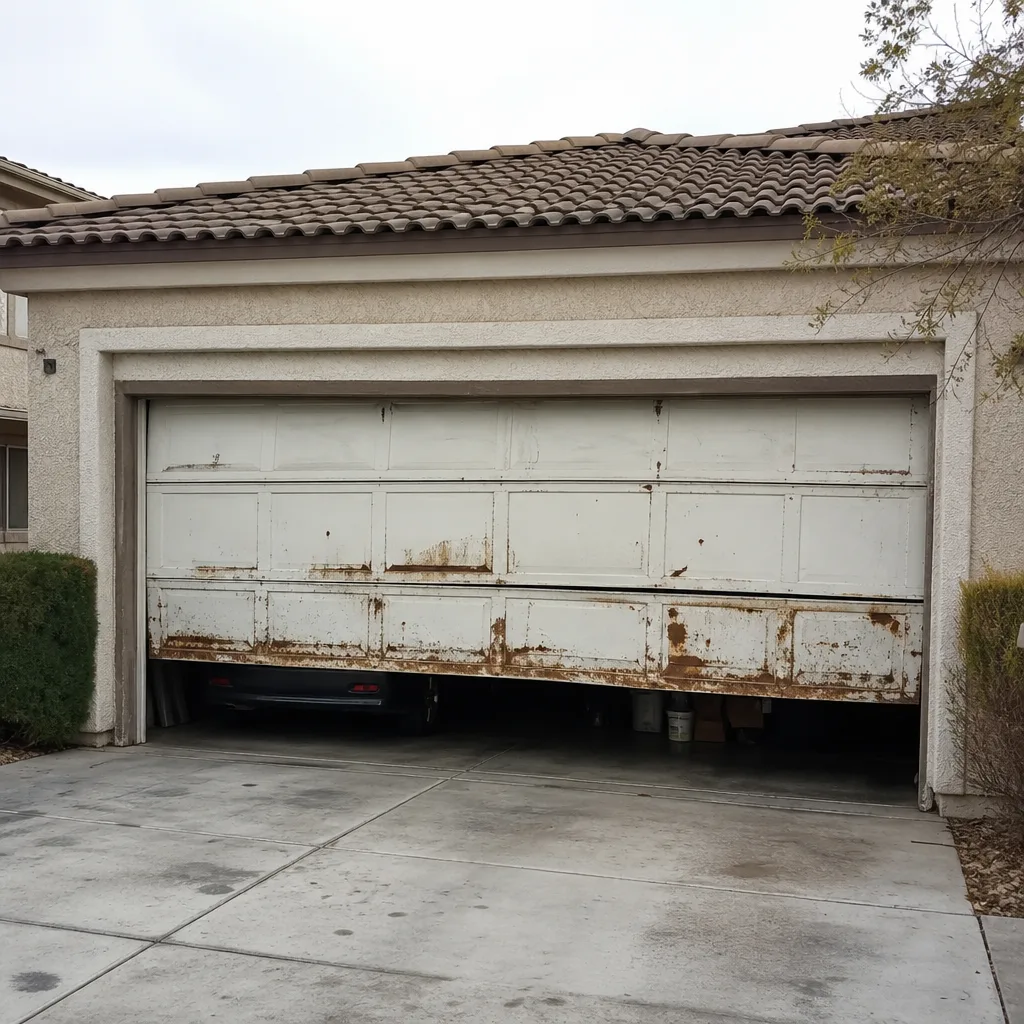 Before
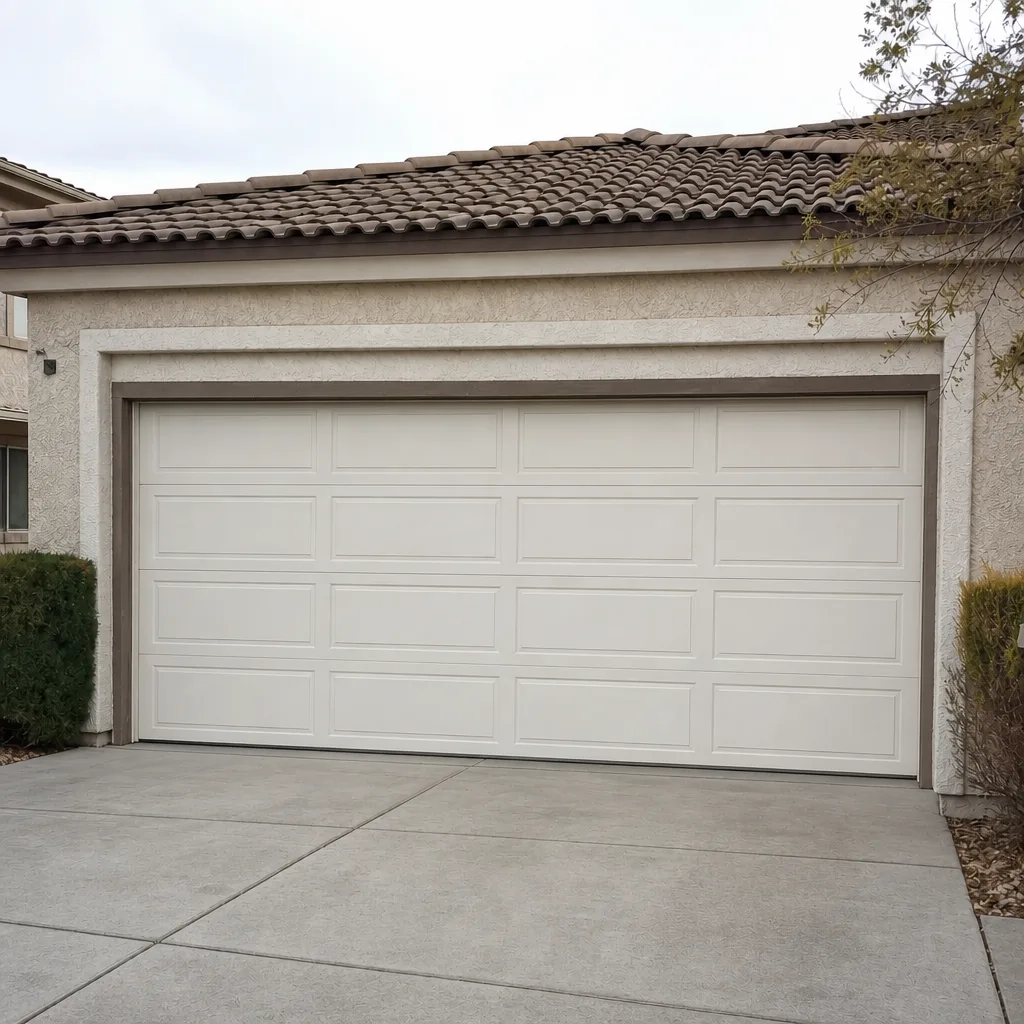 After
 Before
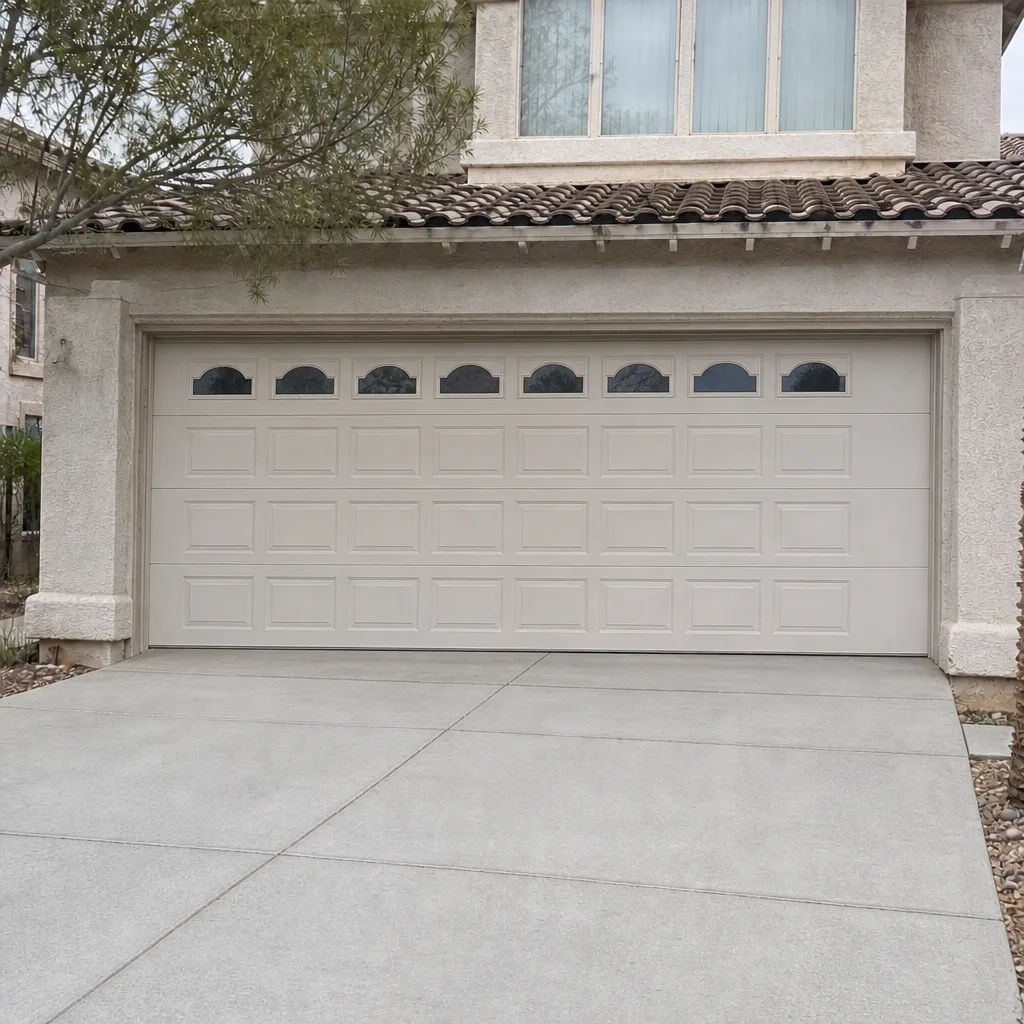 After
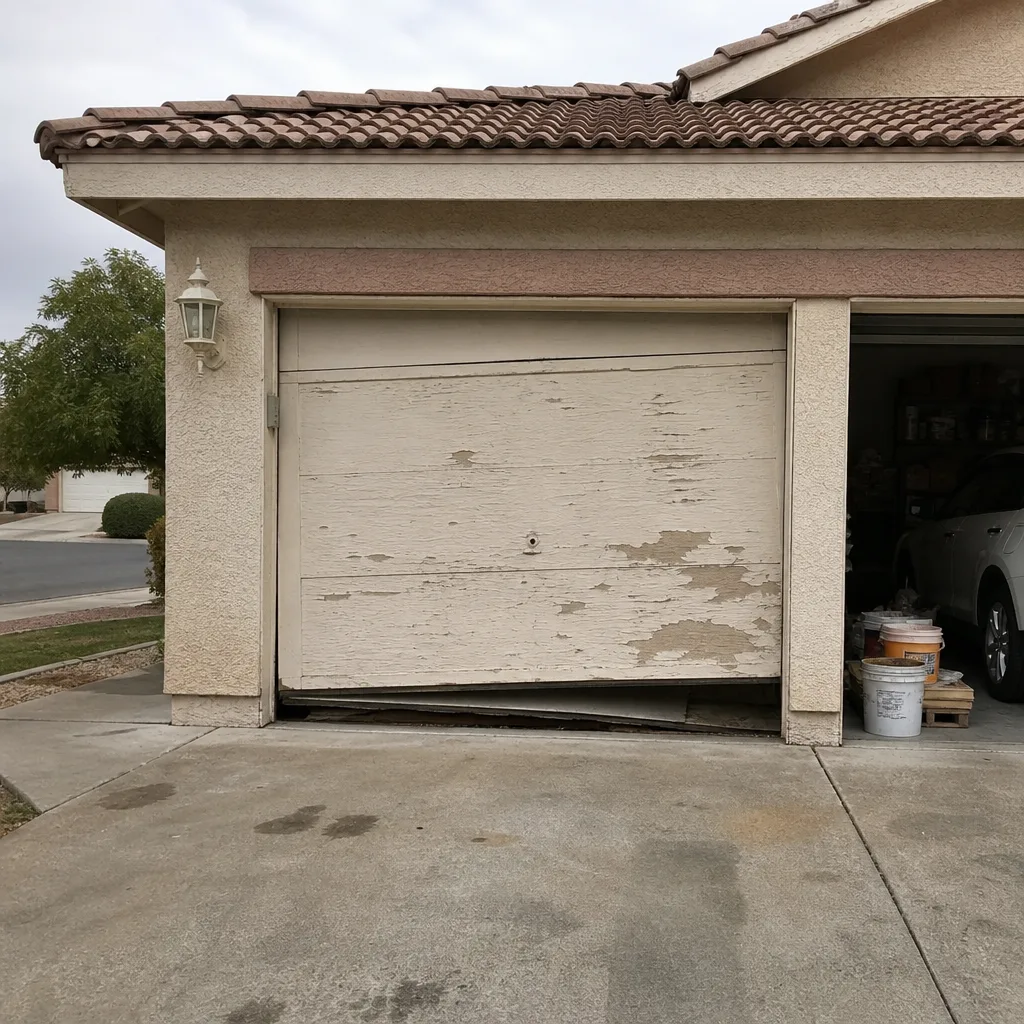 Before
 After
When to Call a Professional
Call a professional if any of the following apply: you’re winding torsion springs, hanging panels over 50 pounds, wiring an opener, cutting or altering the opening, or working alone. Call if your HOA has specific door requirements and you aren’t sure how to interpret them. Call if the garage door you’re replacing is over 20 years old and the tracks, hinges, or framing may be compromised. Call if you bought the door yourself and want someone else to install it on a labor-only basis. Call if you need a documented permit record for resale or insurance.
Mainspring Garage Door Co. Summerlin offers free estimates in Summerlin. Call (855) 608-8802 and we’ll walk through what the installation involves, state the price before work begins, and cover the work in writing with our 90-Day Done Right Promise. A live person answers, day or night.
Frequently Asked Questions
It is not safe to install a full garage door yourself. Torsion springs carry hundreds of pounds of force and require proper winding bars and a second person. Opener wiring involves 120V household current. Panels weigh 50 to 100 pounds and can cause serious injury if dropped. Measure, choose, and clean up yourself; leave the installation to a professional.
Professional garage door installation in Summerlin typically runs $900 to $2,500 for labor and hardware, plus the door itself ($700 to $4,000 depending on style and insulation). Opener installation adds $200 to $450. That’s a wide range because Summerlin’s mix of single and double doors, insulated and non-insulated, varies house by house. Call (855) 608-8802 for an exact quote. Estimates are free, and the price quoted is the price agreed before any work starts.
Specialty tools for a correct DIY installation typically cost $400 to $840. Winding bars alone run $40 to $80. Add the come-along, level set, impact driver, steel-rated drill bits, and ladder, and the tool total usually exceeds what a professional charges for installation labor. Call (855) 608-8802 if you want the labor-only quote to compare. Estimates are free.
No. We measure the opening, check the existing opener and header, and quote a flat price before any work starts. If we find something unexpected, we tell you before proceeding. We don’t surprise the bill.
Yes, it can. Unpermitted work shows up in a seller’s disclosure, and inspections in Summerlin frequently flag it. A buyer’s agent will ask for the permit record. If it doesn’t exist, expect to negotiate or pay for a retroactive inspection. A permitted installation from a licensed contractor is documented, insurable, and doesn’t become a negotiating chip at resale.
We install all major brands, including Clopay, Amarr, LiftMaster, and Chamberlain. We’re familiar with Summerlin HOA door requirements and can confirm the model you’re considering matches the approved palette before you order. If you’re still deciding, our Mainspring Garage Door Co. Summerlin home page has an overview. Call (855) 608-8802 to talk through options. Estimates are free.
The Bottom Line
Full garage door installation isn’t a safe DIY project, and the tool math is part of the reason. Winding bars, a come-along, steel-rated bits, and a level set add up to $400 to $840 in tools used for one job. Even with the right tools, three installation steps require two people: winding torsion tension, hanging panels, and certifying door balance. Header bracket placement, spring tension accuracy, and opener force calibration are where DIY installations fail quietly and cost more to fix later. The safe DIY tasks are measuring, choosing, clearing the opening, and cleanup. Everything else is what a professional installation covers, and it’s what makes the door forgettable in the best way. Call (855) 608-8802 for a free estimate. The price is quoted before work starts, and every job is backed by our 90-Day Done Right Promise.
If you’re still weighing repair over replacement, our Garage Door Repair in Summerlin guide walks through when a spring or opener fix makes more sense than a whole new door.
Written by the team at Mainspring Garage Door Co. Summerlin.