
Last updated November 18, 2026
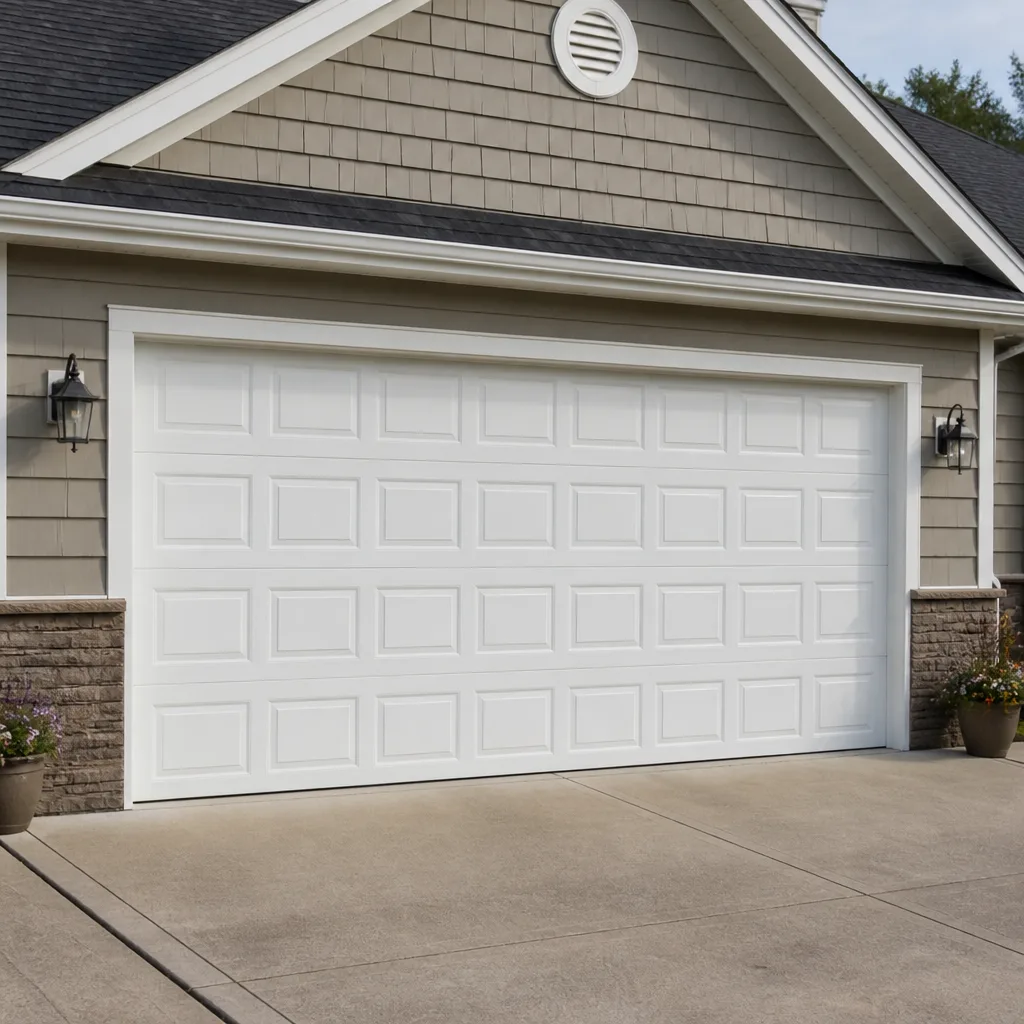 Raised-panel steel
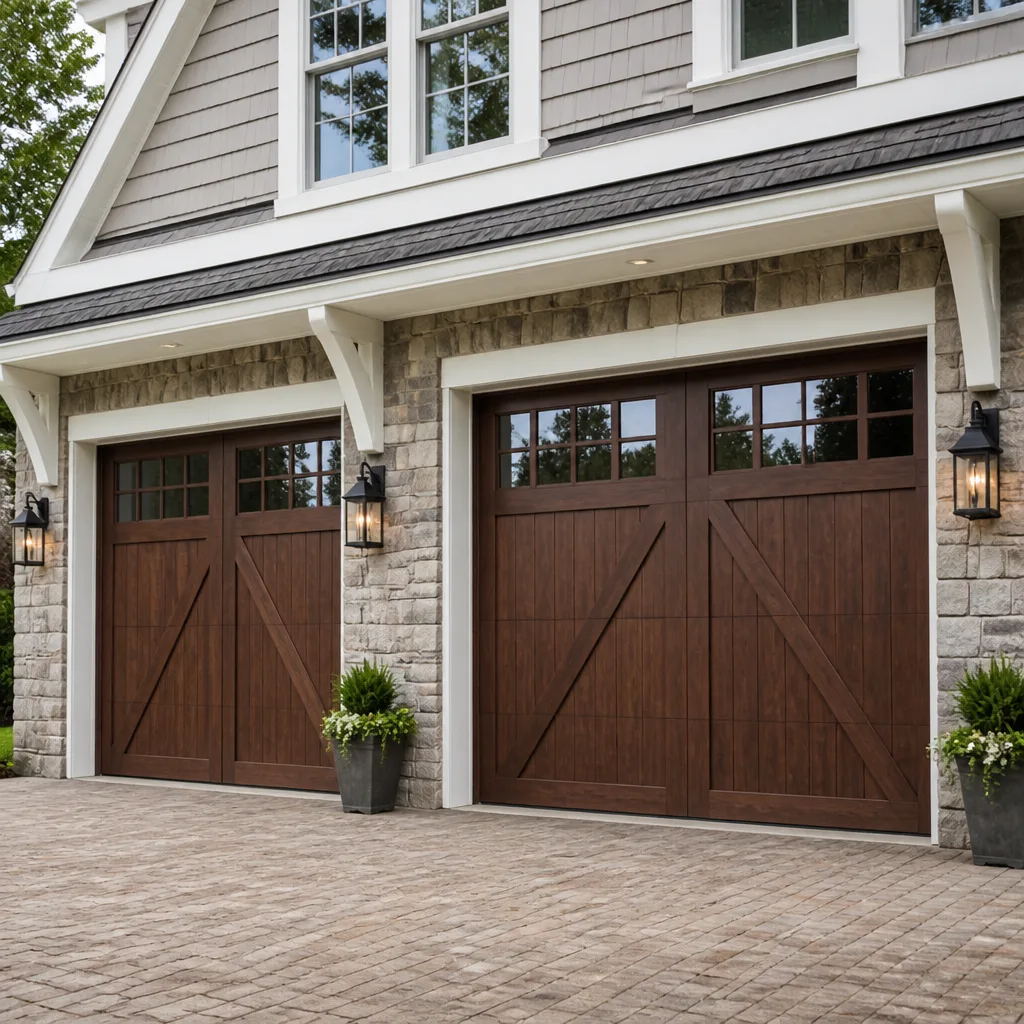 Carriage house
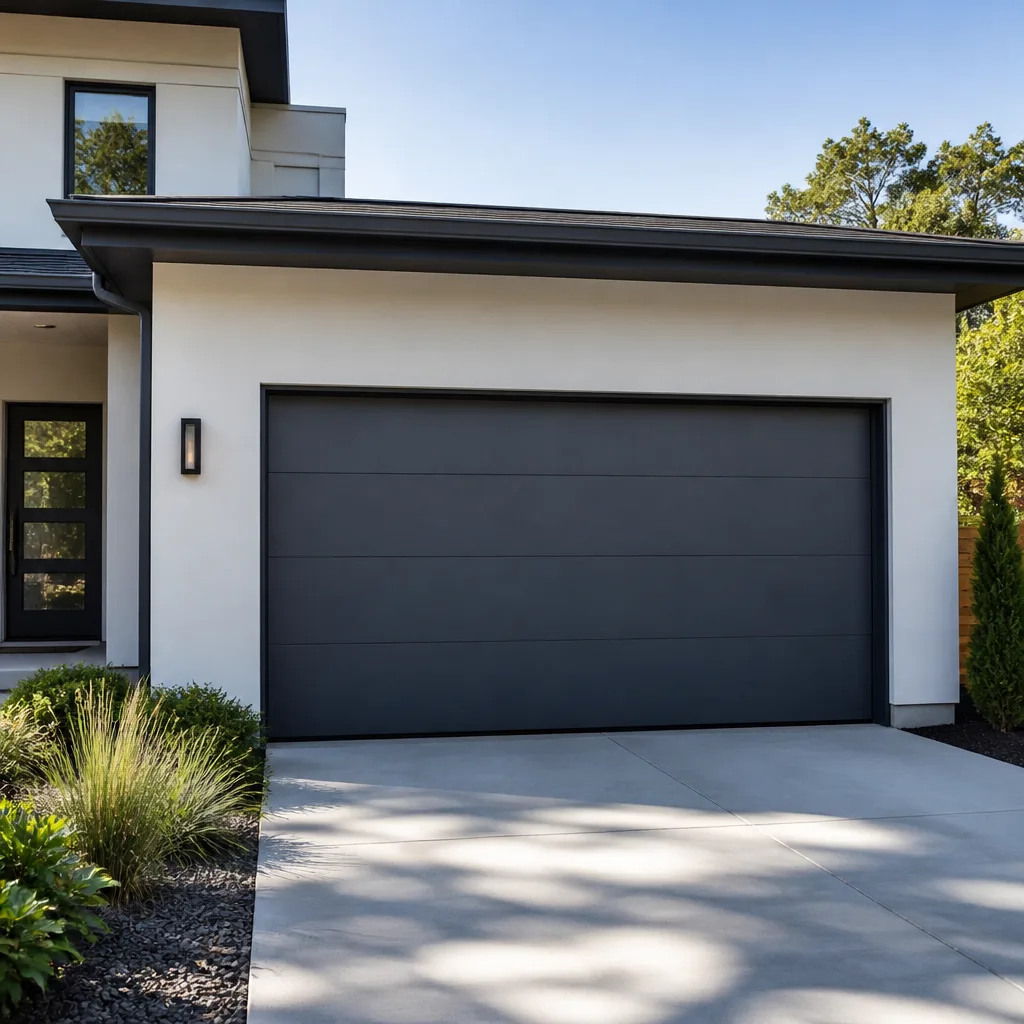 Modern flush
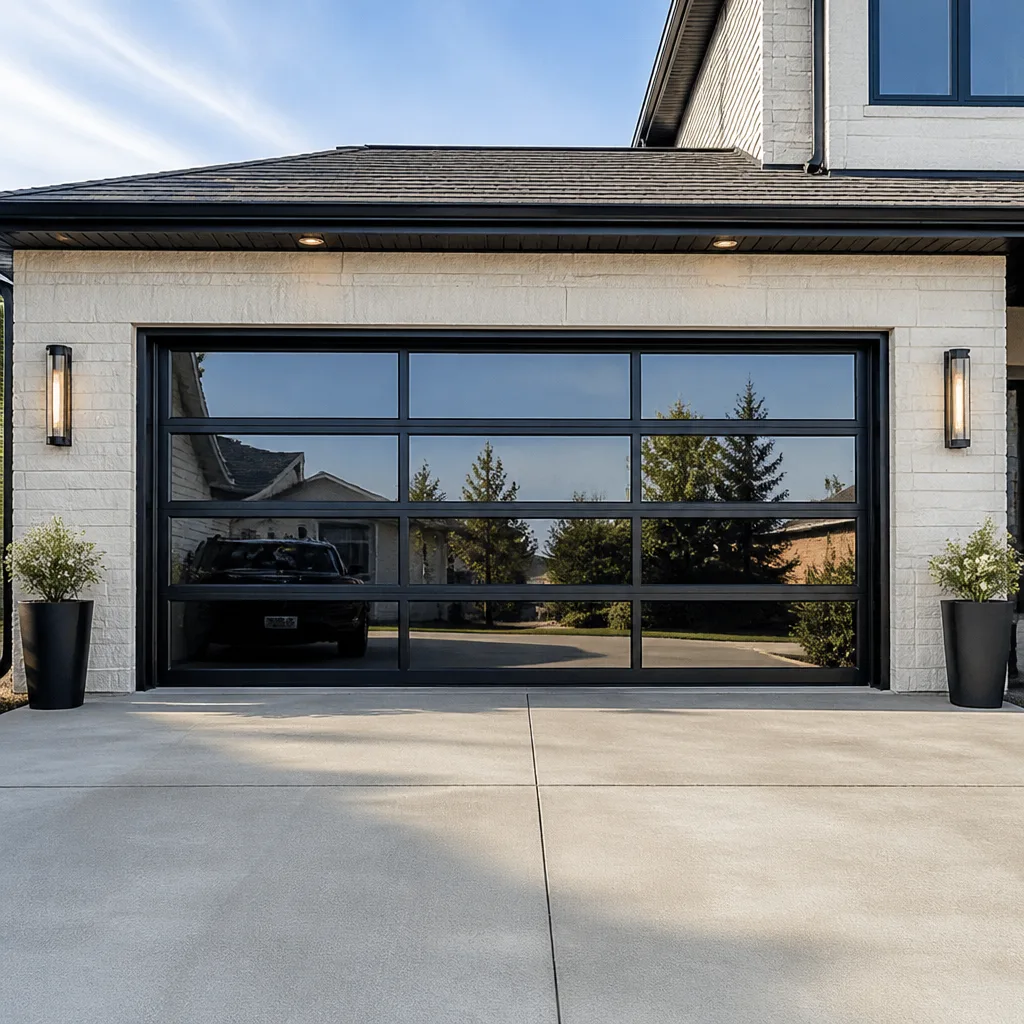 Full-view glass
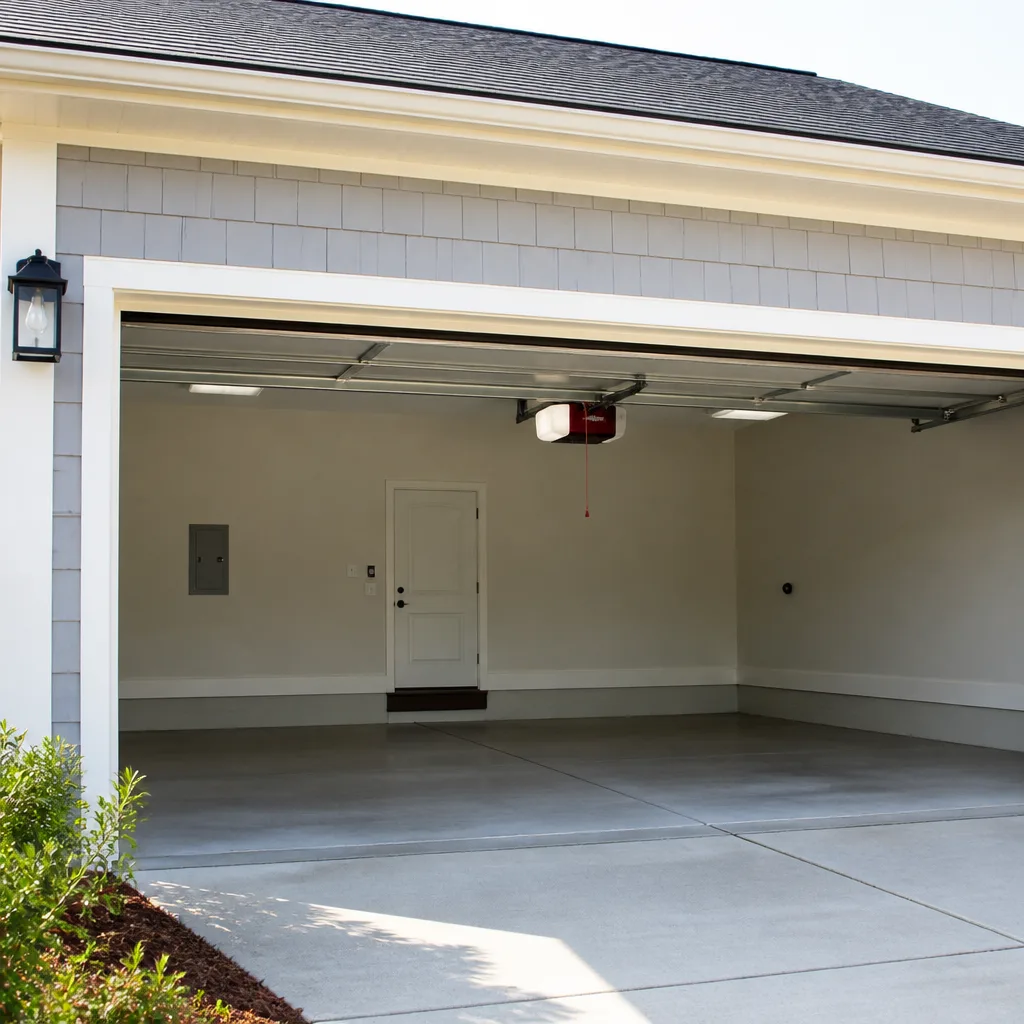 LiftMaster openers
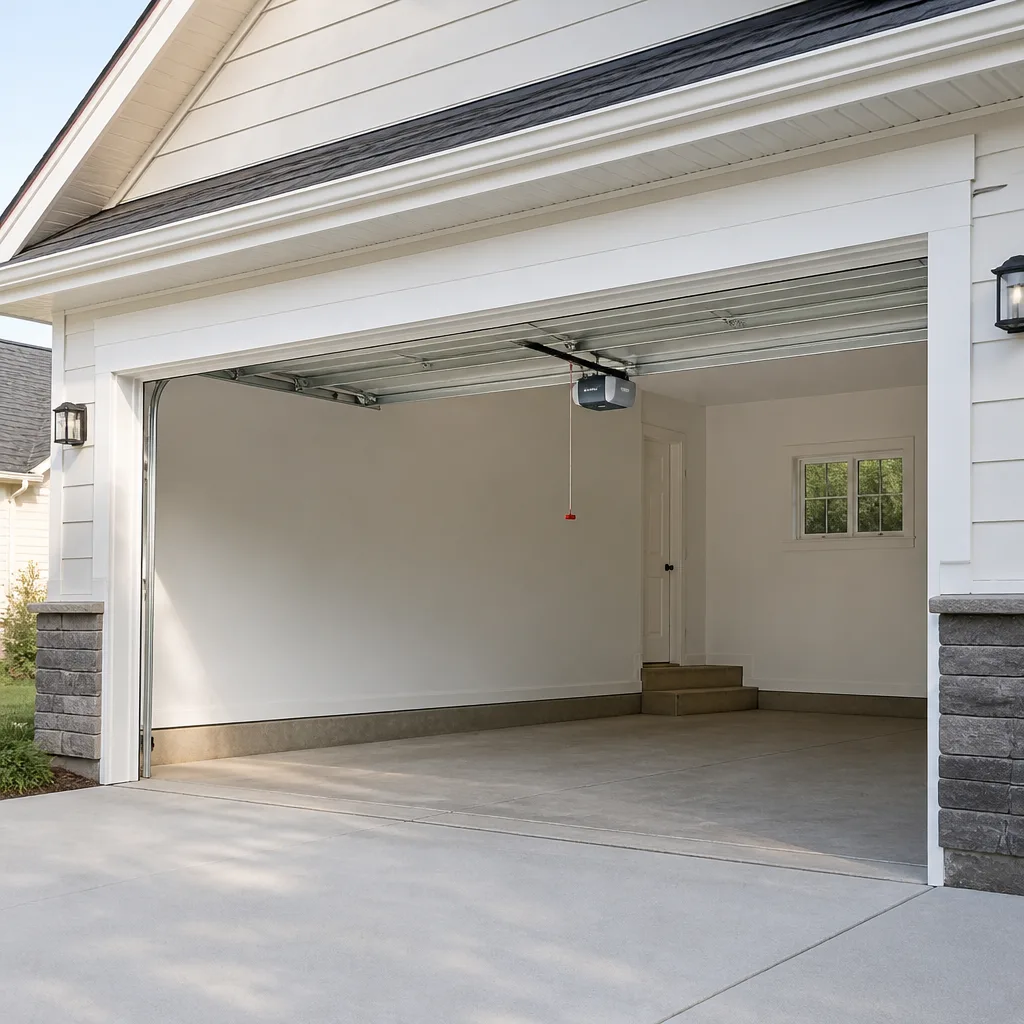 Chamberlain openers
Full 25-point door and opener safety check with every visit - springs, cables, rollers, tracks, and your LiftMaster or Chamberlain opener included
You get a price before we start. It does not change when the pro arrives.
Get your free estimateDIY vs Professional Garage Door Opener: What’s Safe to Do Yourself
Installing a garage door opener is not particularly dangerous. Installing the spring system it connects to can be. Most DIY injuries happen because people treated those as the same job. That confusion is understandable: the opener is the part you see, touch, and buy at the hardware store, so it feels like the whole task. But the opener hangs from the ceiling and pushes a door that the springs are carrying. The springs, not the motor, are where the energy lives. This guide draws the line between the two jobs precisely, so you can decide with accurate information rather than YouTube confidence. We’ll cover what a competent homeowner can safely handle in Summerlin and where the risk curve turns sharply upward.
Quick Answer
Replacing an opener with the same type, same mounting points, and a compatible rail length is within reach for a careful DIYer with basic tools. Any work touching torsion springs, cables, or an unknown spring history is not. The opener is a motor bolted to a bracket; the spring is a loaded coil holding hundreds of pounds of tension. Keep the two separate and the decision gets simple.
Styles & brands we work with
- Raised-panel steel
- Carriage house
- Modern flush
- Full-view glass
- LiftMaster openers
- Chamberlain openers
Table of Contents
- The Two Jobs People Confuse
- How Torsion Springs Store Energy (Plain Terms)
- What a Competent DIYer Actually Needs
- Step-by-Step: The Safe DIY Opener Swap
- Three Scenarios Where DIY Becomes Inadvisable
- What Professional Installation Actually Costs
- Warranty Implications You Can Verify
- Common Mistakes to Avoid
- When to Call a Professional
- Frequently Asked Questions
The Two Jobs People Confuse
When a homeowner says “I’ll just install the opener myself,” they usually mean one of two very different projects. The first is replacing an existing opener with a new one of similar type, using the ceiling bracket and header bracket already mounted above the door. The second is installing an opener on a door with no opener at all, which sometimes means adjusting or replacing springs to match the new lift requirements.
The first job is mostly mechanical and electrical assembly. The second job may require understanding stored energy in the spring system, which is a different category of risk entirely. In our experience across Summerlin, the confusion tends to surface on older homes where an original door has a stamped brand like Clopay or Amarr and the spring count no longer matches the door weight.
Here is the clean way to think about it:
- Opener work: assembling a rail, bolting brackets, running low-voltage safety sensors, connecting the motor to household power through a standard outlet.
- Spring and cable work: winding torsion springs, tensioning extension springs, threading cables through drums. This is where the stored energy is.
The line is not the opener. The line is the spring system the opener connects to. If your project never touches a spring or cable, you are in the DIY-possible zone. If it does, you are not.
How Torsion Springs Store Energy (Plain Terms)
A torsion spring is a steel coil mounted horizontally above the garage door. Winding it creates rotational tension. That tension is what balances the door’s weight, so a 150-pound door can be lifted with one hand. The spring is not a spring in the mattress sense; it’s a loaded torsion bar. A standard residential torsion spring on a double door can hold several hundred inch-pounds of torque. If it fails under load, the energy releases instantly and the coil whips.
Extension springs, more common on older single doors, run along the horizontal tracks and are equally dangerous. They should have safety cables running through the center to contain a break, but not every Summerlin home has them. We regularly see doors on the western edge of Summerlin where the afternoon sun bakes the west-facing wall and accelerates metal fatigue on springs that were never upgraded.
The physics matter because they explain the danger precisely. Springs are safe to live next to and dangerous to work on. A trained technician uses winding bars and understands the tension before touching a coil. A homeowner with a socket wrench and a set of screwdrivers usually does not, and the failure mode is a broken wrist or worse.
This is the part where we won’t publish a step-by-step. Winding bars, count of turns, and safe handling of a loaded coil are not things to learn from a page. If you suspect a spring problem, stop and have it looked at. That’s the whole advice.
What a Competent DIYer Actually Needs
If your project is a straight replacement of an existing opener with a comparable model, here is what you actually need. We hear from a lot of Summerlin homeowners who start the job and discover mid-way that the new unit from the hardware store needs a rail length matched to the door height, or a mount height the ceiling doesn’t offer.
Start with these confirmations before buying anything:
- Rail length: 7-foot doors typically use a 7-foot rail; 8-foot doors need the 8-foot or extendable rail. Check the door height from the floor to the top of the top section, not the ceiling.
- Power source: the new opener needs a working outlet within reach of the cord. Most Summerlin garages have one, but a 1970s single-car garage may not.
- Headroom: measure from the top of the door in its open position to the ceiling. Standard openers need about 2 inches beyond the door height plus the rail clearance box listed in the manual.
- Brand compatibility: if you are replacing a Chamberlain or Genie and want to reuse the wall button, the new unit needs the same wiring protocol. If not, plan to install the new button and remotes.
Tools for a safe swap:
- A 6-foot step ladder rated for your weight, not a kitchen chair.
- A cordless drill with driver bits and a socket set sized to the manufacturer’s bolt heads.
- An adjustable wrench, a level, and a tape measure.
- Safety glasses.
- A helper for rail lifting, especially on an 8-foot door.
If any of those confirmations fails, the project shifts out of the DIY-possible zone. A ceiling that’s too low or a rail that won’t reach is not a hacking problem; it’s a design problem. That’s the moment to call a specialist, and we’re happy to be that call in Summerlin.
Step-by-Step: The Safe DIY Opener Swap
This is the sequence a careful homeowner can follow when replacing an existing opener with a compatible unit. It assumes a working door, working springs, and the same mount points. If the door itself doesn’t move smoothly by hand, stop; the problem is not the opener.
- Disconnect the power. Unplug the opener and turn off the breaker to the garage outlet if it’s on a dedicated circuit.
- Release the door from the opener. Pull the manual release handle so the door is only held by the springs. Confirm it lifts and lowers with one hand. If it doesn’t, the springs need service first, and that’s a professional call.
- Remove the old opener. Disconnect the rail from the header bracket, unbolt the motor from the ceiling bracket, and unclip the wall button wiring. Keep the ceiling bracket in place if it aligns with the new unit.
- Assemble the new rail per the manual on the floor before lifting. This is easier than assembling overhead.
- Mount the motor and attach the rail. Bolt to the existing ceiling bracket, attach the rail to the header bracket above the door, and check the manual for the correct angle.
- Install the safety sensors. Mount the two sensors at the bottom of the tracks, roughly 6 inches above the floor, aimed at each other. Confirm the LED on each unit lights up before proceeding.
- Wire the wall button and safety reverse. Follow the manual for wire gauge and terminal locations. Test the auto-reverse by placing a 2×4 flat on the floor under the door path.
- Balance the travel limits. Use the up and down limit settings on the motor to stop the door at the correct open and closed positions. Re-test auto-reverse after any adjustment.
The whole job takes most homeowners four to six hours. If you find a frayed cable, a stretched spring, or a door that binds in one corner, stop and have that assessed. Those are spring-system problems wearing an opener costume.
Three Scenarios Where DIY Becomes Inadvisable
Not every project looks the same on paper as it does on the ladder. These three cases push past the DIY line even when the opener itself is straightforward.
1. Low-headroom conversions
Homes with a low ceiling need a low-headroom opener that runs on a different rail geometry, often with a different mounting point. Retrofitting one is not a swap; it’s a conversion. In Summerlin, the low-ceiling garages tend to be in the older single-car plans, and the ceiling hardware rarely matches what the new unit expects. This is where the wrong bracket choice turns into a door that slams.
2. Jackshaft openers
A jackshaft opener mounts to the side of the torsion bar instead of the ceiling, which frees up overhead space. The catch: it connects directly to the spring shaft. Any adjustment involves the loaded torsion system. This is not a homeowner job, full stop.
3. Any door with unknown spring history
If you don’t know when the springs were last replaced, or if they’re on their second decade, don’t attach a new opener to them without a spring inspection first. A tired spring that’s balanced with the old opener can fail under the new one’s travel limits. We see this in Summerlin on doors installed in the early 2000s that have never had spring service. The opener swap reveals a spring problem that was already there.
If any of those three describe your project, the honest answer is: this isn’t a DIY job, and no YouTube video changes that.
What Professional Installation Actually Costs
Professional opener installation in the Summerlin market generally runs $150 to $350 in labor on top of the unit itself, depending on the type. A standard belt-drive swap on an existing bracket is on the low end. A jackshaft or low-headroom conversion with new mounting hardware runs higher.
Here’s what that labor buys you that the box from the hardware store doesn’t:
- Correct rail length for your door, measured not guessed.
- Balanced travel limits set against the actual door weight.
- Safety sensor alignment verified with a test, not a visual check.
- Spring inspection before the new opener is hung, so a tired spring doesn’t become a callback.
- A working wall button and remotes paired and labeled.
- Cleanup and haul-away of the old unit.
The upfront price is quoted and agreed before any work starts, so the labor number doesn’t drift. If you’re comparing a $99 big-box install promotion against a local quote, check what the promotion excludes; sensor replacement, rail extensions, and old-unit disposal are the usual line items. If you’re replacing a Chamberlain or Genie that still works and you want it diagnosed first, we offer a free second opinion on any written estimate. For a closer look at the full scope of what we handle, see our Garage Door Opener in Summerlin page.
Warranty Implications You Can Verify
Opener warranties are where a DIY install can quietly cost you the coverage you paid for. Chamberlain, Genie, and most major manufacturers split their warranty into parts and labor, and the labor side usually requires professional installation by a qualified technician. Read the warranty terms that came in the box, and specifically look for the phrase “professional installation required” or “improper installation voids.”
If the wording is ambiguous, the fastest verification is a phone call to the manufacturer’s warranty line with your model number, before you open the box. Ask two questions: does the parts warranty require professional installation, and does the labor warranty. Some lines only cover parts on self-installs. Others cover both but prorate the motor. Getting that answered in thirty minutes is cheaper than discovering it at year three when the motor fails.
There’s a second layer to check: whether your homeowner’s insurance treats an unpermitted electrical connection differently. Openers draw from a standard outlet in most cases, so this rarely matters, but on a hardwired model it can.
We stand behind our installation labor in writing with our 90-Day Done Right Promise. If something we installed isn’t right, we come back. That’s the whole policy, no fine print.
Common Mistakes to Avoid
- Buying the unit before measuring the door. A 7-foot rail on an 8-foot door leaves the door hitting the motor housing. Measure the door height from the floor, not the ceiling clearance.
- Reusing the old safety sensors without testing them. Sensors fail more often than motors. Confirm both LEDs light before trusting the auto-reverse.
- Skipping the manual balance check. If the door doesn’t lift with one hand, the springs are tired. Attaching a new opener to a tired spring masks the problem for a few months and then makes it worse.
- Hanging the opener on a loose ceiling bracket. The bracket has to be anchored into the ceiling joist, not the drywall. We’ve seen Summerlin garages where the original installer anchored into the drywall alone, and it holds until it doesn’t.
- Reversing the door limits by ear. The motor should stop the door against the floor, not slam it. Set limits with a tape measure and retest.
- Ignoring a door that binds in one corner. Binding is usually a cable or roller issue. That’s a garage door shop’s job, not an opener install. Our Garage Door Repair in Summerlin page covers the diagnostic side.
- Assuming a new opener fixes a noisy door. If the noise is metal-on-metal from the tracks, a belt-drive unit will be quieter but not silent. The tracks need attention too.
When to Call a Professional
Call a professional when your project involves any of the following: a spring or cable that is visibly stretched, rusted, or broken; a low-headroom or jackshaft installation; an 8-foot door on an unknown bracket setup; or a door that doesn’t balance by hand. Also call if the door body itself needs attention, since the opener can only do so much with an off-track panel or a bent section.
When you do call, ask two things: what the labor quote covers, and whether the springs will be inspected before the new unit is hung. A shop that answers both in plain language is a shop worth hiring.
Our Mainspring Garage Door Co. Summerlin home page has the full scope of what we do, and our Garage Door Installation in Summerlin page covers the full-replacement question if your door is at the end of its life. Background-checked, uniformed technicians, upfront pricing, and a live person answers every call.
Frequently Asked Questions
Yes, if it’s a straight replacement of an existing opener with a compatible unit on the same mounting points. Check the rail length against your door height, confirm a working outlet is within reach, and have a helper for lifting the rail. If springs, cables, or low-headroom conversions are involved, no.
Most homeowners do, and the reasons are usually warranty and spring inspection rather than difficulty. Professional installer labor in Summerlin typically runs $150 to $350 on top of the unit, and it includes the spring check that catches problems before they become callbacks. If you’re uncertain whether your door’s springs are in good shape, the labor cost buys peace of mind that a DIY install doesn’t.
The manufacturer may decline the labor warranty and, on some lines, the parts warranty. Read the warranty terms in the box before opening it, or call the manufacturer’s warranty line with the model number. Get the answer in writing if you can.
Sometimes, but only if the new motor is the same brand and model family as the old one. Chamberlain and Genie both have replacement head units that fit their own rails, but cross-brand mixing isn’t supported. Reusing a rail on a different brand’s motor usually leaves the door off its travel limits.
Indirectly, yes. West-facing garage doors in Summerlin take heavy afternoon sun, which accelerates heat cycling on the door panels and the springs. The opener itself isn’t affected much, but a door whose springs have weakened from heat cycles needs spring service before a new opener is hung. If your west-facing door feels heavier than it used to, that’s the sign.
Three signs: the door is hard to lift by hand, the door looks crooked side to side when half open, or the springs are visibly rusty or have a gap. Any of those three, don’t attach a new opener without a spring inspection first. That’s a trained professional’s call, not a homeowner’s.
The Bottom Line
Opener installation sits in the DIY-possible category when it’s a straight swap on existing mounting points with correct rail length and a working door. Spring and cable work sits firmly outside it, no exceptions. The three scenarios that push even a straightforward opener swap off the DIY list are low-headroom conversions, jackshaft installs, and any door with unknown spring history. Professional labor in Summerlin typically runs $150 to $350 on top of the unit, and it includes the warranty check and spring inspection that DIY skips. The upfront price is quoted and agreed before work starts, and our 90-Day Done Right Promise covers the install in writing. If your door’s springs are a question mark, call (855) 608-8802 for a free estimate. A live person answers every call, and we’ll tell you straight whether your project is a DIY job or one for us.
Written by the team at Mainspring Garage Door Co. Summerlin.
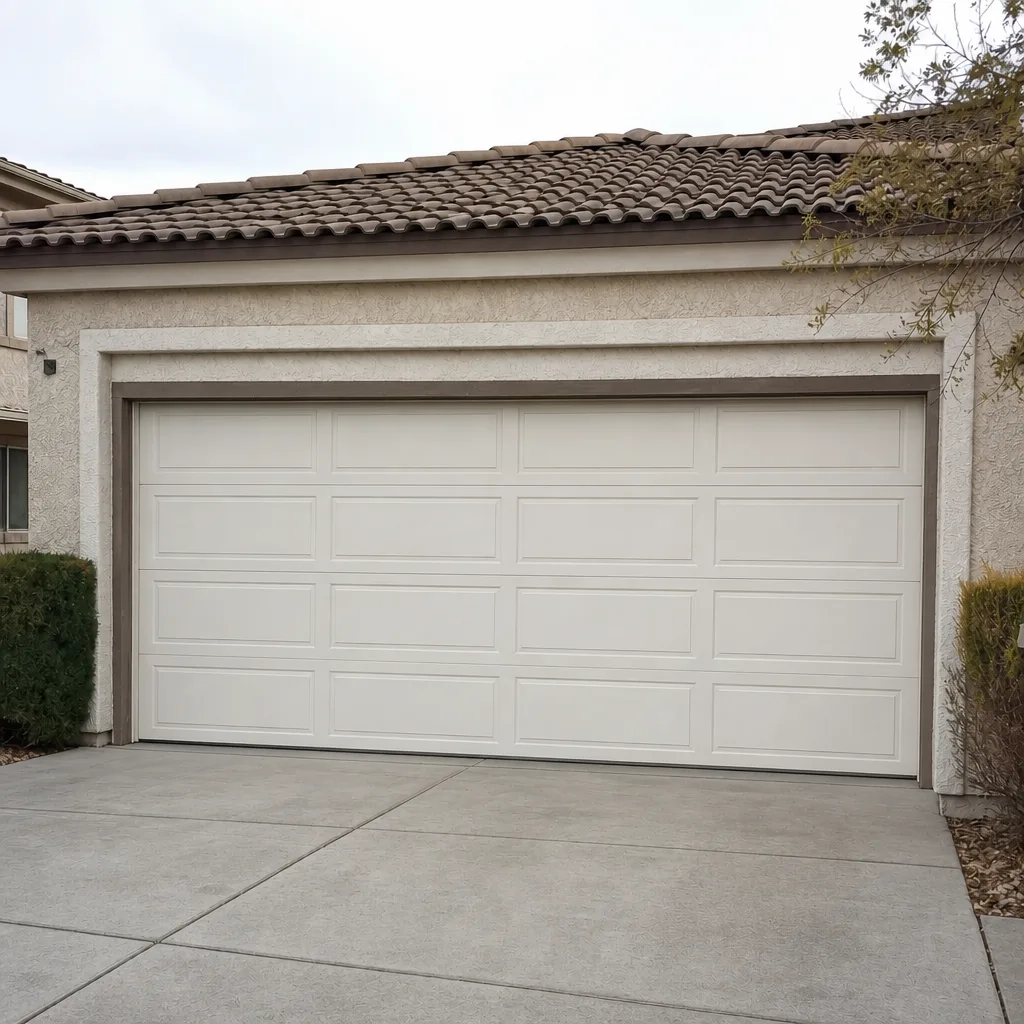
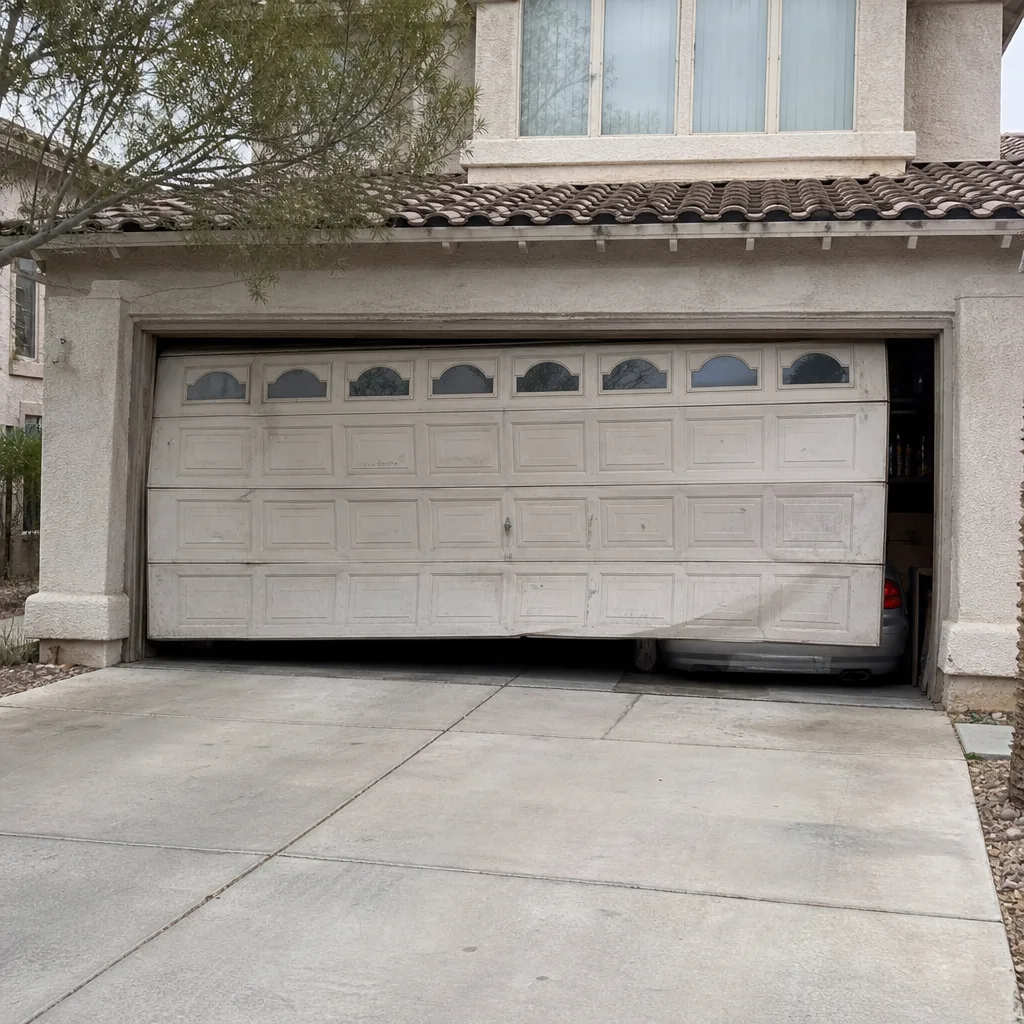
See the difference
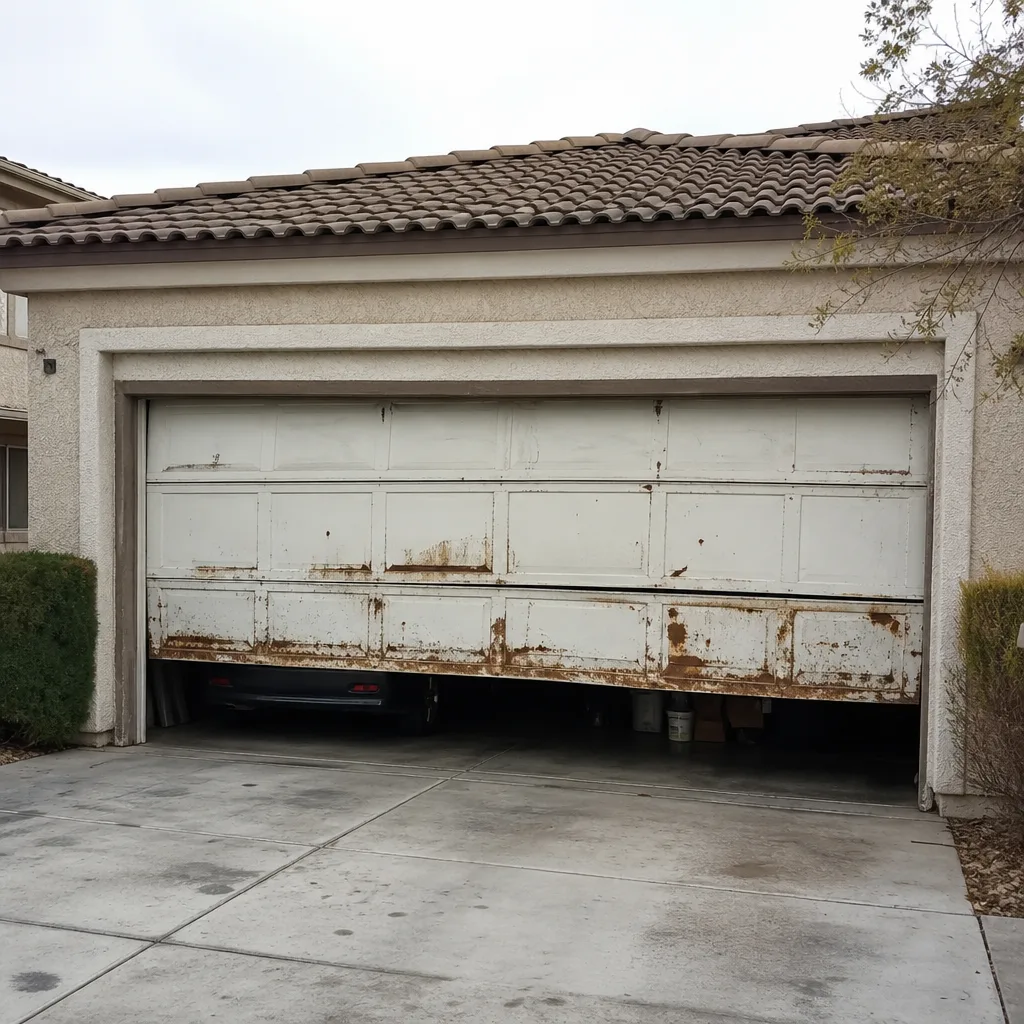 Before
 After
 Before
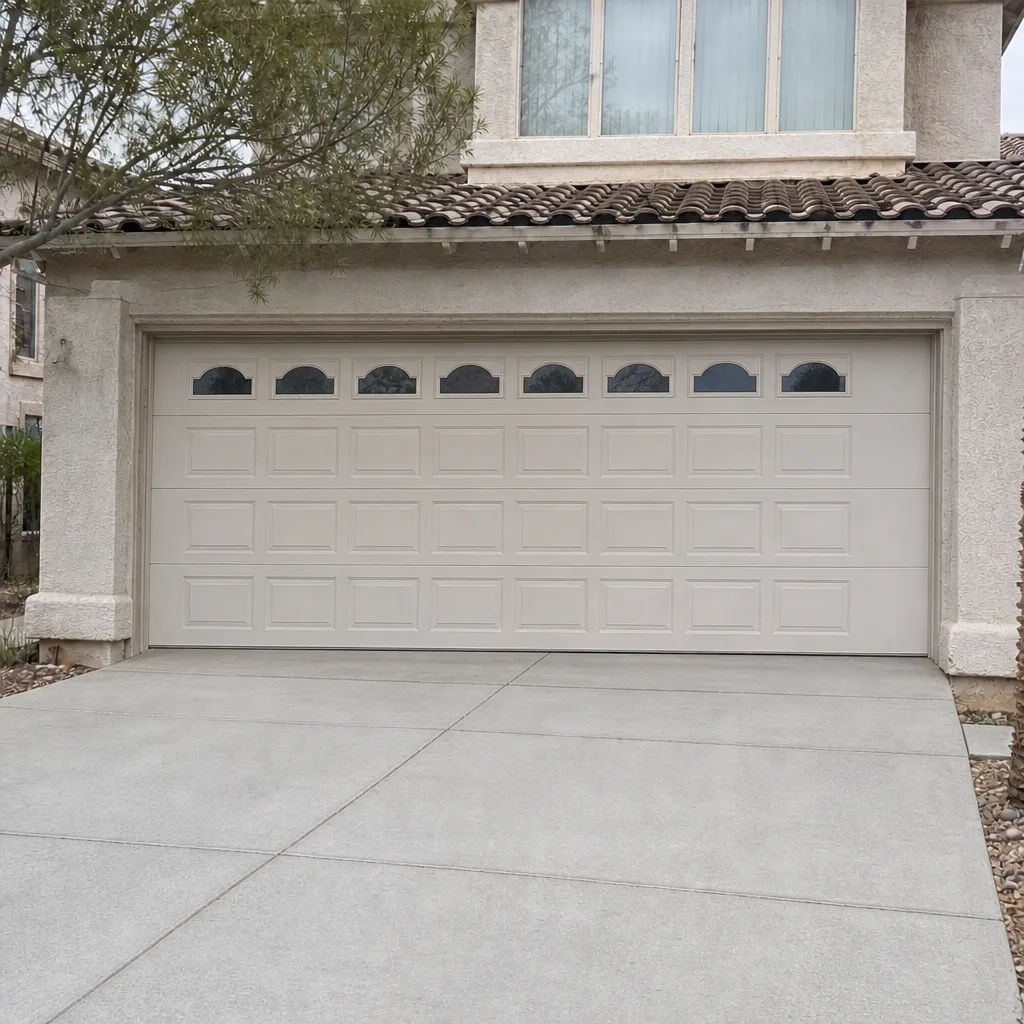 After
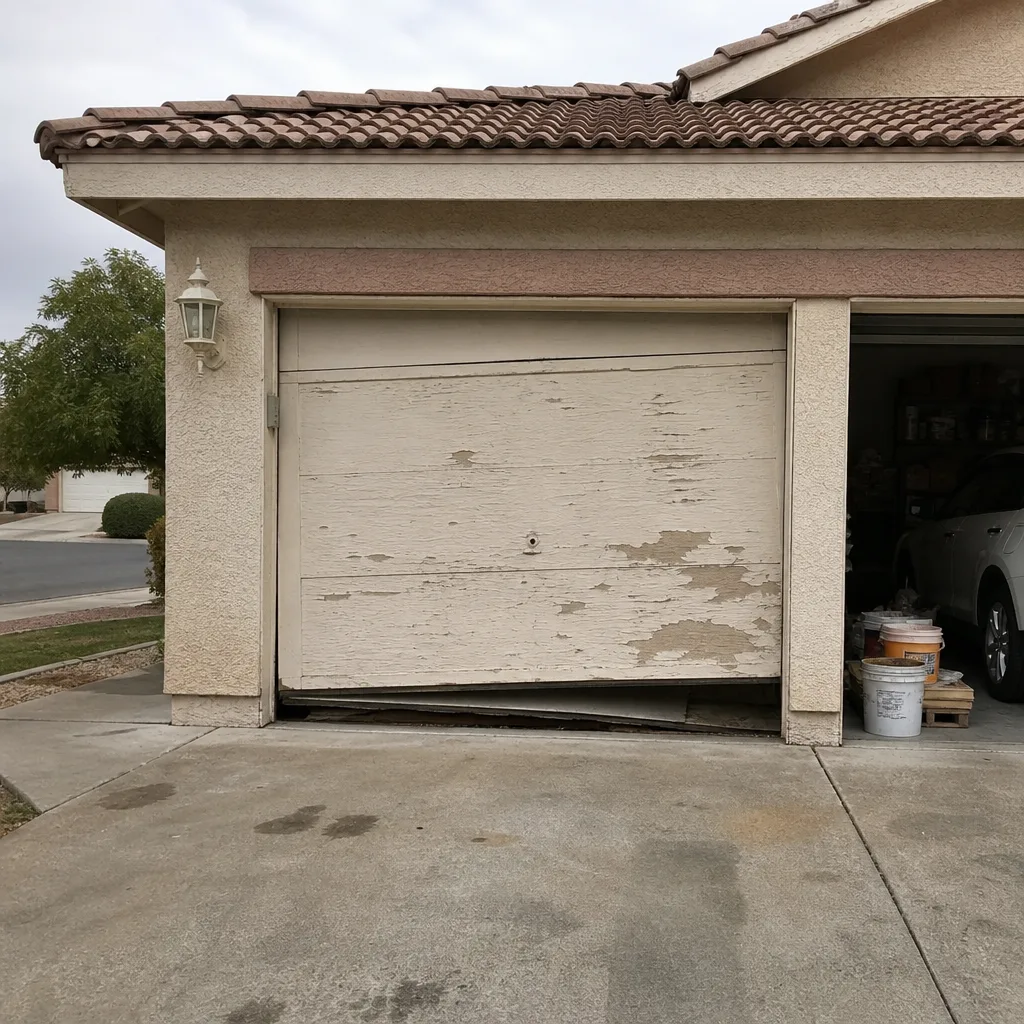 Before
 After