
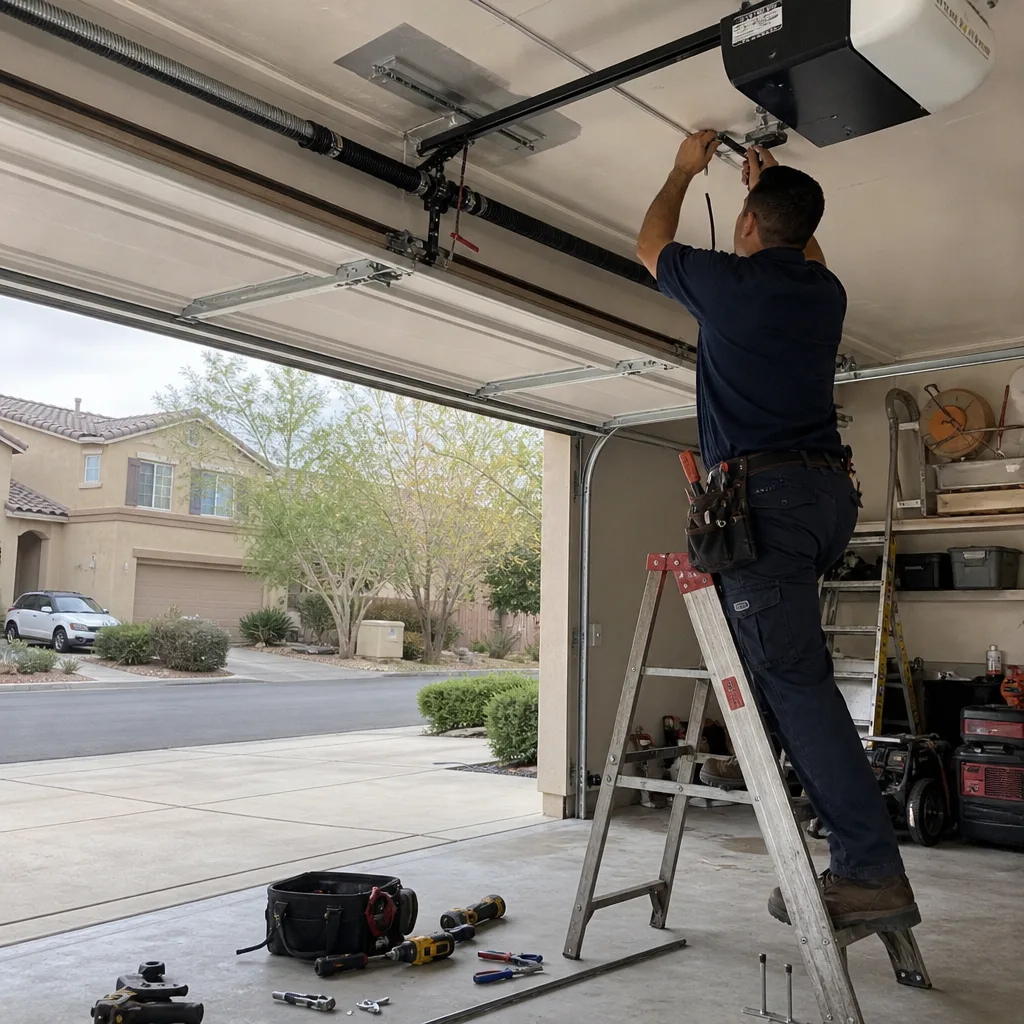
Last updated November 18, 2026
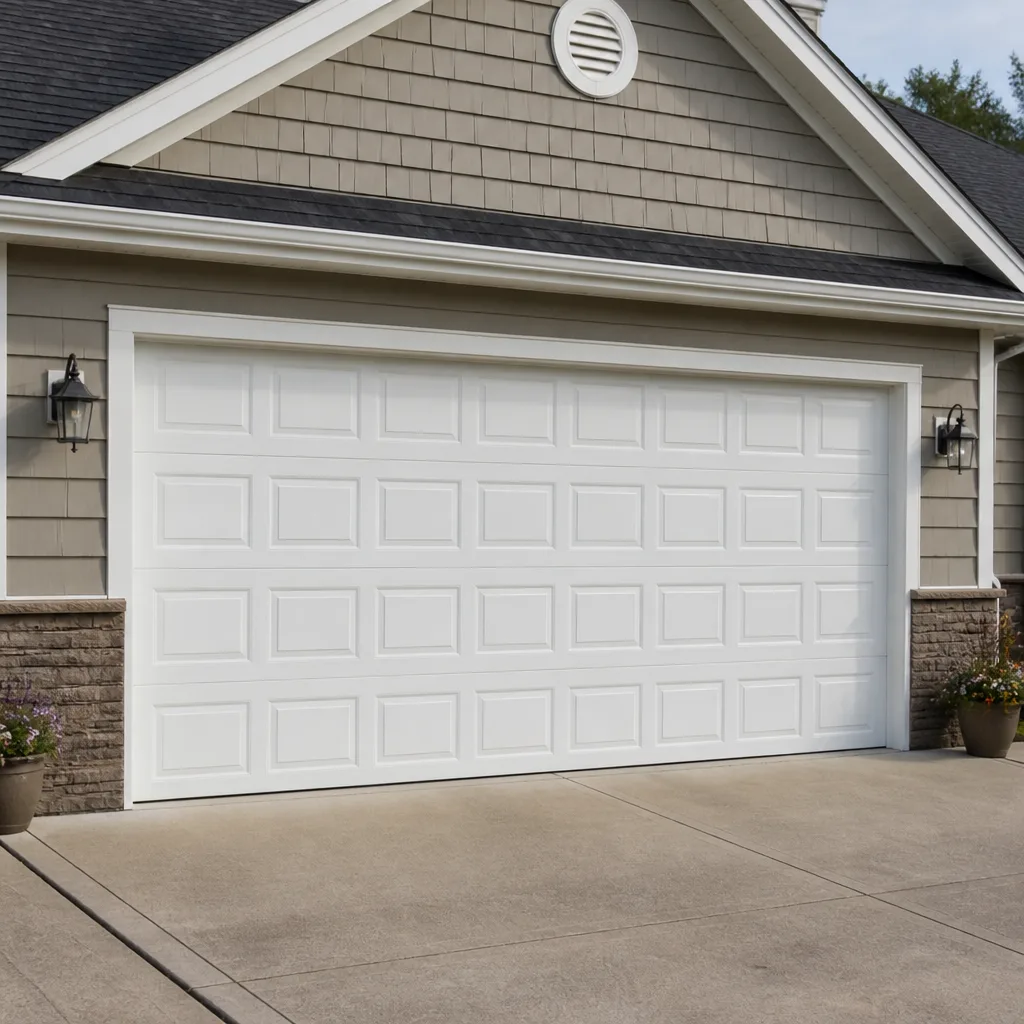 Raised-panel steel
 Carriage house
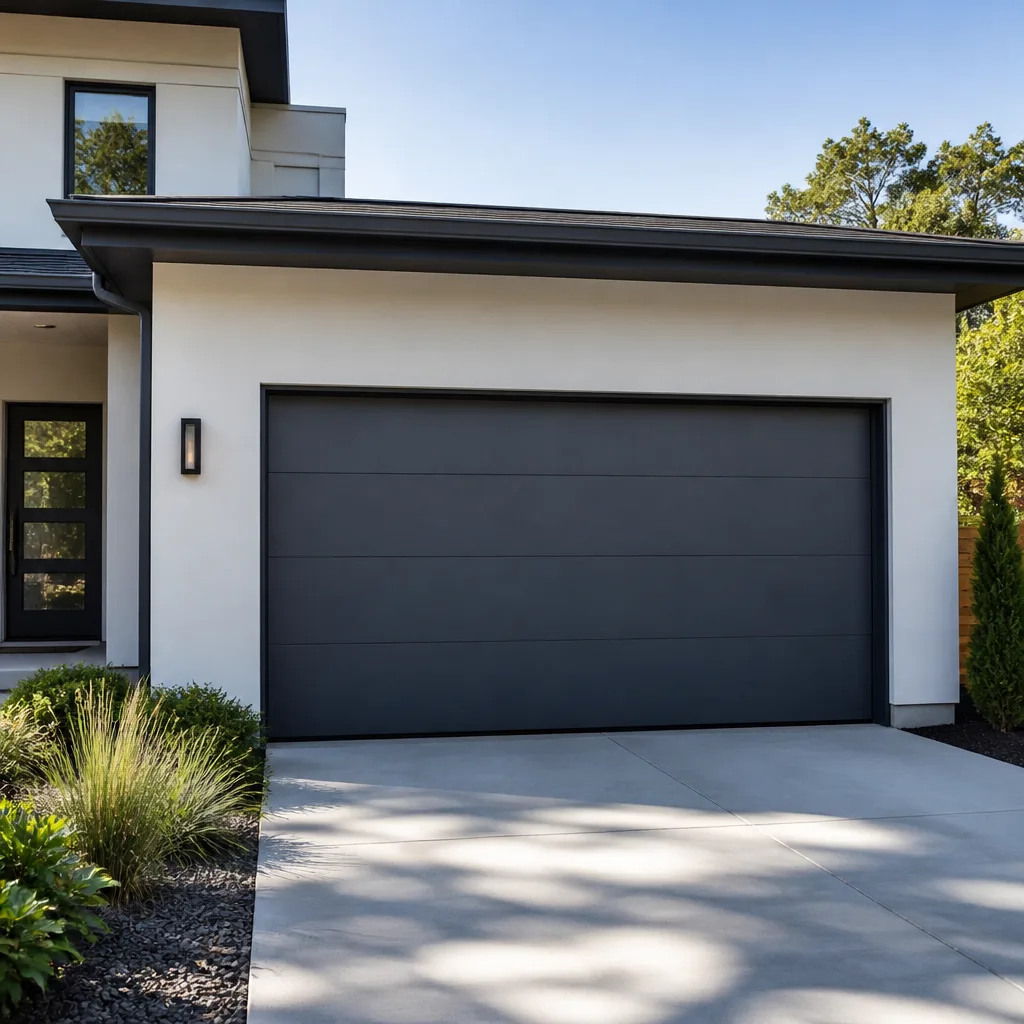 Modern flush
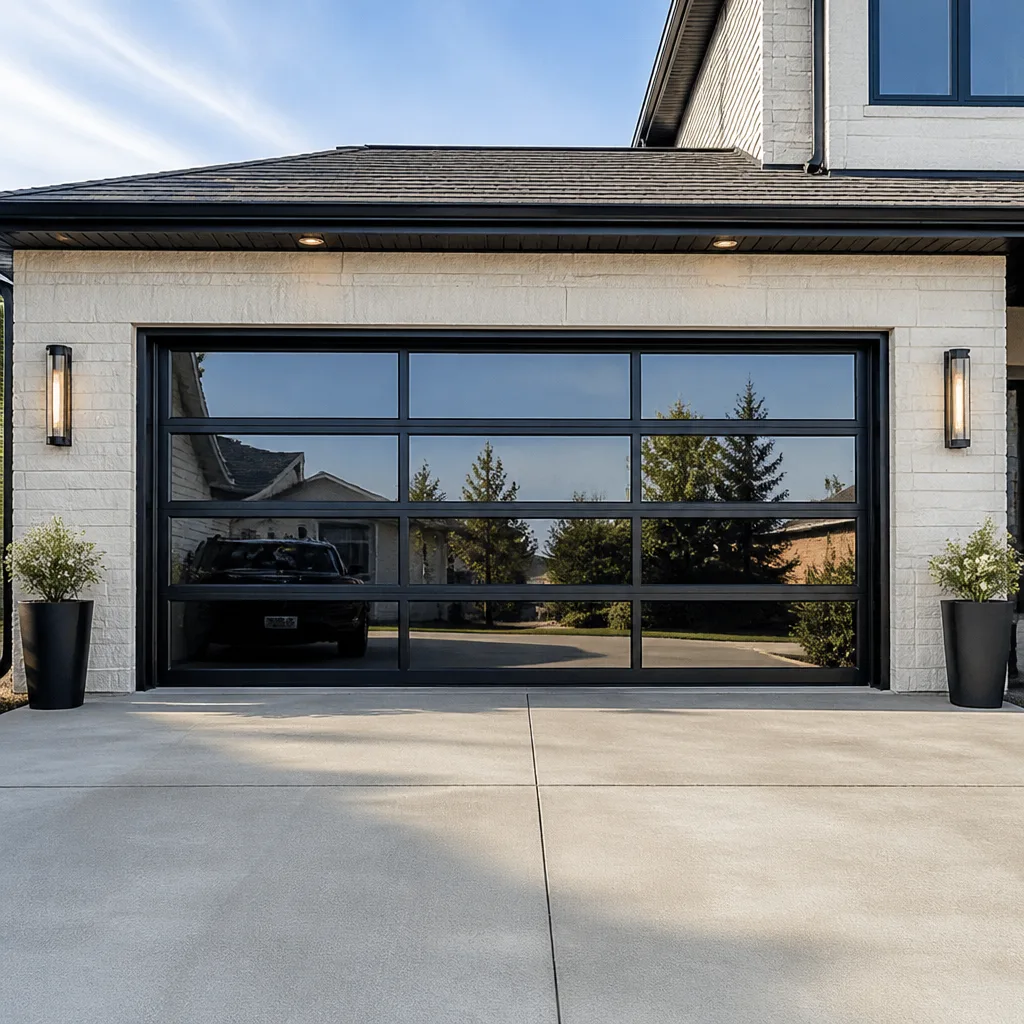 Full-view glass
 LiftMaster openers
 Chamberlain openers
Full 25-point door and opener safety check with every visit - springs, cables, rollers, tracks, and your LiftMaster or Chamberlain opener included
You get a price before we start. It does not change when the pro arrives.
Get your free estimateGarage Door Installation Maintenance Schedule: What to Do and When
New cable drums seat and settle during the first 200 cycles. A door that’s perfectly balanced on install day may develop a quarter-inch of drift by month three. Catching that early costs nothing. Ignoring it costs a cable replacement. That’s the part most maintenance checklists miss: a brand-new door doesn’t run on the same schedule as one that’s been hanging in your garage for fifteen years. It has a break-in period, and what you do in months one through six sets up how it behaves for the next decade. This guide walks through that first-year sequence, the ongoing routine after it, and the Summerlin climate swings that put extra stress on new hardware.
Quick Answer
A newly installed garage door needs a break-in check at 30 days (fasteners, balance, and a visual cable inspection), a second at 90 days (track alignment and roller seating), and a full tune-up at six months once the hardware has settled. After the first year, move to a once-a-year maintenance routine. New doors need lubrication sooner than older ones because factory pre-lubrication fades during the break-in period.
Styles & brands we work with
- Raised-panel steel
- Carriage house
- Modern flush
- Full-view glass
- LiftMaster openers
- Chamberlain openers
Table of Contents
- The Break-In Sequence: 30, 90, and 180 Days
- Fastener Re-Torquing: Why New Hardware Loosens Faster
- First-Year Lubrication vs. the Ongoing Annual Protocol
- Summerlin Seasonal Adjustments for New Doors
- Warranty Registration and the Paperwork That Keeps It Valid
- The Ongoing Annual Maintenance Routine
- Common Mistakes to Avoid
- When to Call a Professional
- Frequently Asked Questions
The Break-In Sequence: 30, 90, and 180 Days
Every new door goes through a settling period. The steel stretches slightly, the torsion spring relaxes into its working range, the rollers wear into the track curve, and the hinges take on the load they weren’t carrying in the factory crate. What you check in the first six months is different from what you check every year after, because you’re confirming the installation held, not just maintaining a door that’s already proven itself.
Here’s the sequence we walk homeowners through when we hand off an install in Summerlin. If you’re tracking your own, put these dates on the calendar the day the door gets hung.
- Day 30: fastener check and balance test. Walk the perimeter of both tracks and re-check the lag bolts into the jamb. Manually lift the door to the halfway point and let go. It should hold. If it drops, the springs are carrying uneven tension and need adjustment. Do not adjust torsion springs yourself – call us.
- Day 90: roller seating and weather seal inspection. New rollers work into the track’s radius and can shift slightly off-center. Check that each roller spins freely and that the bottom weather seal still makes contact with the slab at both corners. Summerlin’s summer heat softens that first seal faster than most.
- Day 180: full tune-up. By now the hardware has settled. This is the point where we re-torque everything, check cable windings at the drum, verify the opener’s force limits, and re-lubricate. Six months is usually when the first true adjustment point arrives.
If your door is a Clopay, Amarr, or Wayne Dalton model, the manufacturer’s recommended break-in schedule is similar. Raynor installations sometimes call for a slightly different first-visit window – it depends on the spring cycle rating on the tag.
Fastener Re-Torquing: Why New Hardware Loosens Faster
Vibration is the enemy of any bolted joint, and a garage door is a vibration machine. Twenty to forty cycles a day, every day, plus the slam of the opener at the end of each open or close. New fasteners don’t have the surface hardening that comes with age, and the stress cycles during the first year are actually the highest because every bolt is still finding its final seat.
This is why a screw that was tight on install day is often a quarter-turn loose by month three. Not because we missed it – because physics. The steel contracts and expands against the bolt thread as the door heats and cools, and the bolt works its way out. In an older door the threads have burnished against each other and the joints have settled. That takes years.
What to check and when:
- Hinge screws at every hinge – top, middle, and bottom. These carry the most load and back out first.
- Track lag bolts on both sides, top and bottom. Loose track bolts cause the door to walk sideways.
- Roller carrier bolts – the ones holding each roller bracket to the door panel.
- Opener mounting bracket at the door header and the rail connection at the powerhead.
- Spring anchor plate bolts – visual check only. Do not put a wrench on a torsion setup unless you know exactly what you’re doing.
Do a five-minute re-torque at the 30-day check and again at 90 days. Snug, not gorilla-tight. Over-torquing strips the light-gauge steel and is worse than leaving it a half-turn loose. If you’re not sure what “snug” means for a given bolt, that’s a job we can do in one visit – we carry replacement fasteners on every truck. For a full walkthrough of what a tune-up covers, see our Garage Door Repair in Summerlin page.
First-Year Lubrication vs. the Ongoing Annual Protocol
The biggest mistake homeowners make with a new door is lubricating everything on it because the old advice says “lubricate everything.” New doors arrive with pre-lubricated components from the factory. Touching those too early does more harm than good.
Here’s how the first year differs from the years that follow.
First-year protocol:
- Month 1: leave the springs alone. Factory torsion springs are shipped greased. Adding lubricant at this stage can attract dust and gum up the winding.
- Month 1: hit the hinges and rollers with a light silicone spray. Not WD-40. Not grease. Silicone only. One short burst per hinge knuckle, one per roller stem.
- Month 3: second pass on hinges and rollers. After the first lube cycle, the surfaces have worked in and can take a second light coat.
- Month 6: add the springs. Once the door has cycled through its break-in window, a light spray on the torsion spring coil is fine and helps reduce squeal.
- Month 12 and onward: annual re-lube. Hinges, rollers, springs, and the opener rail. Same silicone, same light coat.
What arrives pre-lubricated and shouldn’t be touched in the first six months:
- Bearing plates at the ends of the torsion shaft
- Sealed roller bearings (many modern rollers use sealed units – check the label)
- Opener gearbox and drive screw
- Any painted or powder-coated track surface
Avoid grease. Grease traps grit, and grit in a Summerlin garage – where dust blows in from the open desert west of the community – turns into a grinding paste. Silicone stays slick without collecting debris. If your door uses a belt-drive LiftMaster or Chamberlain opener, the belt itself needs no lubrication; if it’s a screw-drive Genie, the screw wants light silicone once a year.
Summerlin Seasonal Adjustments for New Doors
Summerlin doors live in a tougher climate than most installation guides assume. Summer highs push past 110°F, winter mornings in the higher neighborhoods dip near freezing, and the swing between them in a single day can top 40°F. New doors feel that swing more sharply than ones that have already adapted to the climate.
Every metal component in your door expands and contracts. In a fifteen-year-old door the fasteners have burnished against their threads and the panel seams have found their settled gaps. In a new door those tolerances are still changing, which is why the adjustment windows the first year are tighter.
Summerlin-specific checks and when:
- Late spring (May, June): the bottom weather seal. Summerlin’s heat softens the first seal faster than seals on doors that have been through a few seasons. Check for hardening and curling at the corners.
- Summer (July, August): track expansion. Metal tracks expand in direct sun-facing garages. If your door is on a west-facing wall in Summerlin, expect the track to grow a fraction. Listen for scraping in afternoon cycles. A door that runs clean in the morning and scrapes at 3 p.m. is telling you the clearance is too tight.
- Late fall (October, November): re-torque. The first real temperature drop is when new hardware often finds its final seat. Do one more full fastener pass.
- Winter: opener force limits. Cold stiffens the door and puts more load on the opener. A door that ran fine all summer can trip the safety reverse on a February morning.
If your home is in The Ridges, Red Rock Country Club, or anywhere in the higher elevations on Summerlin’s west side, add an inspection of the opener’s travel limits to your winter list. The temperature swing is sharper up there.
Warranty Registration and the Paperwork That Keeps It Valid
Manufacturer warranties on garage doors and openers – Amarr, Clopay, LiftMaster, Chamberlain, and the rest – usually don’t pay claims that come without documented maintenance. The section that voids a claim is typically the one titled “Owner Responsibilities” or “Maintenance Requirements.” Skipping the paperwork side of a new install is how homeowners lose coverage they paid for.
Here’s what to keep and when.
- Within 30 days of install: register the door and the opener separately. These are two warranties, two registration portals, two confirmation emails. Save both.
- File the original invoice and installation date. The warranty clock starts on the install date, not the purchase date – and if you can’t prove the install date, the manufacturer uses the manufacture date, which can cost you months of coverage.
- Keep a maintenance log. Date, task, and a photo of the label plate on your door and opener (model and serial). A one-page log in a plastic sleeve is enough.
- Keep receipts for any service. If a spring fails at year two and the claim gets denied because there’s no proof the door was ever adjusted after installation, that’s a phone call you don’t want to make twice.
- Check the fine print for “authorized installer” requirements. Some warranties (especially on higher-end Clopay and Amarr doors) require that certain work – spring replacement, opener service – be done by a licensed garage door professional. DIY work that voided the warranty is a common surprise.
If your door was installed through us, we keep the record. If it wasn’t, we’re happy to look up the model and help you file. The 90-Day Done Right Promise covers any work we do, and we’re the ones you’d call first if something under warranty ever fails. Our Garage Door Installation in Summerlin page has more on what we document at install.
The Ongoing Annual Maintenance Routine
Once the first year is behind you, the schedule simplifies. Everything that was a distinct 30/90/180-day checkpoint in year one becomes one annual tune-up. A door that got through the break-in sequence cleanly usually sails through years two through fifteen without surprises – provided the annual visit doesn’t get skipped.
Here’s the once-a-year routine:
- Balance test. Disconnect the opener, lift the door to half height, and let go. It should hold within half an inch in either direction. A door that drifts is a spring problem waiting to happen.
- Visual spring and cable check. Look for gaps in the torsion spring coil, fraying at the cable ends, and rust at the winding points. Do not put a wrench on either.
- Roller inspection. Spin each roller by hand. Flat spots, grinding, or wobble all mean replacement.
- Fastener pass. Same routine as the break-in check.
- Lubrication. Hinges, rollers, springs, opener rail. Silicone, not grease.
- Safety reverse test. Place a 2×4 flat on the ground under the door. The door should reverse on contact. If it doesn’t, the opener’s force or travel limits need adjusting, and that’s the adjustment that matters most for a home with kids or grandkids.
- Weather seal and bottom seal. Confirm the seal touches the slab at both corners.
That’s roughly an hour. If you’d rather not climb a ladder or loosen a bolt, our $89 Seasonal Tune-Up covers all of it and we leave a written record you can file for warranty purposes. For a summer tune-up window in Summerlin, booking in April or May avoids the worst of the heat. Our Garage Door Opener in Summerlin page covers the opener-specific adjustments in more detail.
Common Mistakes to Avoid
- Skipping the 30-day check because the installer said “it’s all set.” Install day is the starting line, not the finish. New hardware always needs the 30-day re-torque.
- Lubricating the springs on install day. Factory pre-lube is already there. Adding more attracts grit, and Summerlin grit contains desert dust that ruins the winding surface.
- Using WD-40 or grease on the hinges. WD-40 is a solvent, not a lubricant, and grease collects dust. Both make the door noisier, not quieter.
- Tightening every bolt as hard as it will go. Over-torquing strips the light-gauge steel. Snug is the target – a quarter-turn past finger-tight is usually more than enough.
- Losing the warranty registration email. Model, serial, and install date live in that email. Without it, a warranty claim on a failed spring at year three gets denied.
- Ignoring a slight track scrape in the afternoon heat. In a Summerlin garage facing west, the track expands in the afternoon. If the door only scrapes after 2 p.m., the clearance is marginal and needs adjusting now.
- Adjusting the torsion spring to “make the door easier to open.” This is the fastest way to break a wrist or lose a finger. Torsion springs hold hundreds of pounds of stored force. This is not a homeowner task.
When to Call a Professional
Call a pro for anything involving the torsion spring, the cables, or the spring anchor plate. Those three components carry the door’s entire weight and store enough energy to cause serious injury in a fraction of a second. No break-in checklist makes them a homeowner job. Call us for the 30, 90, and 180-day checks too, if you’re not comfortable on a ladder or working near moving hardware – our technicians have up to 10 years of experience, arrive with springs, cables, and opener parts already on the truck, and finish most visits in one trip with a flat price stated before any work begins.
Also call if you notice the door drifting off balance at any checkpoint, if the door reverses without an obstruction, or if you hear a snapping sound from the spring area. We answer the phone 24/7 with a live person, and our 90-Day Done Right Promise backs every job in writing. Mainspring Garage Door Co. Summerlin offers free estimates in Summerlin – call (855) 608-8802 and we’ll talk through what your door actually needs, or start with the overview on our Mainspring Garage Door Co. Summerlin home page.
Frequently Asked Questions
A seasonal tune-up in Summerlin typically runs about $89 for our standing offer, and a post-install break-in check is usually included with the install if the door came through us. A standalone break-in check or adjustment visit generally falls in the $89 to $150 range depending on what needs re-torqueing or adjustment. The price is quoted and agreed before any work starts, so the number on the invoice matches the number you were told. Call (855) 608-8802 for an exact quote – estimates are free.
Yes, and more than an older door does. New doors need a 30-day fastener and balance check, a 90-day roller and seal inspection, and a full tune-up at six months. The hardware settles and the fasteners loosen faster in the first year than in any year after.
Often, yes. When we have room on the day’s route we can usually fit a break-in adjustment or tune-up the same day, especially if the door is stuck, scraping, or won’t close. Call (855) 608-8802 and we’ll tell you honestly whether we can get there today or need to schedule. Estimates are free.
No. We quote the flat price before any work begins, and that’s the number on the bill. If we find a cable or spring that needs replacement mid-job, we stop and tell you the new price before touching it – you approve or we walk away, no argument. Call (855) 608-8802 for an exact quote.
It depends on the brand and the model tier. Most residential doors run a 1- to 5-year warranty on hardware and 10 to 20 years on the door section itself, while openers like LiftMaster and Chamberlain usually sit at 5 to 10 years on parts. The warranty runs from the install date, not the purchase date, which is why keeping the install invoice and registration email matters. Call (855) 608-8802 if you’re not sure which brand your door is – we’re factory-familiar with Amarr, Wayne Dalton, Craftsman, and Raynor, among others.
You can absolutely be there, and we recommend it. Every technician is background-checked and uniformed, arrives with the truck stocked for most jobs, and quotes the flat price in person before any work begins. In Summerlin, homeowners on the older side often want to be there or have a neighbor or family member on the property – that’s fine, and we don’t start until we’ve walked the door with you. Call (855) 608-8802 to schedule.
The Bottom Line
A new garage door is not a finished install on the day it’s hung – it’s the start of a break-in period that lasts about six months. The 30, 90, and 180-day checkpoints catch the settling issues (loose fasteners, roller drift, seal contact) that turn into expensive cable and spring replacements if ignored. Use silicone, not grease. Re-torque on schedule. File the warranty paperwork the day the door goes in. In Summerlin, pay extra attention to the track clearance through the summer heat and the bottom seal through the spring. After year one, one annual tune-up keeps the door honest for a decade.
Call (855) 608-8802 for a free estimate on any maintenance visit, or to book your $89 Seasonal Tune-Up. The phone is answered by a live person 24/7, the flat price is stated before any work starts, and the 90-Day Done Right Promise stands behind every job in writing.
Written by the team at Mainspring Garage Door Co. Summerlin.
See the difference
 Before
 After
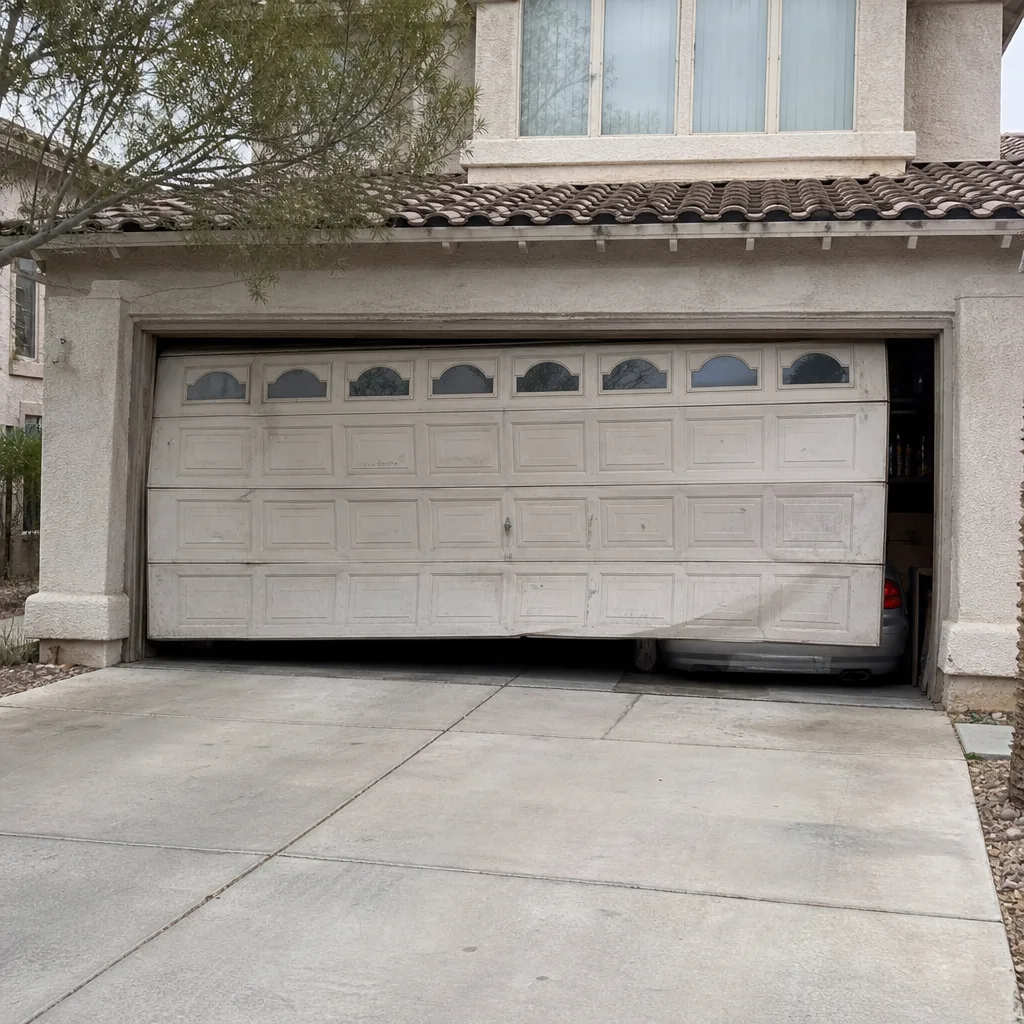 Before
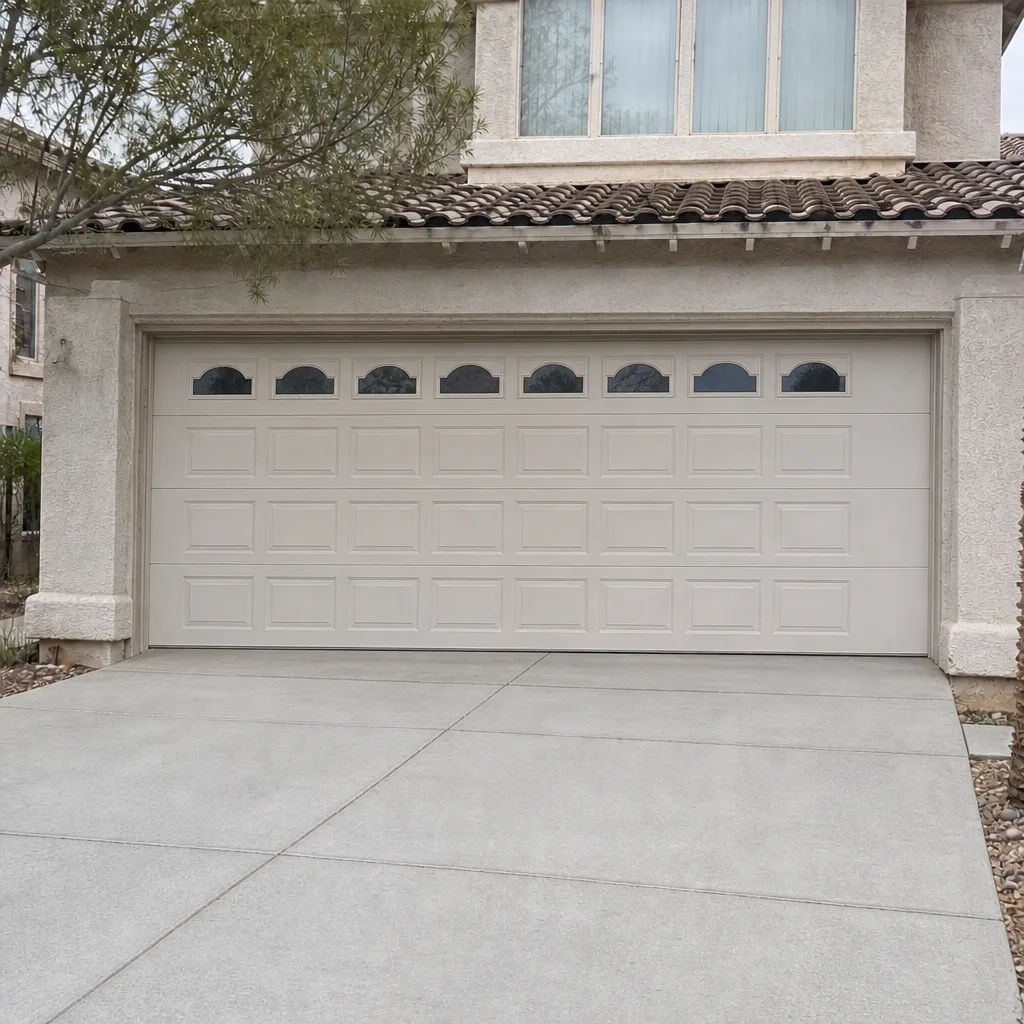 After
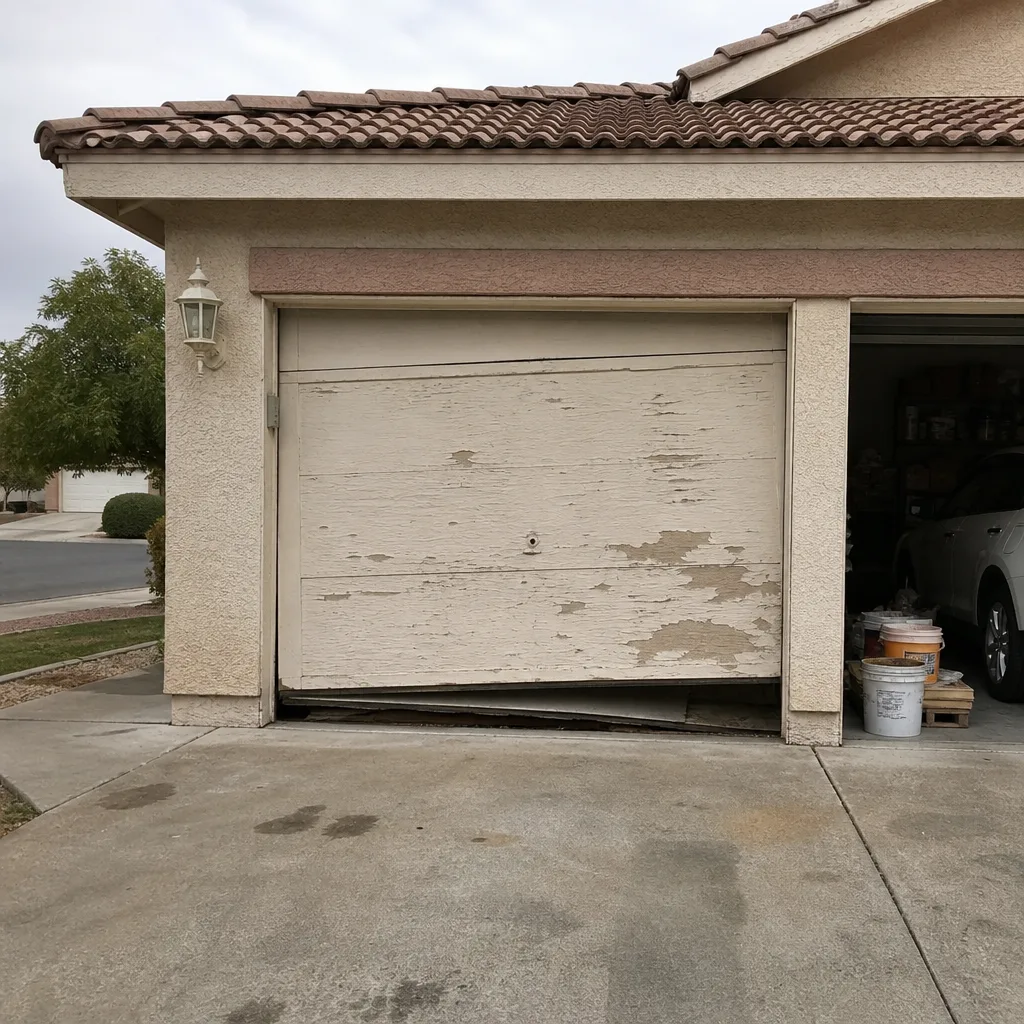 Before
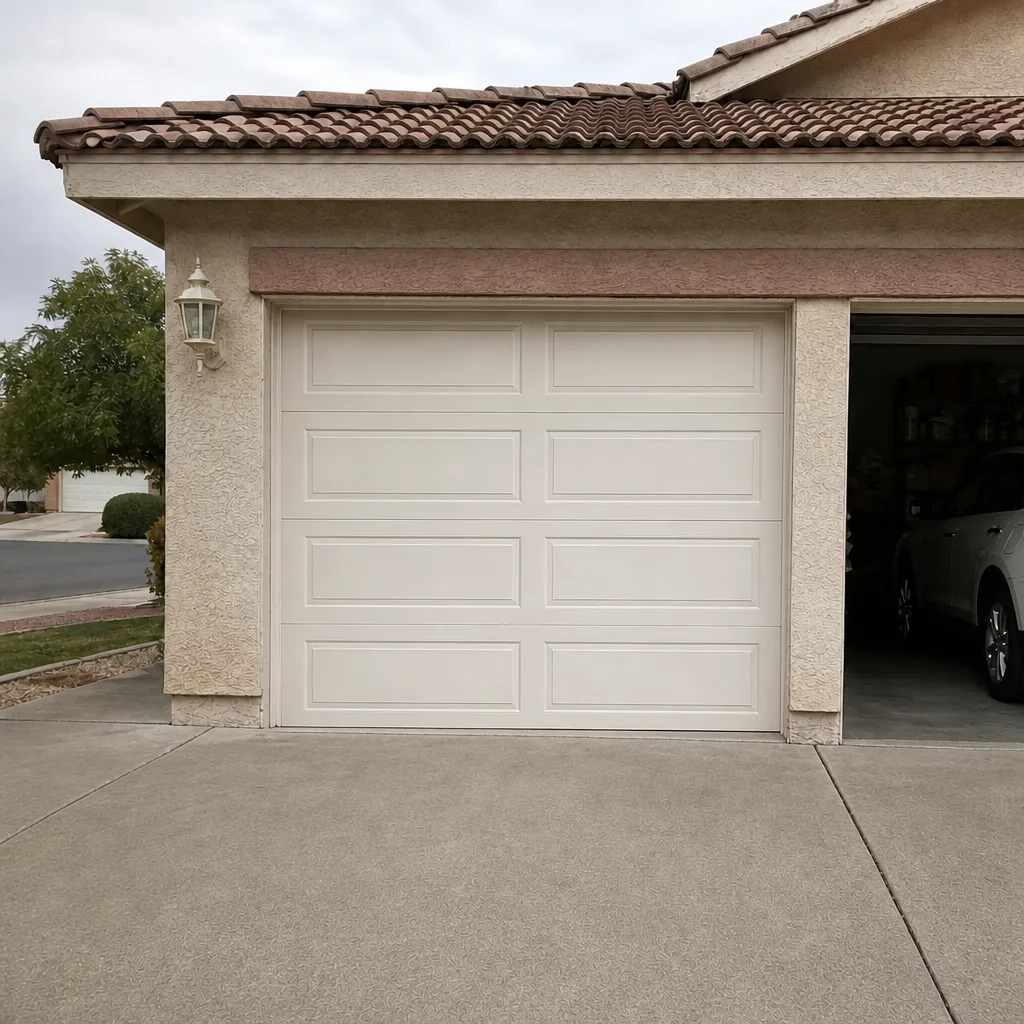 After