
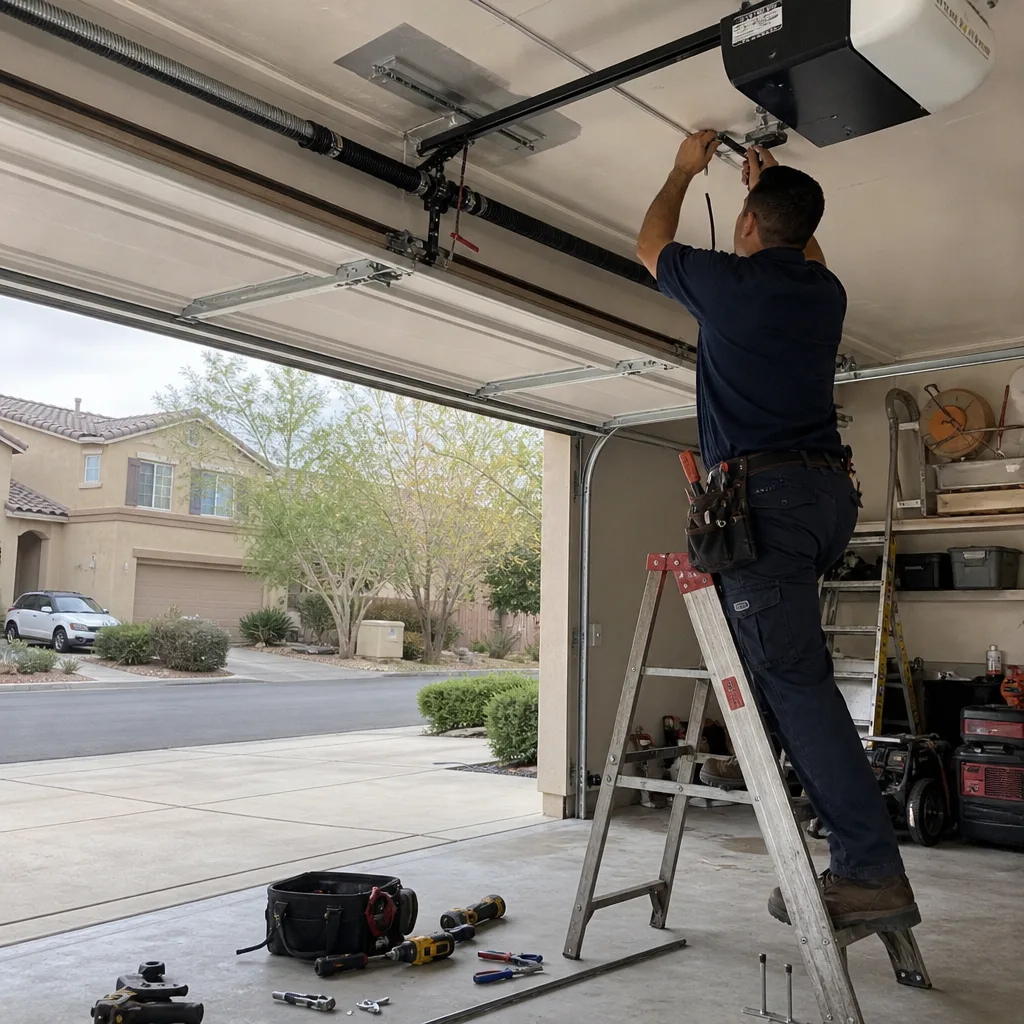
Last updated November 18, 2026
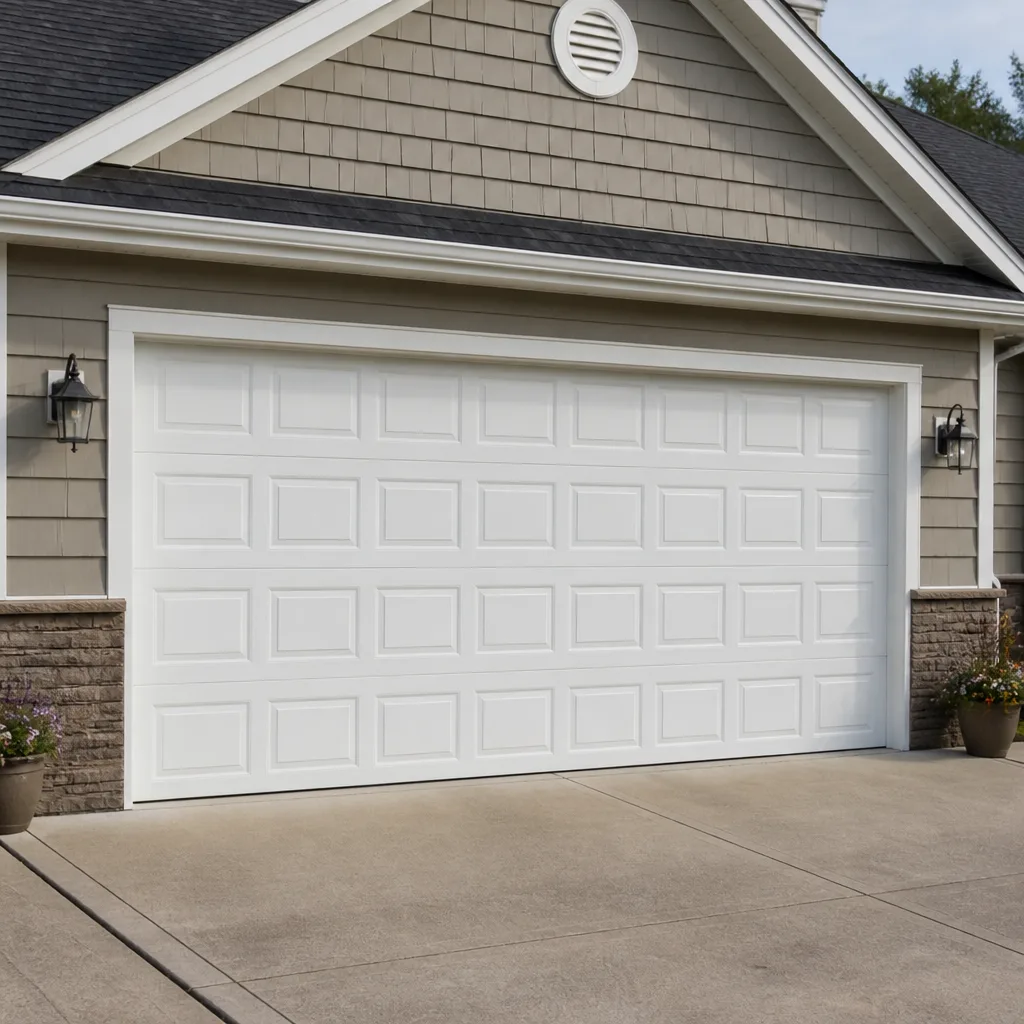 Raised-panel steel
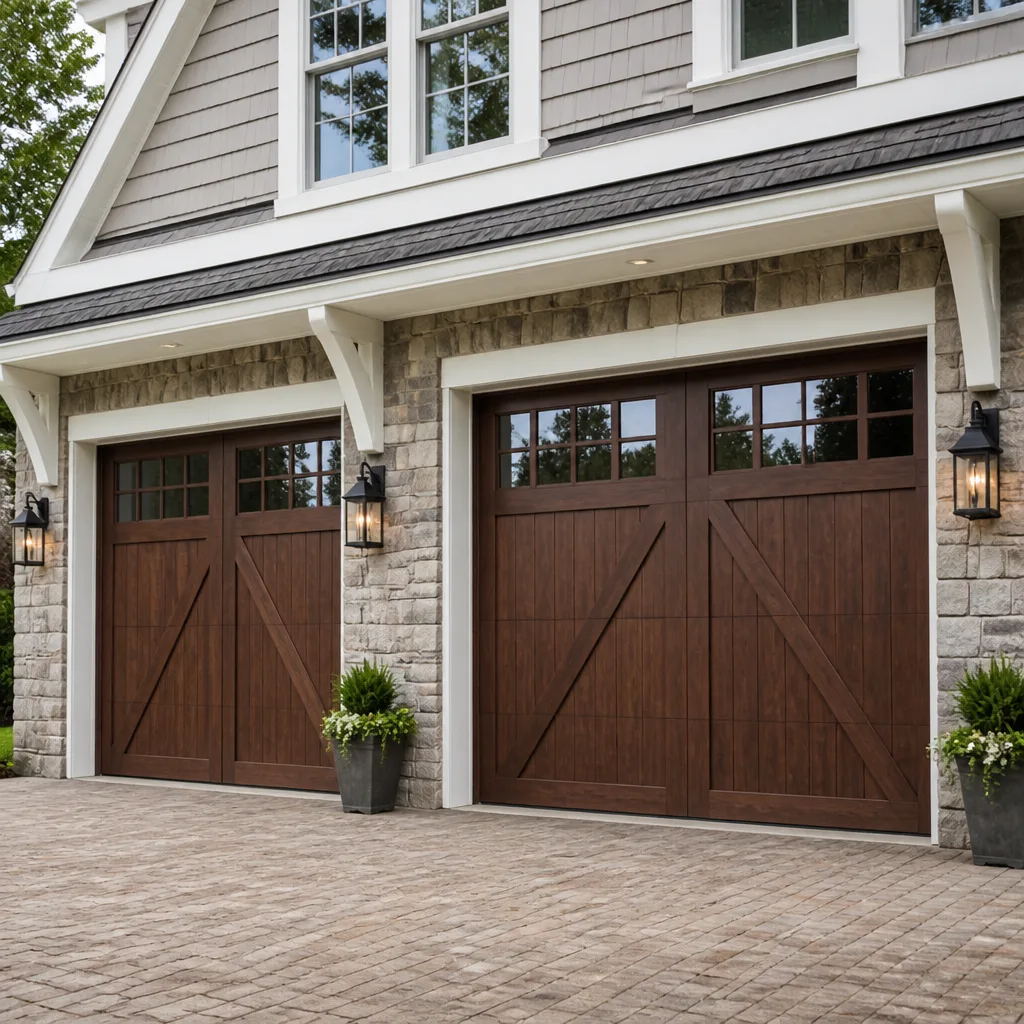 Carriage house
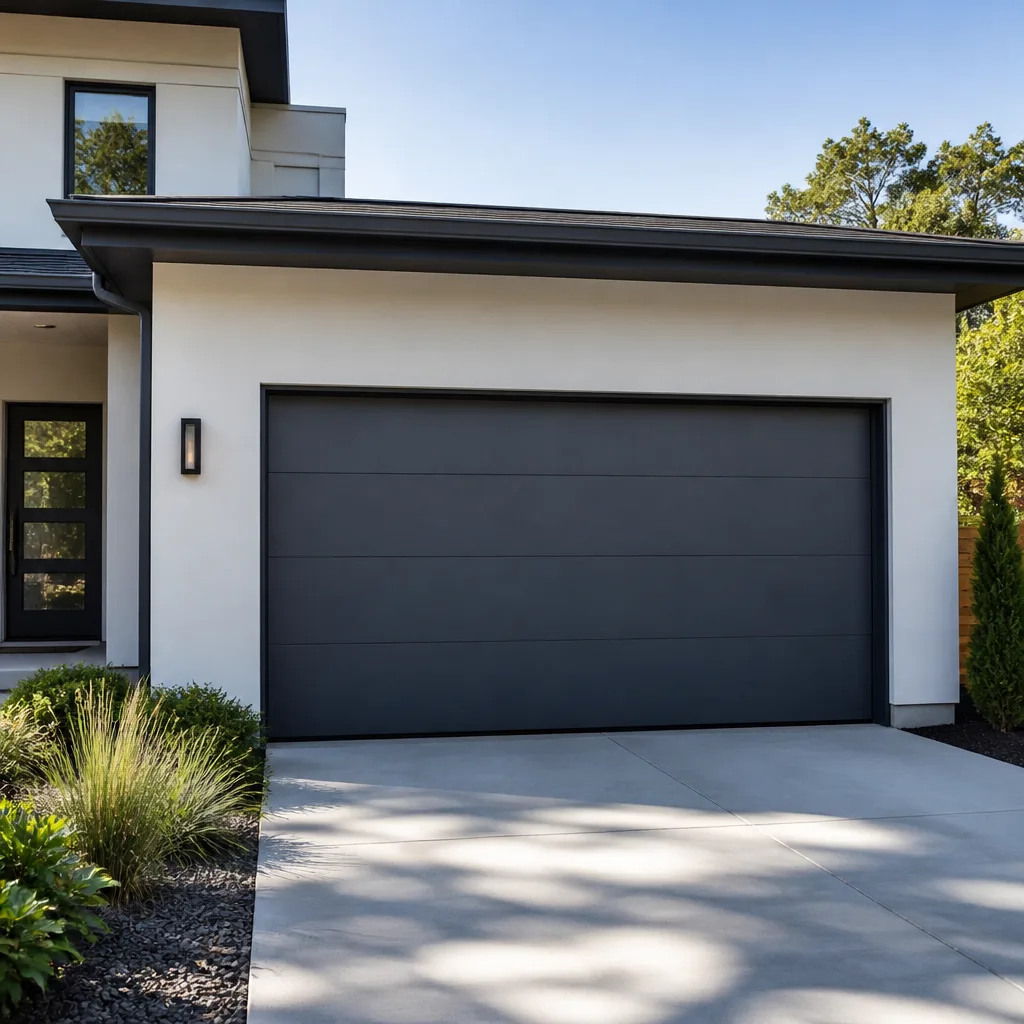 Modern flush
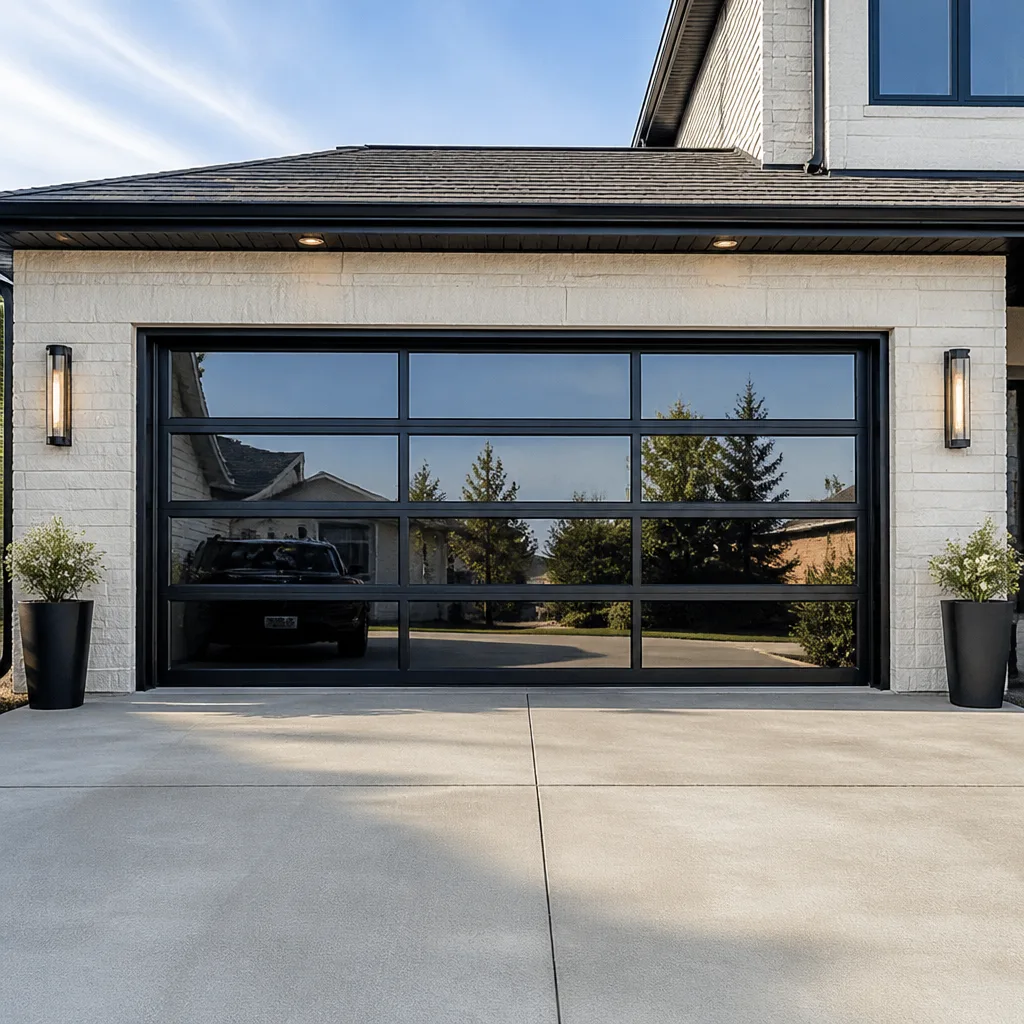 Full-view glass
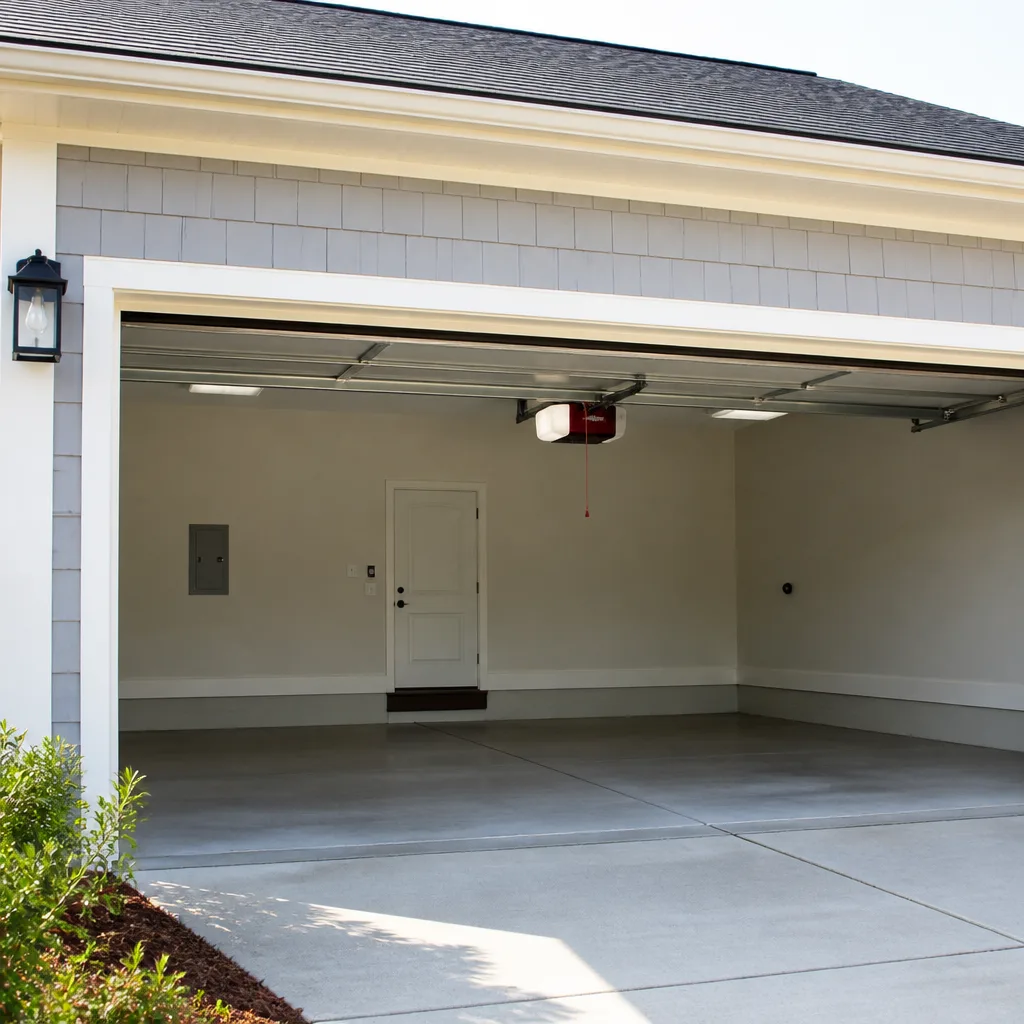 LiftMaster openers
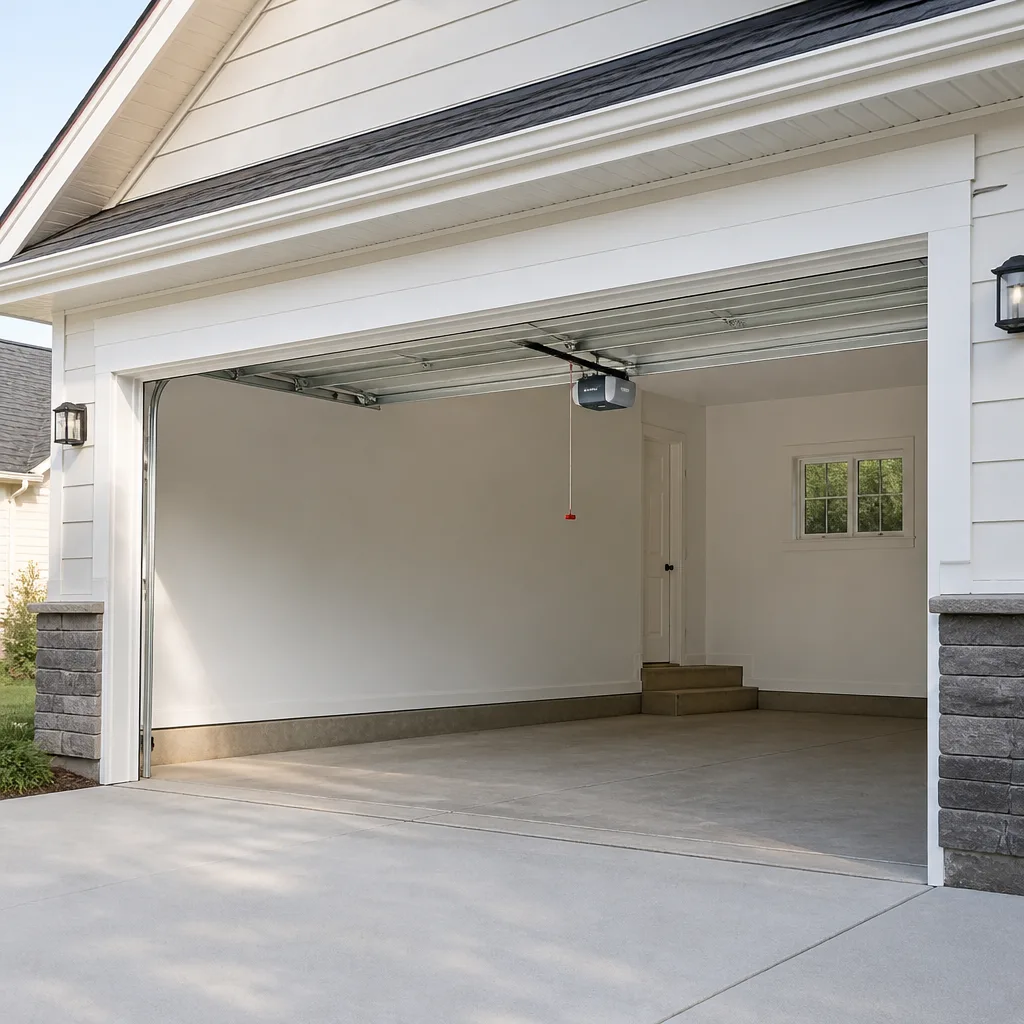 Chamberlain openers
Full 25-point door and opener safety check with every visit - springs, cables, rollers, tracks, and your LiftMaster or Chamberlain opener included
You get a price before we start. It does not change when the pro arrives.
Get your free estimateGarage Door Opener Troubleshooting: Common Problems and How to Fix Them
Most homeowners replace the wall button when the problem is a $4 battery in the remote. The fix wasn’t expensive. The misdiagnosis was. In our experience across Summerlin, about nine out of ten opener failures trace back to five components, and three of those five have a fix that takes under ten minutes and costs nothing. This guide walks you through a strict diagnosis sequence, from the fastest free checks to the ones that need a trained technician. By the end, you’ll know which problem you have, what it should cost, and when to stop and pick up the phone instead of the toolbox.
Quick Answer
Most garage door opener problems come from one of five things: a dead battery, an unplugged or tripped power source, misaligned safety sensors, a stripped drive gear, or a failing logic board. Check power, then the remote, then the wall button, then the sensors, then the diagnostic codes. Three of those fixes cost nothing and take under ten minutes. The other two need a technician.
Styles & brands we work with
- Raised-panel steel
- Carriage house
- Modern flush
- Full-view glass
- LiftMaster openers
- Chamberlain openers
Table of Contents
- Start Here: The Five Components That Cause Ninety Percent of Failures
- The Diagnosis Decision Tree: Power to Logic Board
- How to Read the Blinking Diagnostic Codes on Your Logic Board
- Safety Sensor Alignment: What the LED Colors Actually Mean
- The Manual Release Cord Test: Opener Problem or Door Problem?
- Three Fixes Under Ten Minutes That Cost Nothing
- What Not to Attempt at Home
- Why Summerlin Heat and Wind Affect Your Opener
Start Here: The Five Components That Cause Ninety Percent of Failures
Before you tighten a single screw, know what you’re dealing with. An opener is a simple chain of command: power feeds the unit, the remote and wall button send the command, the sensors give permission, and the logic board decides. When the door won’t move, one link in that chain has failed. Almost always, it’s one of these five.
- The remote battery. A coin cell dies quietly, usually after two to three years. This is the single most common false alarm we see.
- The power source. The outlet behind the opener is often on the same circuit as a garage light or a GFCI that has tripped. In Summerlin, summer heat loads are notorious for kicking GFCIs.
- The safety sensors. The two small lenses at the bottom of the tracks can drift out of alignment from a brush with a trash can, or fog from dust.
- The drive gear. On chain and screw drives, the plastic gear inside the unit will eventually strip after years of use.
- The logic board. The control board that runs everything. Less common, but when it fails, no amount of button-pressing helps.
Work the list in order. The cheap, fast checks come first because the expensive ones can’t be ruled out until they do. That’s the whole principle of good diagnosis, and it’s how our technicians approach every Summerlin service call. If you’d like a trained set of eyes on the whole system, our Garage Door Repair in Summerlin page lays out what a visit covers.
The Diagnosis Decision Tree: Power to Logic Board
Don’t skip ahead. The readers who replace a logic board when the problem was a tripped breaker are the reason we wrote this section. Follow the tree in order and stop at the first failure.
- Power. Is the opener plugged in? Is the outlet live? Check the breaker panel and any GFCI outlet on the same circuit. Press the reset button on the GFCI if it’s popped.
- Remote. Try the wall button first. If the wall button works but the remote doesn’t, you’ve found the problem. Replace the battery, then re-pair the remote.
- Wall button. If neither remote nor wall button works, the problem is upstream. Move to the sensors.
- Safety sensors. Are both sensor LEDs lit? If one is dark or blinking, realign the lenses (see our sensor section below).
- Logic board. If power is good, buttons respond, sensors are clear, and the door still won’t move, the unit is reporting a fault. Read the diagnostic codes before you touch anything else.
In Summerlin, this sequence solves the vast majority of calls. The heat here stresses voltage and the dry season kicks up dust that settles on sensor lenses, so power faults and sensor misalignment top the list more often than failed boards. If you’ve reached step five and the codes aren’t telling you anything, a service visit answers it fast. We service all major brands, including LiftMaster, Chamberlain, Genie, Craftman, and Raynor, and most visits finish the same day because the right parts ride along.
How to Read the Blinking Diagnostic Codes on Your Logic Board
Almost no one knows this feature exists. Most openers made after 2005 have an LED on the back or side of the motor housing that blinks in a pattern when something is wrong. The number of blinks in each burst is the error code. This is the single fastest way to find out why your opener is refusing to run.
The exact patterns vary by brand, so check the label on the housing or the manual that came with the unit. That said, the general pattern translates across most common systems:
- 1 blink: A wiring or connection fault. Often the sensor wire.
- 2 blinks: The safety sensors are blocked or misaligned.
- 3 blinks: The travel limits need adjustment, or the door is hitting an obstruction.
- 4 blinks: The motor overheat or force setting has tripped. Give it five minutes to cool and try again.
- 5 blinks: A logic board fault. The unit is telling you there’s an internal problem.
Count the blinks, then look them up in the manual. When the manual is long gone, brand-specific sheets are easy to find online for LiftMaster, Genie, Chamberlain, and Chamberlain’s sister brand Craftsman.
Here’s the point: reading the code first saves the guesswork. In our experience, a Summerlin homeowner who sees “5 blinks” and concludes “bad board” is right about half the time. The other half are sensor-related faults confusing the board. Read the code, then confirm it. If the code points to a board fault, call us. A Garage Door Opener in Summerlin service call gets to the bottom of it without parts-guessing on your dime.
Safety Sensor Alignment: What the LED Colors Actually Mean
The safety sensors at the bottom of your tracks are the most misunderstood parts of the whole system. Two small lenses, roughly six inches up from the floor, one on each side. They beam an invisible light across the opening. If anything breaks the beam, the door won’t close. If the lenses drift out of line, the same thing happens, and the opener reads it as an obstruction.
Read the LEDs first. Each sensor has a small light that tells you its status:
- Steady green on both sides: Aligned and happy. Nothing wrong here; move to the next step.
- One green, one amber: The “sending” side is working; the receiving side is aligned but the signal isn’t getting through. Clean the lenses with a dry cloth.
- One steady, one blinking: The lenses are out of line. The blinking one is the receiving sensor and it’s not seeing the beam.
- Both dark: Power isn’t reaching the sensors. Check the small wire that runs down the track from the opener.
To realign, lay a level across the face of each sensor and confirm it’s square. Loosen the bracket screws a turn or two, nudge the sensor until its LED returns to steady, then snug them back down. Don’t overtighten – plastic brackets crack. An eight-inch level and a screwdriver handle it. The sensor beam is also easily blocked by a leaf pile, a storage box, or a lawn chair leaning against the door, and in Summerlin, dust kicked up by wind collects on the lenses faster than you’d expect.
The Manual Release Cord Test: Opener Problem or Door Problem?
This test separates the two halves of the system: the door itself and the opener. If the door is the problem, no opener on the market will fix it. Here’s how to check.
- Close the door fully.
- Pull the red release cord hanging from the opener’s trolley. This disconnects the opener from the door.
- Lift the door by hand. It should rise smoothly, balance at the halfway point, and lower with light resistance.
- If the door is heavy, hard to lift, or drops fast, the door’s springs, cables, or rollers are the fault line – not the opener.
Here’s the important part: if the door fights you by hand, don’t re-engage the opener and force it. The opener is a $400 machine doing its best against a door whose springs have lost tension. All you’ll do is wear out the motor’s drive gear. Spring tension is dangerous; that’s a technician’s job, not a homeowner’s. If your door moves smooth as silk but the opener still won’t run, the opener is your problem. If you’d like to know which way the wind is blowing before you buy, a free second opinion on any written estimate is a simple call away.
Three Fixes Under Ten Minutes That Cost Nothing
These three cover the majority of the calls we solve remotely, and every one of them is free. Try them before you buy anything.
- Replace the remote battery. Two to three years is typical life. A dead remote sends no signal, no matter how hard you press. Change the battery and test. If the remote still doesn’t work, re-pair it to the opener using the “learn” button on the motor housing. The process takes under two minutes and the instructions are on the label.
- Check the wall button. A stuck wall button keeps the opener in constant “control” mode and can make it refuse to respond. Unplug the opener for sixty seconds, plug it back in, and try again. If the wall button has been bumped into a locked or on position, that single switch can keep the whole door down.
- Clear the sensor path and clean the lenses. A dry cloth on the lenses and a quick pass with a broom to clear leaves and dust from the opening solves more “won’t close” calls than any single repair. In a dry Summerlin summer, dust settles fast and confuses the sensors.
Three fixes, no tools, no bills. If none of them solve your problem, you’ve narrowed the list to a real repair, and that’s a good place to be. Next up: the actual repair.
What Not to Attempt at Home
We’ll draw a hard line here, because the stakes are real. Three things on your opener are not homeowner territory.
- Logic board replacement. Even trained technicians need to verify the board is actually the fault before swapping it. A new board won’t fix a bad sensor. The board is also the most expensive part in the unit, so guessing here costs the most. If the code reader points to a board fault, let a professional confirm it.
- Motor brush replacement. The brushes inside the motor are tiny, spring-loaded, and close to live current. Getting one wrong can burn out the motor or damage the board. Out of scope.
- Anything involving spring adjustment. This is the big one. The springs above your door carry the full weight of the door. They are under enormous tension. Touching them without proper training and tools is genuinely dangerous. We treat this as a hard safety line.
There’s a fourth, smaller caution: the light bulb and the battery-backup compartment on most units are hot to the touch after a run. Give the machine five minutes before you reach into it. If you’re unsure, call us. Our technicians have up to 10 years of experience, and a wrong assumption here is expensive at best.
Why Summerlin Heat and Wind Affect Your Opener
Our climate shapes these failures more than most homeowners realize. Summerlin’s summer heat loads the electrical system hard. The same afternoon sun that turns a garage into an oven pushes the GFCI on the outlet to trip, which cuts the opener cold with no warning. That’s why step one on any Summerlin call is checking the outlet.
The dry season brings dust and wind. Fine grit kicks up in the afternoon and settles on the sensor lenses faster than you’d think, and if the sensor is anywhere near a door that faces an open lot or a wash, it collects quickly. The same grit finds its way into the track and the opener’s gearbox. In our experience, a sensor alignment that was fine in the spring will shift by August. A seasonal tune-up that includes a lens clean and rail adjustment goes a long way here.
Finally, Summerlin’s dry air and temperature swings flex the door and frame more than a coastal climate would. A frame that swells or shifts by a hair can put a drag on the tracks that the opener reads as an obstruction. When that happens, the door is the problem, not the opener. An Garage Door Installation in Summerlin inspection will tell you whether your issue is track wear, roller wear, or just the opener. When your opener is due for replacement rather than repair, our Garage Door Opener in Summerlin page covers the choices and what the all-in price runs.
Common Mistakes to Avoid
- Replacing the wall button first. We’ve seen this a hundred times. The wall button is almost never the culprit; a remote battery or a tripped GFCI is. Test the cheap part first.
- Buying a new opener before confirming the sensor. A dead sensor can mimic a dead opener. Read the LED colors before you spend a thousand dollars on something the sensors can fix.
- Forcing a manual door into the opener. If the door is heavy by hand, the springs are tired. Pushing it closed repeatedly wears out the drive gear. Stop and call.
- Ignoring the diagnostics LED. Most openers made after 2005 report the fault code right there on the housing. Reading it saves a service call.
- Adjusting the springs. The most serious mistake we see. Spring tension is dangerous. This is a hard no.
- Assuming Summerlin heat won’t trip the outlet. It will. When a door goes dead in August, check the GFCI before you check the opener.
- Skipping the manual release cord test. Two minutes with the door disconnected tells you whether you’re fixing the opener or the door. It’s the simplest test in the whole guide.
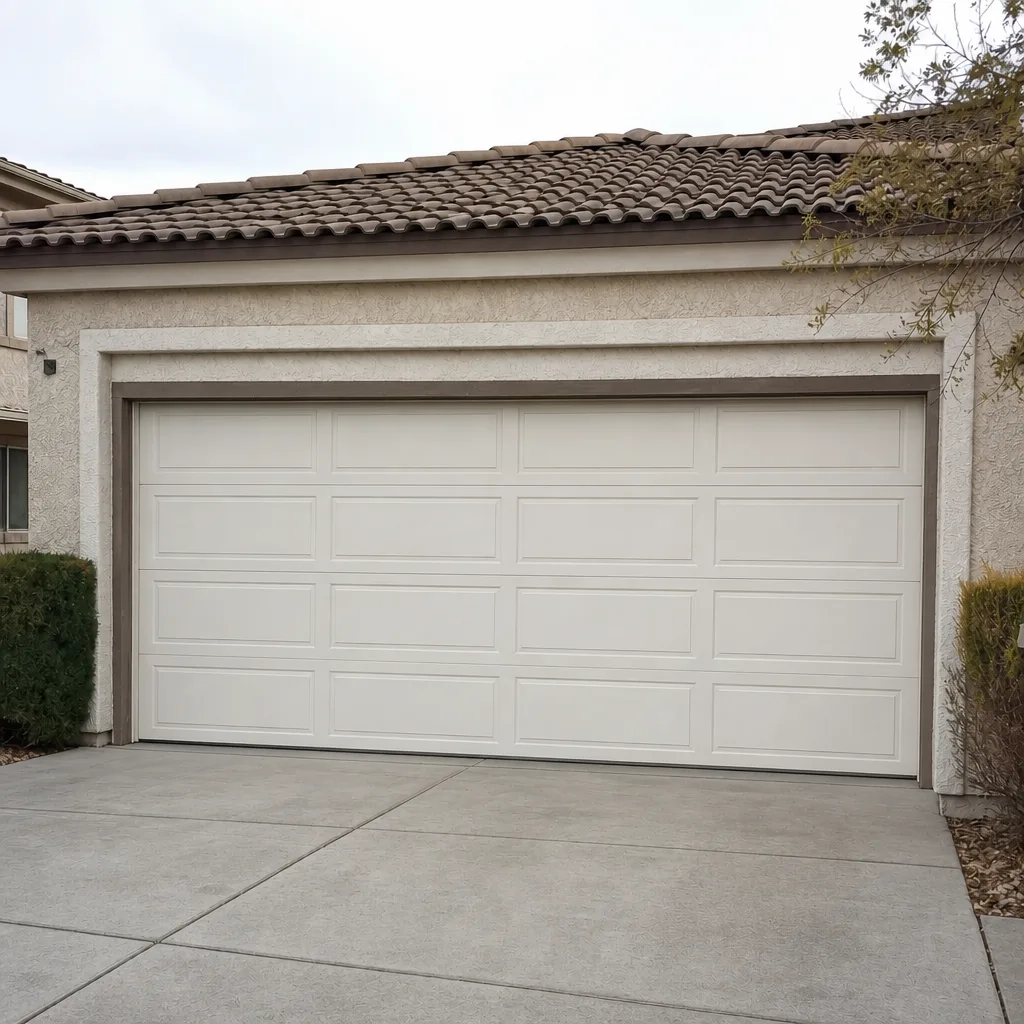
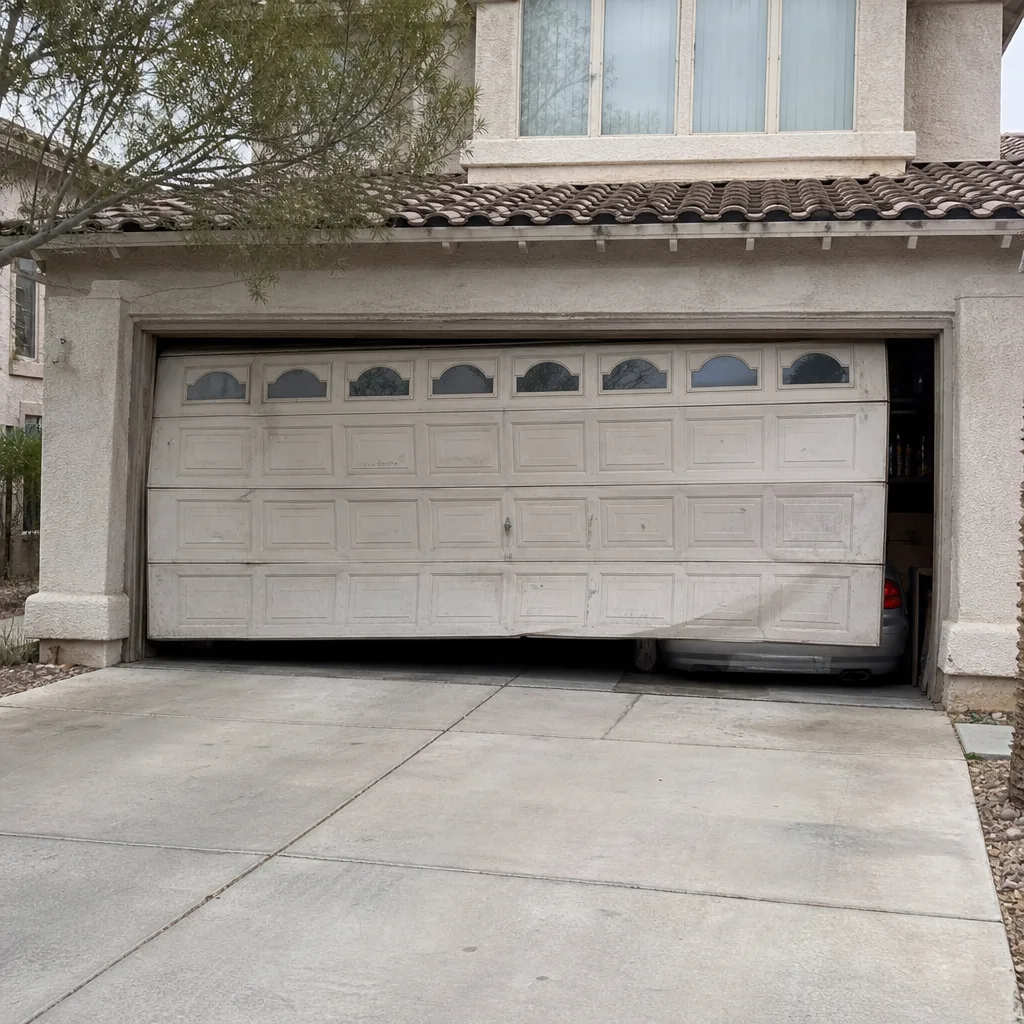
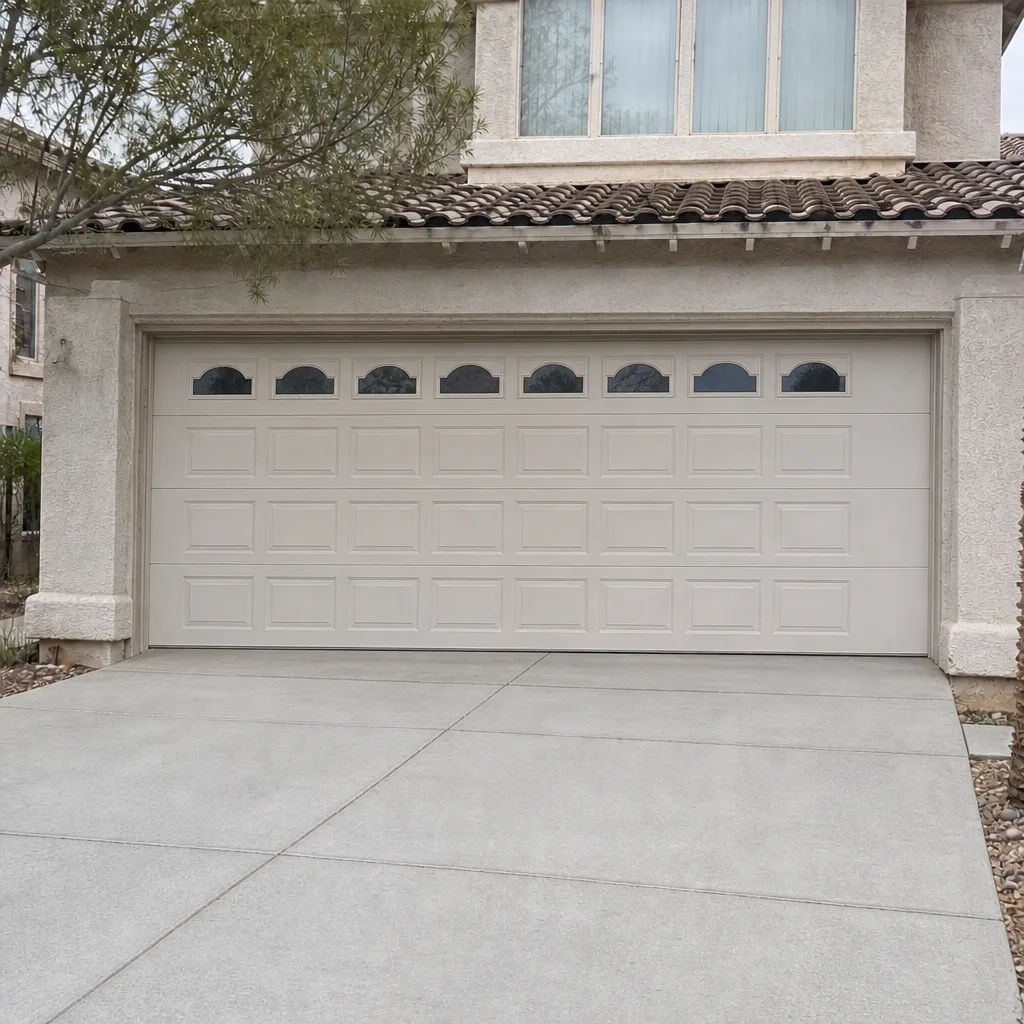
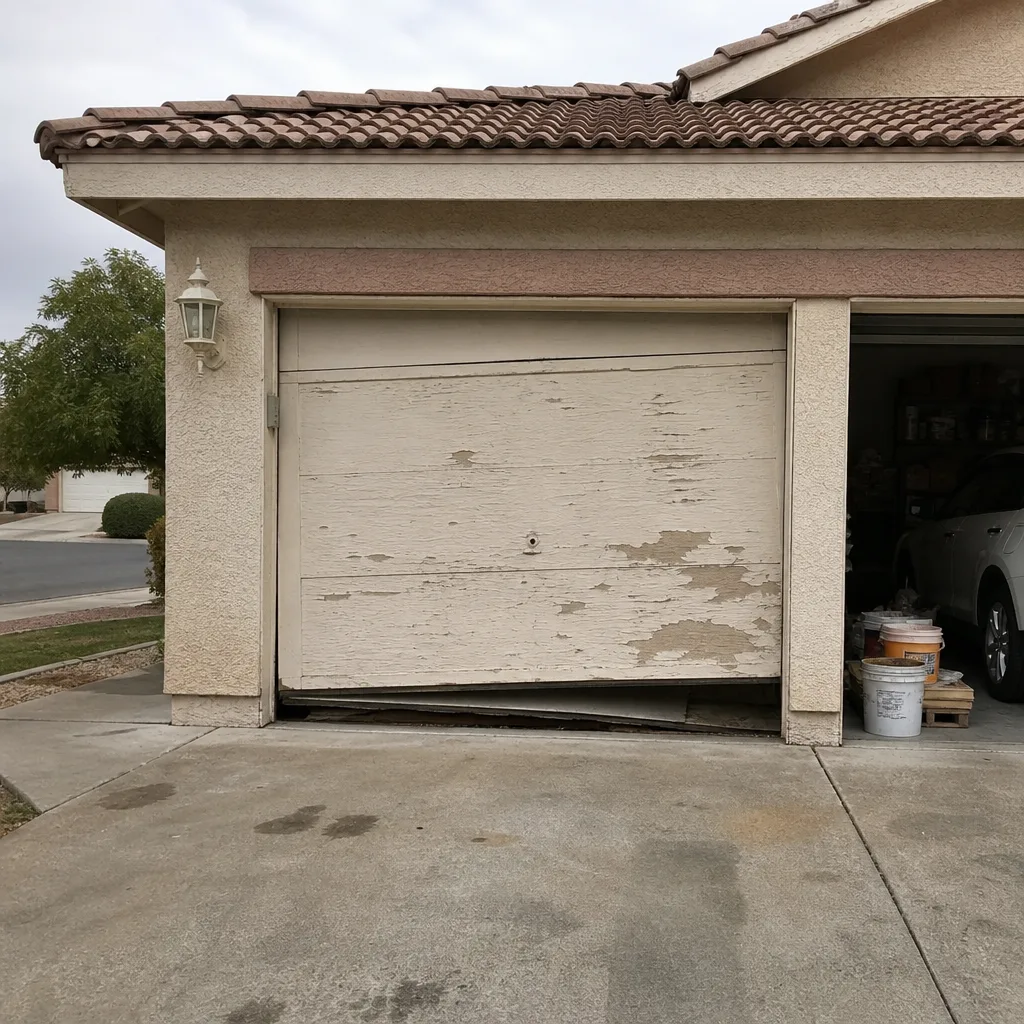
See the difference
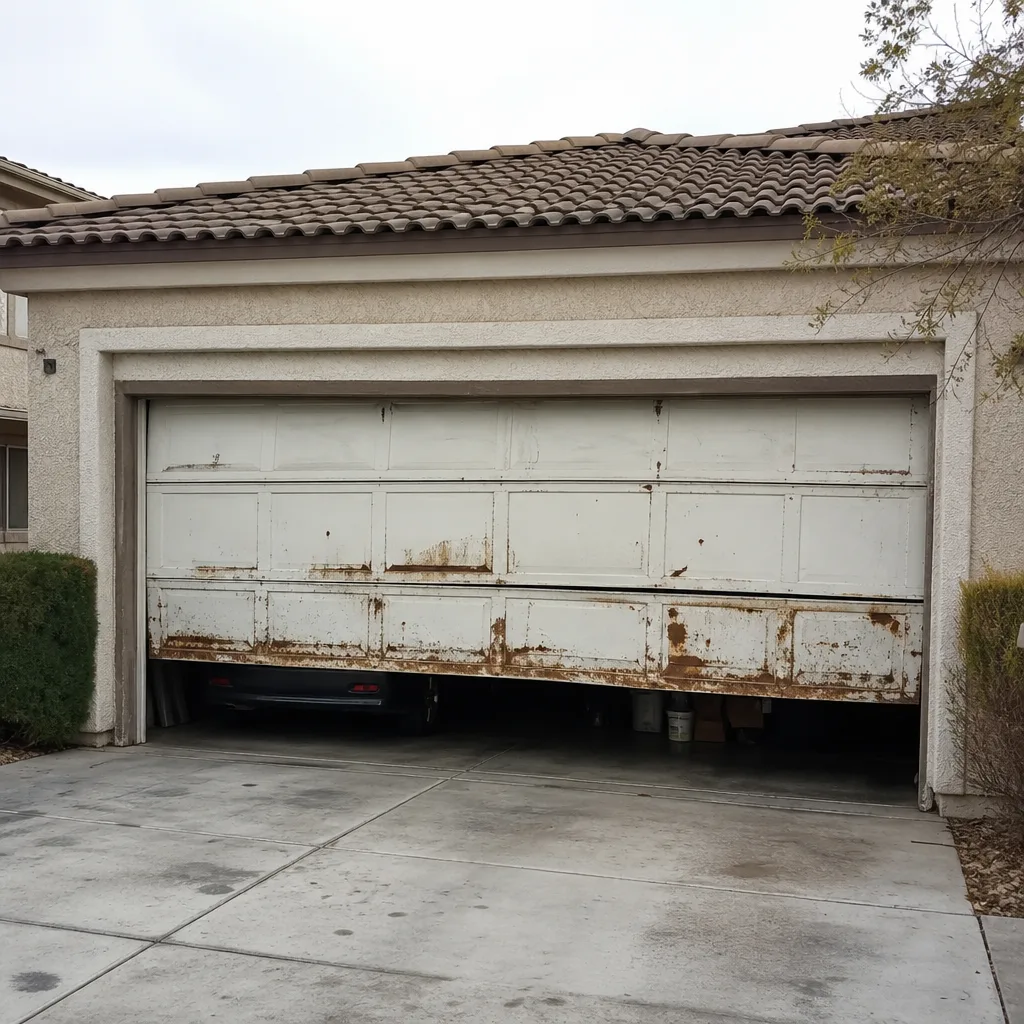 Before
 After
 Before
 After
 Before
 After
When to Call a Professional
Call us when the problem is a logic board fault, a stripped drive gear, a door that’s heavy by hand, or a sensor you’ve realigned twice and still can’t get to a steady green. Call us, too, when your door sounds like it’s grinding or the opener strains to lift it – those are symptoms that live above the opener. Above all, if the door is fighting you, don’t force it. Mainspring Garage Door Co. Summerlin offers free estimates in Summerlin, and most jobs finish in a single visit because the parts ride on the truck. A live person answers every call, 24/7. Call (855) 608-8802.
Frequently Asked Questions
On most units made after 2005, the blinking light is a diagnostic code, not a light show. Count the blinks in one burst and look up that code in the manual or a brand-specific chart. The two most common codes point to a blocked safety sensor or a wiring fault. In Summerlin, dust on the sensor lenses is the usual suspect.
Yes, and it’s the fastest test there is. Press the wall button. If it works but the remote doesn’t, the remote battery or pairing is the problem. If neither works, the trouble is power or sensors. That single test tells you whether you’re moving on to the remote or the whole system.
Most single-component repairs fall in the $180 to $340 range depending on the part, and a full logic board replacement runs higher. We quote the price before any work starts, so the figure you agree to is the figure on the bill. Call (855) 608-8802 for an exact quote – estimates are free.
All three brands use the same basic scheme. Steady green on both sides means aligned and working. A blinking LED on one side means the sensors have lost sight of each other. One green and one amber means cleaning is due. LiftMaster, Genie, and Chamberlain all print their light colors and the meaning on a label inside the sensor housing.
Most opener repair calls in Summerlin are handled the same day, and the phones here are answered by a live person around the clock. Call (855) 608-8802 and we’ll give you a straight answer on timing, plus a free estimate before anyone touches the door.
If it needs its second major repair in three years, or a new board and a new drive gear together, replacement usually makes more economic sense than repair. A new belt-drive unit runs quieter and comes with modern safety features. If the door itself is still sound, an opener swap is a straightforward job.
The Bottom Line
Ninety percent of opener problems come down to five parts, and three of them (battery, sensor alignment, and power) are free or nearly free to fix yourself. Work the sequence in order: power, remote, wall button, sensors, diagnostic code. The code reader on your motor housing is the fastest answer most homeowners never look for. If the problem moves past the sensors, or if the door is heavy by hand, stop and call. Mainspring Garage Door Co. Summerlin does the work with a live answer, the price stated up front, parts on the truck, and a 90-Day Done Right Promise in writing on every job. A Mainspring Garage Door Co. Summerlin home is always open to a free estimate. Call (855) 608-8802 and get a square deal.
Written by the team at Mainspring Garage Door Co. Summerlin.