
Last updated November 18, 2026
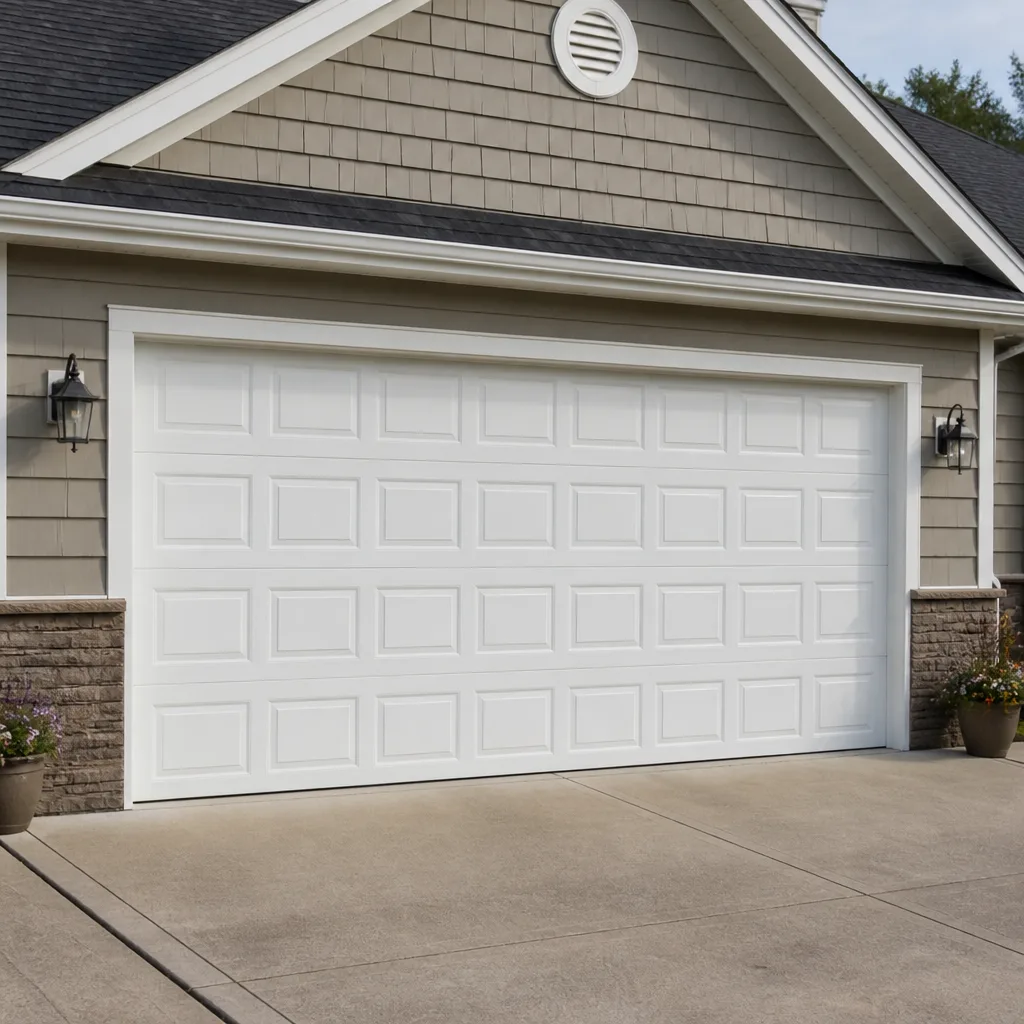 Raised-panel steel
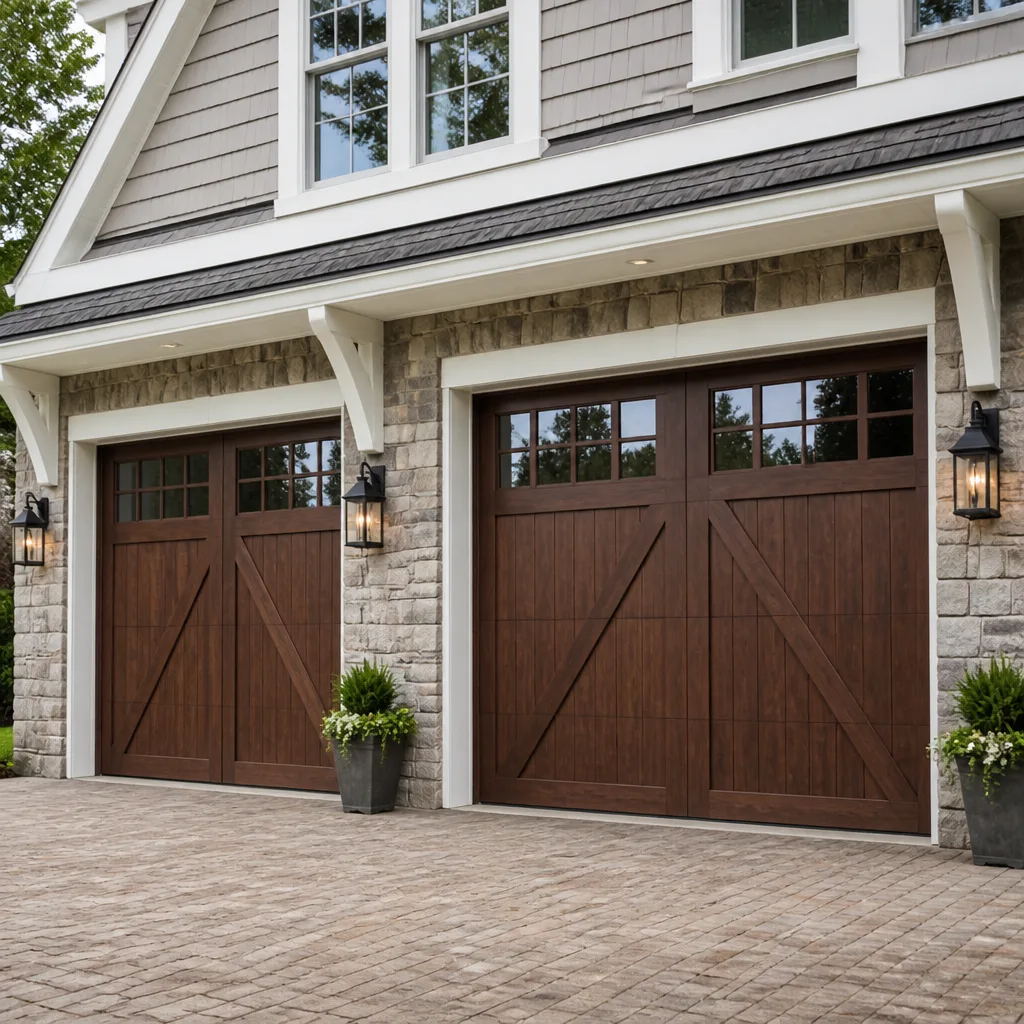 Carriage house
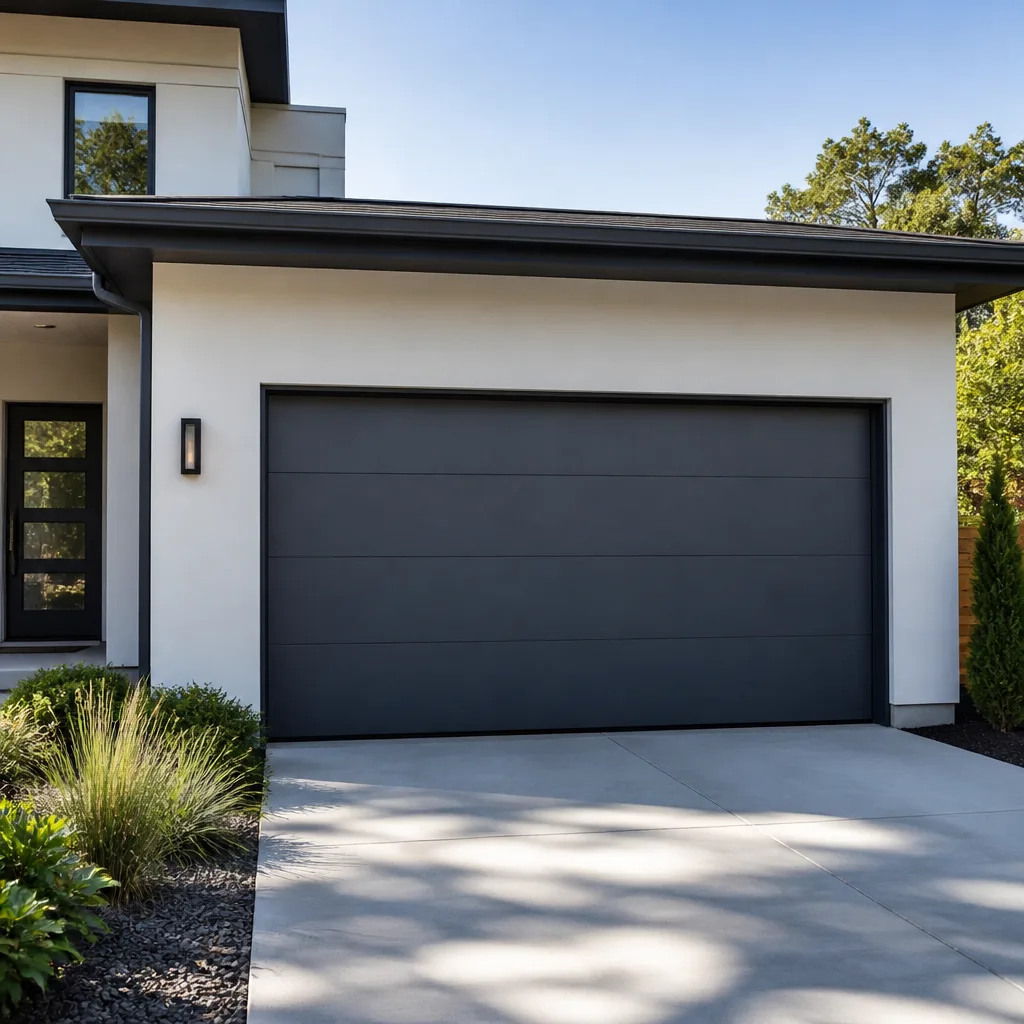 Modern flush
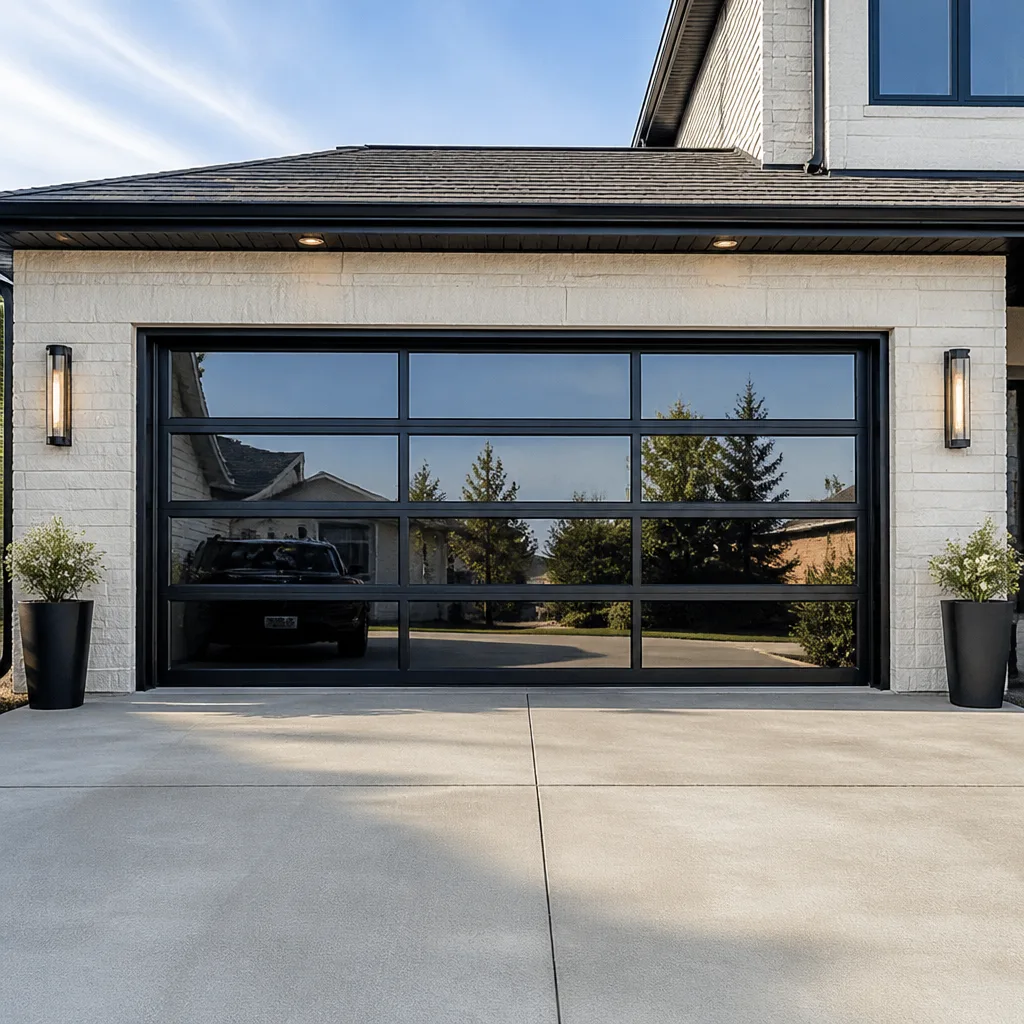 Full-view glass
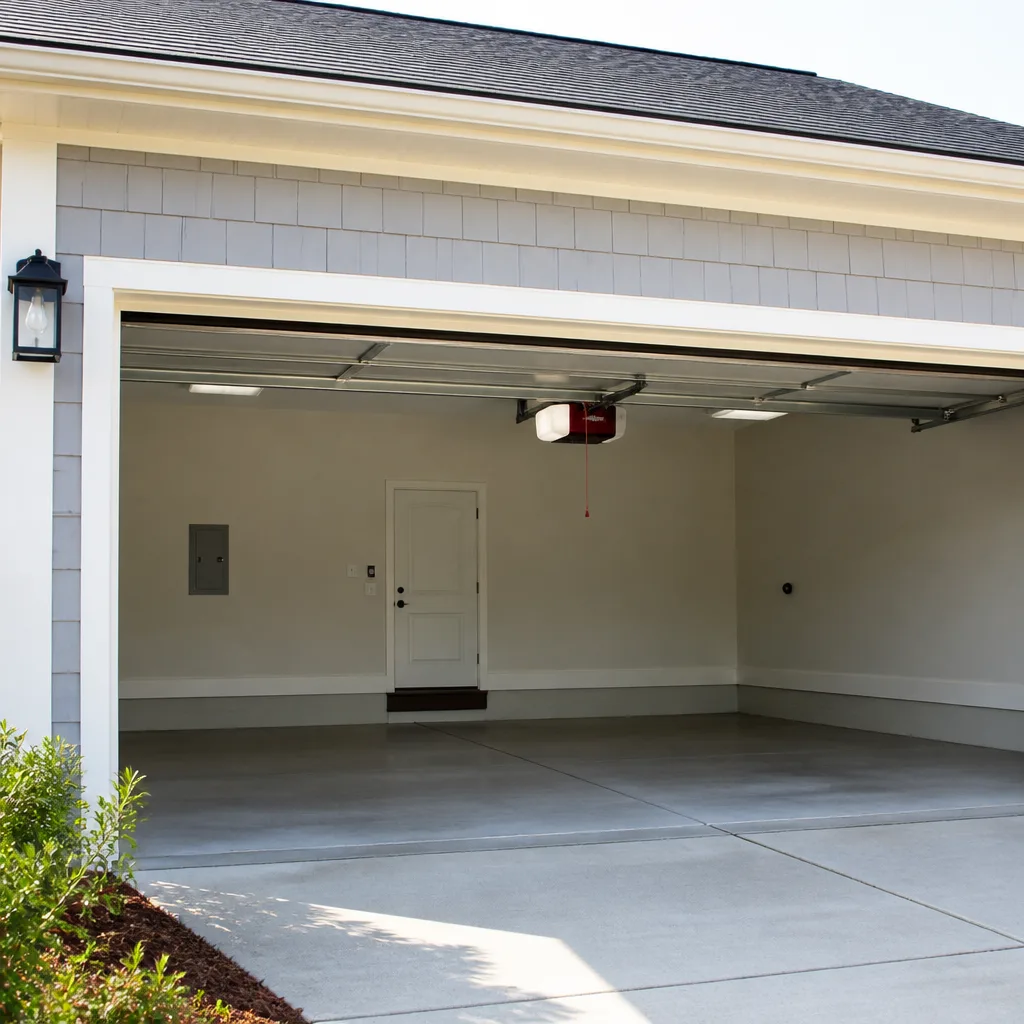 LiftMaster openers
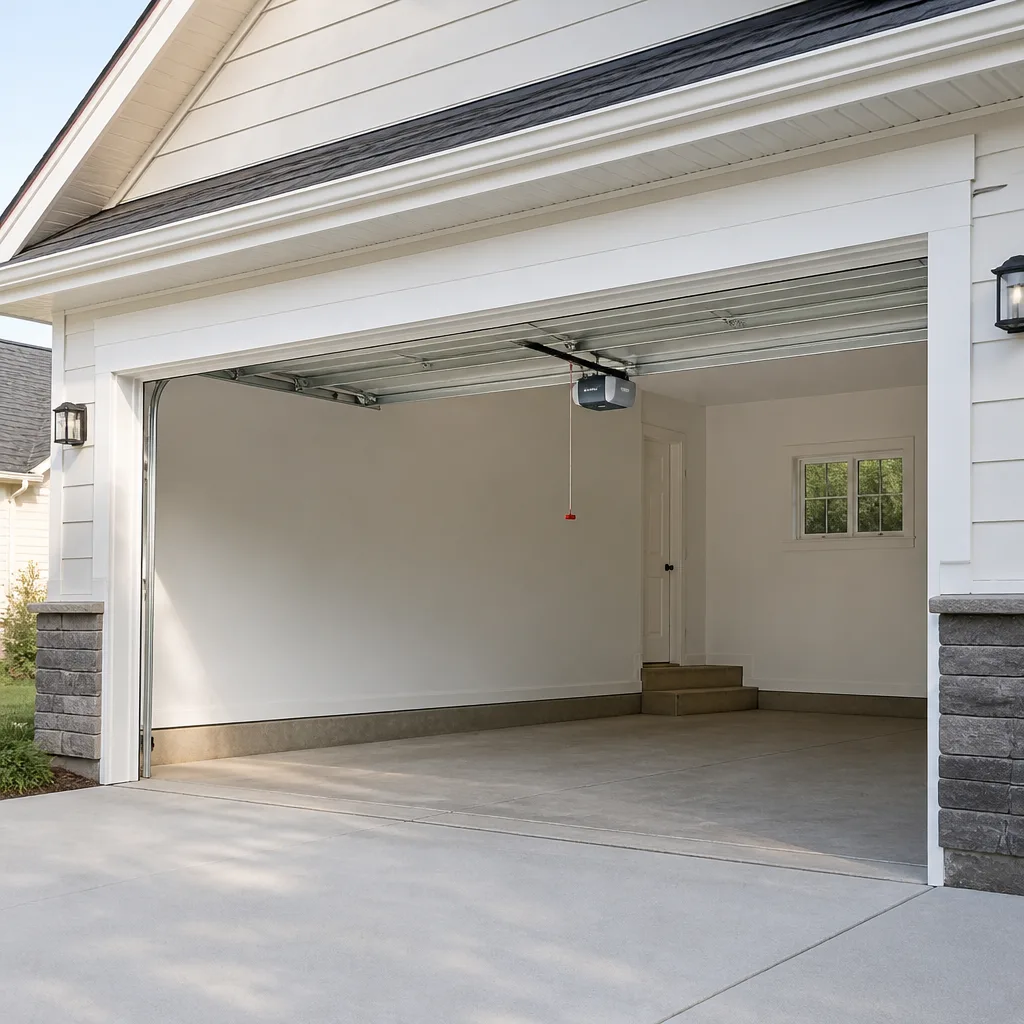 Chamberlain openers
Full 25-point door and opener safety check with every visit - springs, cables, rollers, tracks, and your LiftMaster or Chamberlain opener included
You get a price before we start. It does not change when the pro arrives.
Get your free estimateHow Long Does Garage Door Opener Take? Timelines and What to Expect
If a technician quotes you half a day for a standard opener replacement, ask them why. The answer reveals a lot about what’s on their truck and how many of these they’ve actually done. A straight swap of a LiftMaster or Chamberlain opener onto sound, compatible hardware takes about 90 minutes. The jobs that stretch to four hours are almost never about the opener. They’re about what the previous installer left behind: a header bracket mounted into drywall, a sensor wire stapled so tight it snaps, or a ceiling with no blocking at all.
We’re Mainspring Garage Door Co., and we’ve walked into thousands of Summerlin garages where the last opener install was a story written in zip ties and hope. This guide tells you how long each phase really takes, what pushes a job long, and what to ask before you book.
Quick Answer
A standard garage door opener replacement takes 90 minutes to 2 hours when the existing brackets, wiring, and header are sound. A new rough installation, a low-headroom conversion, or a job where the previous installer cut corners takes 3 to 4 hours. Smart opener pairing adds 15 to 30 minutes most installers skip.
Styles & brands we work with
- Raised-panel steel
- Carriage house
- Modern flush
- Full-view glass
- LiftMaster openers
- Chamberlain openers
Table of Contents
- What the Job Actually Involves: Phase by Phase
- Direct Swap vs. Rough Installation: Which One Are You Getting?
- What Adds Hours to the Job
- What You Can Prepare Before the Technician Arrives
- Smart Opener Setup: The Step That Gets Rushed
- Why Summerlin Garages Present Their Own Timelines
- Questions to Ask Before You Book
What the Job Actually Involves: Phase by Phase
Most homeowners picture the opener install as one lump of time. It isn’t. Once you see the phases, you can understand a quote instead of just accepting it. Here’s the honest breakdown for a standard chain or belt drive on a compatible door, the kind we handle most days in Summerlin.
- Mounting and rail assembly (25 – 35 min): The rail comes in sections that bolt together, then the motor unit mounts to the ceiling or the header. This phase is quick when there’s solid framing above the door. It drags when there’s only drywall.
- Header bracket and door arm (15 – 20 min): The header bracket sets the geometry for the whole job. Get it a quarter inch wrong and the door binds. A sound header board takes minutes; a damaged or missing one takes far longer.
- Wiring (15 – 30 min): Safety sensors need low-voltage wire run down each side of the door. New wire is fast. Rerouting around old, brittle, or stapled-through wire is not.
- Sensor alignment (10 – 20 min): The two sensors must face each other and see a clear line. Sunlight hitting one sensor at an angle can throw it, so alignment often takes a couple of passes.
- Force and limit programming (10 – 15 min): This sets how hard the door travels and where it stops. It’s the most important five minutes of the job for safety and the one most rushed.
- Smart setup and app pairing (15 – 30 min): Wi-Fi, app, remote pairing, and testing. Skipped often. Ask for it.
Add those up and you land at roughly 90 minutes for a clean swap, closer to two hours once you include the walkthrough and cleanup. That’s the number you should hear.
Direct Swap vs. Rough Installation: Which One Are You Getting?
These are two different jobs, and the difference in time and cost is real. A direct swap means the old opener comes off and a new one goes onto the same rail path, brackets, and wiring. A rough installation means starting fresh: new header bracket, new wiring, new mounting, sometimes new framing. The swap is faster only if the existing wiring and brackets are actually compatible with the new unit.
- Direct swap (90 minutes to 2 hours): Existing brackets are solid, wiring is sound, and the new opener mounts to the same hardware. This is the common case when you’re replacing a worn lift arm or a unit that finally quit.
- Rough installation (3 to 4 hours): New construction, a garage that’s never had an opener, or a swap where the old install needs correcting first. New wiring, new header bracket, possibly new framing above the door.
Here’s the catch worth knowing. A “swap” can quietly become a rough install the moment the technician unscrews the old motor. If the bracket was screwed into drywall with no blocking, or the sensor wire is stapled through, the job changes. A square deal means the technician tells you before they start, not after. That’s how we quote every job in Summerlin: a flat price stated before the wrench comes out, plus a free second opinion on any other written estimate you’ve been given.
What Adds Hours to the Job
If a quote comes back much higher than two hours, one of these is usually the reason. Ask which.
- Low-headroom conversions: Garages with a very low ceiling can’t fit a standard rail-and-motor. A side-mount jackshaft opener that drives the door from the torsion bar is the fix, and it takes longer because it’s a different install geometry, often 3 hours or more.
- Side-mount jackshaft installs: These mount to the wall beside the door, not the ceiling. They suit low Summerlin garages and homes where the ceiling space is taken, but they need a torsion bar setup and careful alignment.
- Damaged or missing header boards: The header bracket needs solid lumber to bite into. If it’s rotted or there’s nothing there, that has to be addressed first because the opener hangs off it.
- No blocking above the door: Builders sometimes leave the ceiling open above the door. Adding blocking adds 20 to 40 minutes before the opener can mount.
- Brittle or stapled-through wiring: Old sensor wire that’s cracked, or runs so tight it snaps, has to be replaced or rerouted. New wire is 15 minutes; chasing a fault on old wire can eat an hour.
None of these are reasons to dread a job. They’re just the reasons a job takes longer than the glossy two-hour number on a competitor’s flyer. A technician with a truck stocked with springs, cables, and openers can often finish in one visit despite one of these surprises, which is why we keep ours stocked. That saves you a second appointment more often than it saves a few minutes on the first.
What You Can Prepare Before the Technician Arrives
A little prep on your end saves real minutes on ours, and it lets the technician get straight to the work. Here’s what helps most in a Summerlin garage.
- Clear the area under and around the door. Move the car, the recycling bins, the ladder, the boxes. A clear floor is the single biggest time saver.
- Locate your breaker. Know which panel switch kills the opener circuit so we’re not hunting for it. If you’re not sure which one it is, that’s fine, we’ll find it.
- Note your ceiling height and door weight. A quick measurement of the ceiling helps us plan for low-headroom equipment before we arrive. The door weight matters for spring tension, so a rough number is useful.
- Have your Wi-Fi name and password ready. If you want app pairing, this alone saves 10 minutes of fumbling.
- Set aside a chair or step stool near the garage door for the walkthrough, because we’ll test the safety reverse and show you the settings before we leave.
One safety note here, and it matters. The high-tension springs and the cables that carry the door’s weight are under enormous load. Don’t try to inspect, adjust, or take tension off them yourself. Those are genuinely dangerous components and belong to a trained professional. Your prep stops at clearing the floor and finding the breaker.
Smart Opener Setup: The Step That Gets Rushed
Smart openers with app control, cameras, or battery backup are everywhere now, and the setup step is where shortcuts happen. Pairing the unit to your Wi-Fi, linking the app, setting the alerts, and testing the safety reverse again after setup adds 15 to 30 minutes to a normal job. Many installers either skip it or rush it, leaving you to figure out the app on your own after they leave.
We build that time into the quote, because a smart opener you can’t operate is just a dumb opener with a fancy case. When we finish a garage door opener in Summerlin, the app is paired, the remotes are programmed, and you’ve opened and closed the door yourself on the new unit before we pack up. If it’s not right, our 90-Day Done Right Promise means we come back and make it right, in writing, no arguing. That promise costs you nothing and gets rid of the worst part of hiring a contractor: the worry that you’ll be stuck with someone else’s mistake.
If you’re weighing brands, the smart-capable units we install most often are LiftMaster and Chamberlain, with Genie and Craftsman on the value end. We’re factory-familiar with all of them, so the setup is routine rather than experimental.
Why Summerlin Garages Present Their Own Timelines
Summerlin isn’t a generic suburb, and its garages aren’t either. The community spans neighborhoods built across several decades, from the early villages to newer construction on the western edge, and that spread shows up in the hardware. Homes here see intense desert sun and summer heat that cooks attic spaces, which is hard on opener motors and sensor wiring alike. A unit that runs fine in a shaded garage can struggle in a Summerlin garage whose ceiling bakes all afternoon, and heat-stiffened wire is a common reason a sensor job takes longer than the book time.
The original equipment varies a lot by neighborhood. Some homes still have the builder’s opener from twenty years ago, often a contractor-grade Craftsman that’s done its duty. Others have been updated to a Wayne Dalton or Clopay door paired with a newer LiftMaster. Matching the new opener to what’s already there, rather than guessing, is what keeps a job to 90 minutes. If you’re replacing the door itself, that’s a separate scheduled job: a garage door installation in Summerlin gets measured and ordered, so never expect same-day for that work. For worn doors and panels, our garage door repair in Summerlin team can often help in a single visit. Homeowners here can also start at the Mainspring Garage Door Co. Summerlin home page to see the full range of what we handle.
Questions to Ask Before You Book
These five questions separate a straight quote from a hopeful one. Ask them on the phone.
- “Is this a swap or a rough install, based on what I’ve described?” A technician who asks you about your existing brackets and wiring is doing it right.
- “Will the price change once you see it?” It shouldn’t. We state the flat price before any work begins, and that’s the bill.
- “Do you stock the openers on the truck, or do I wait for a second visit?” Single-visit work is the goal.
- “Is the app setup included?” If you want smart control, get it in the quote.
- “What’s your warranty in writing?” Ours is the 90-Day Done Right Promise, on every completed job.
Common Mistakes to Avoid
- Assuming the fastest quote is the cheapest. A low bid that skips sensor alignment and force programming costs you a return visit. Ask what’s included, not just the total.
- Not mentioning your ceiling height up front. A low Summerlin garage that needs a side-mount jackshaft is a different job with a different timeline. Say so when you call.
- Letting the installer rush the safety reverse test. That test is the reason the door stops if a child or pet is in the way. Watch it run before they leave.
- Ignoring old sensor wiring. Brittle wire that’s been baked by desert heat will fail within a year. Replacing it during the opener job is cheaper than a callback.
- Skipping the app pairing because they’re in a hurry. A smart opener that isn’t set up is money you didn’t get to use. Make them stay for it.
- Handling spring or cable adjustments yourself. The springs carry the whole door’s weight under extreme tension. This is a job for a trained professional, every time.
- Booking without a written price. Get the flat number in writing before anyone touches the hardware.
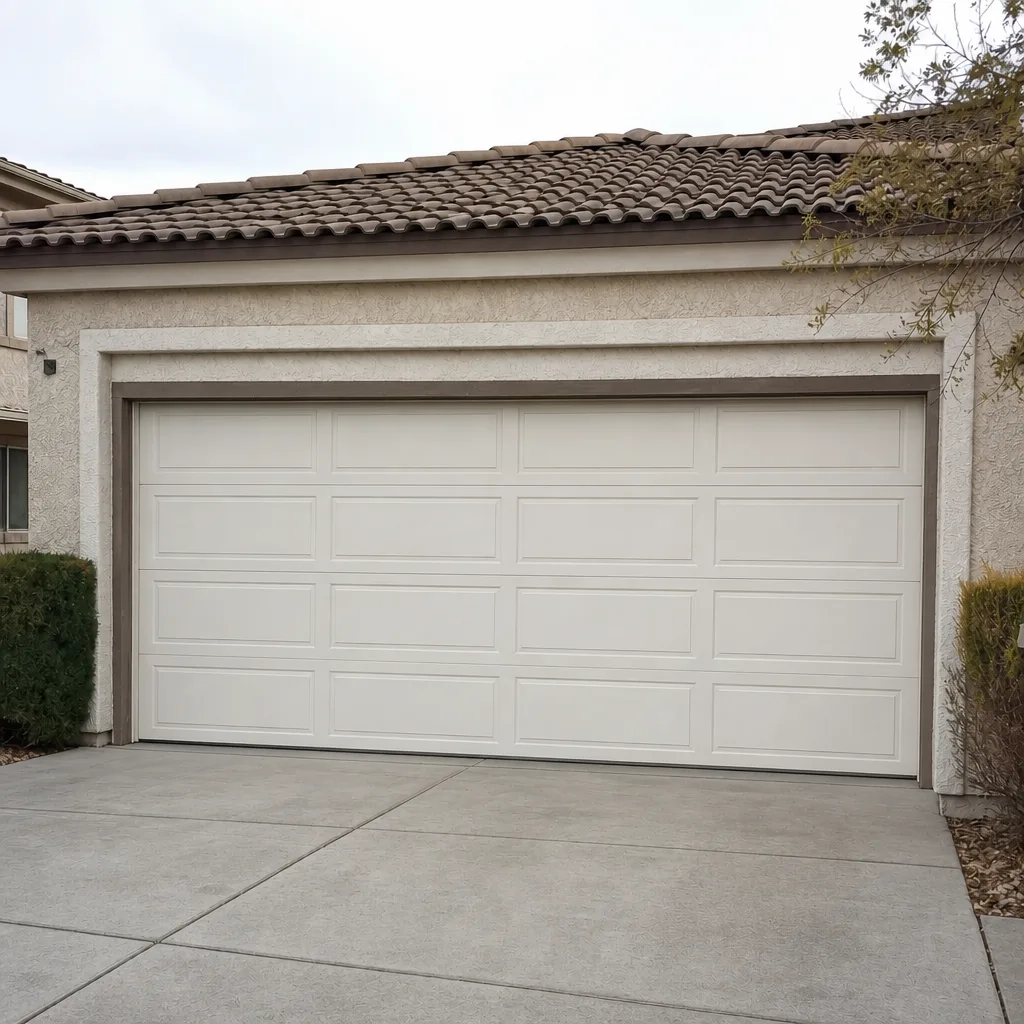
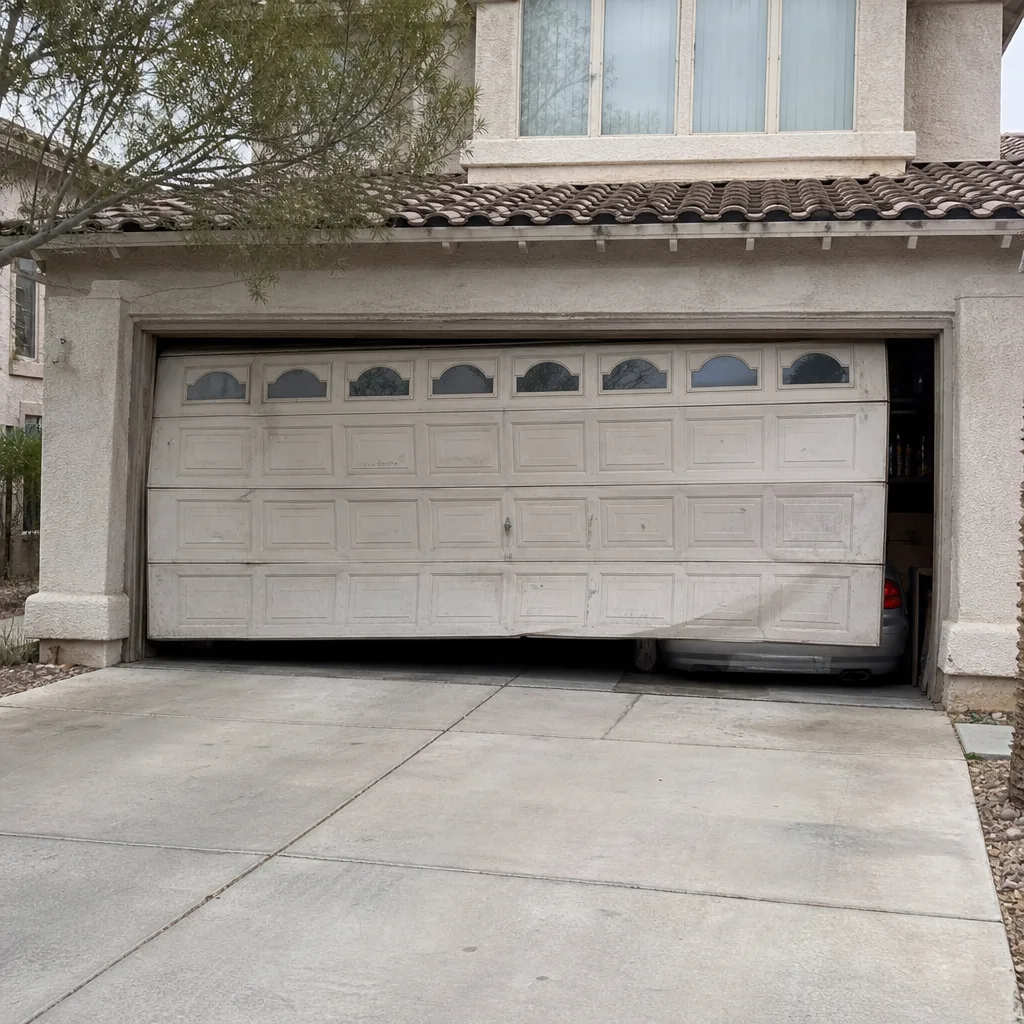
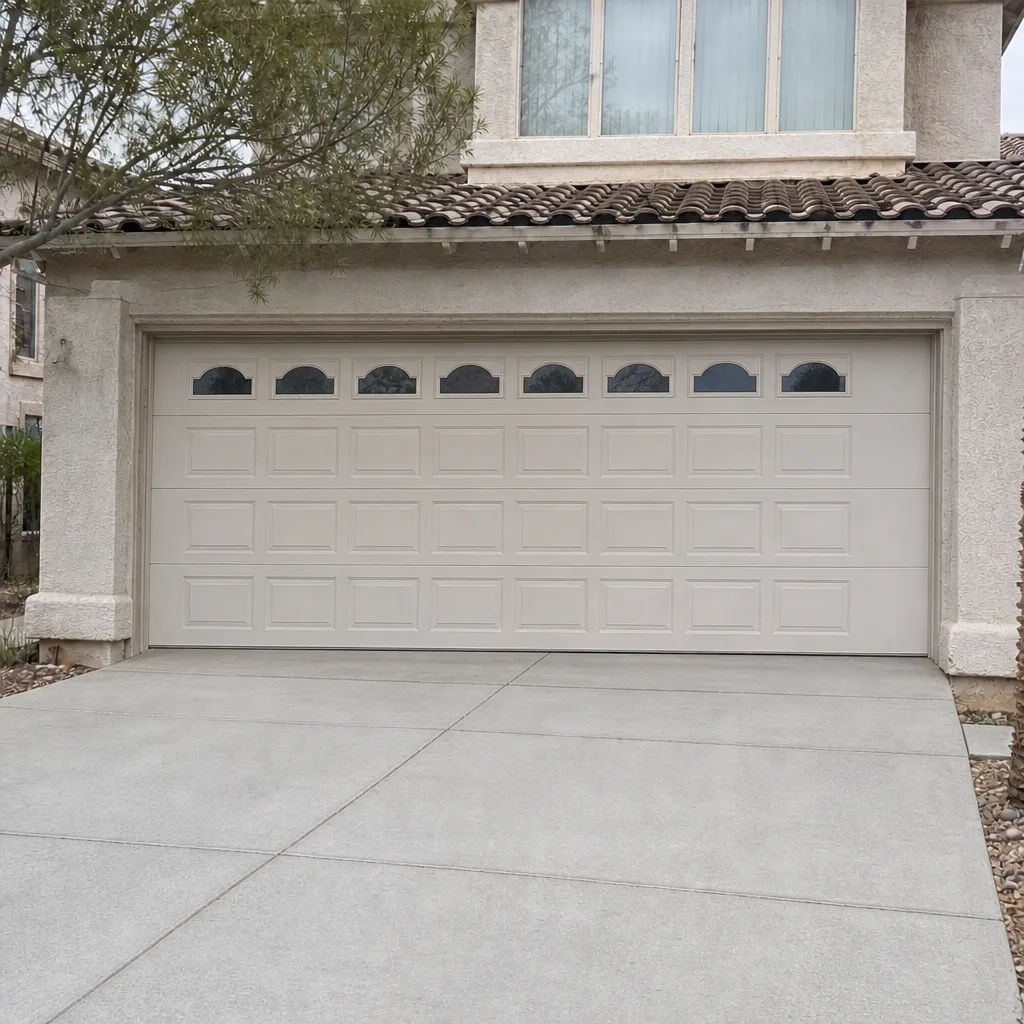
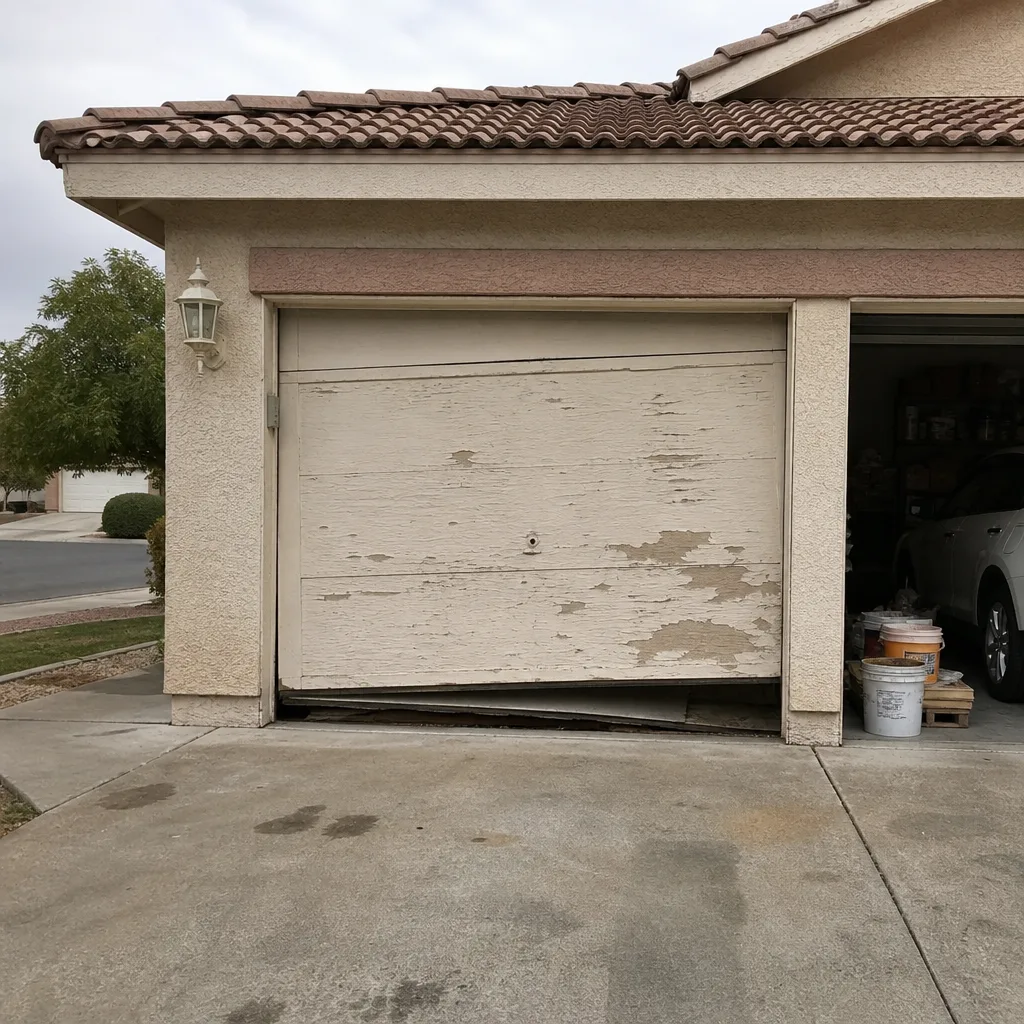
See the difference
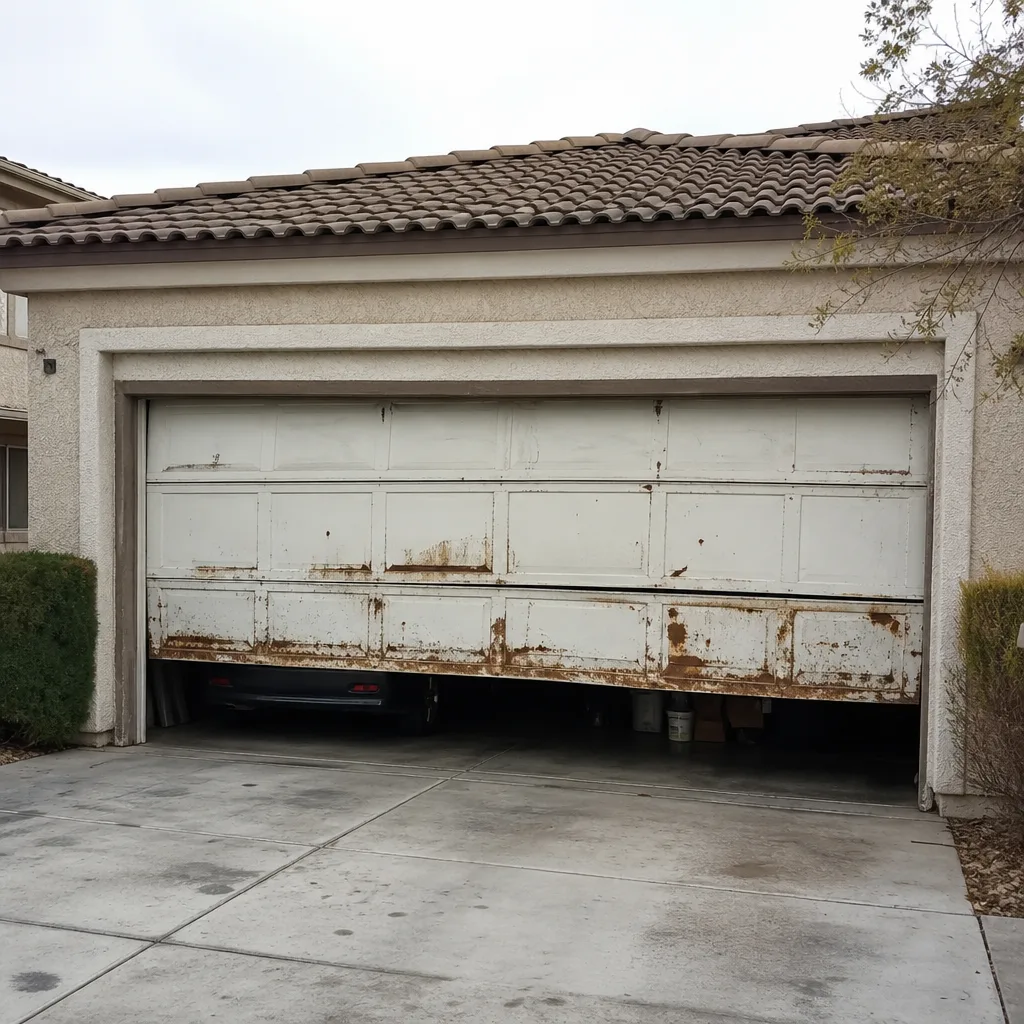 Before
 After
 Before
 After
 Before
 After
When to Call a Professional
Call a professional if the door won’t reverse on the safety test, the opener runs but the door doesn’t move, the cables look frayed, or the door jerks and binds on the way up. None of these are do-it-yourself fixes, and the springs and cables in particular can injure you badly if handled without training. Call us as well if you’re not sure what you have: an experienced set of eyes on the hardware tells you in minutes whether you’re looking at a swap or something bigger. Mainspring Garage Door Co. Summerlin offers free estimates in Summerlin. Call (855) 608-8802, and a live person will answer. We answer every call, 24/7, nights and weekends included.
Frequently Asked Questions
A standard direct swap takes 90 minutes to 2 hours. A rough installation, a low-headroom conversion, or a job where the old hardware needs correcting takes 3 to 4 hours. Smart opener pairing adds 15 to 30 minutes on top. Call (855) 608-8802 for an exact quote based on your garage; estimates are free.
Usually not, and be wary of anyone who promises it blindly. Openers are measured against your existing door and brackets and ordered to fit, so the job is scheduled rather than same-day. Emergency response for a door that won’t close is different: a live person answers around the clock. Call (855) 608-8802 to book a measure.
No. We quote a flat price before any work begins, and that’s the number on the bill. If we find a surprise like a damaged header board, we tell you and re-quote before starting, never after. Call (855) 608-8802 for a straight number.
A side-mount jackshaft mounts to the wall and drives the torsion bar, so it’s a different install geometry from a ceiling unit and takes longer, often 3 hours or more. It suits Summerlin garages with low ceilings or no overhead space. Call (855) 608-8802 to find out if yours is a candidate.
Only if the springs are worn or the door is heavier than the new opener’s rating, which a technician can check. Springs carry the door’s full weight and are dangerous to touch yourself. Call (855) 608-8802 and we’ll tell you honestly whether they need attention.
Yes. We take $50 off any repair over $250, offer a free second opinion on any written estimate, run a seasonal tune-up for $89, and give a permanent 5% discount to seniors and veterans. Call (855) 608-8802 to use one of these offers.
The Bottom Line
A clean opener swap is a 90-minute job. The four-hour jobs are usually about fixing what the last installer left behind, and the good news is that a technician who asks the right questions up front can tell which one you’re getting before they arrive. Prepare by clearing the floor, finding the breaker, and knowing your ceiling height. Insist on app setup, a safety reverse test, and a written price before work starts. And leave the springs and cables to a trained professional, because they’re no place for guesswork. That’s how a garage door opener job stays simple.
Call (855) 608-8802 for a free estimate. A live person answers, and the price is stated before the work begins.
Written by the team at Mainspring Garage Door Co. Summerlin.